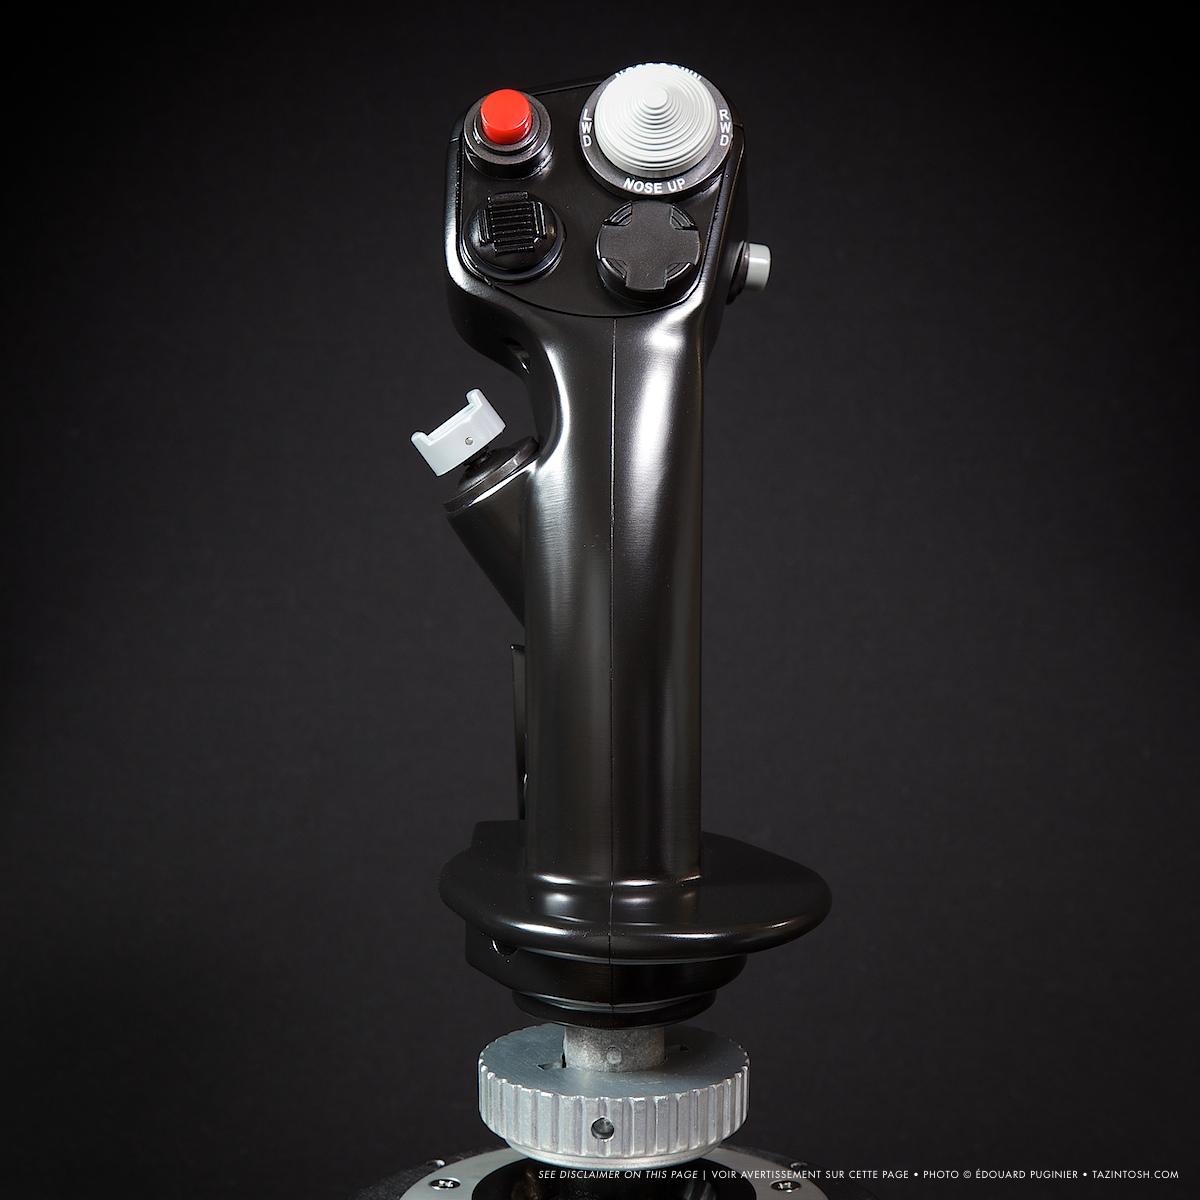
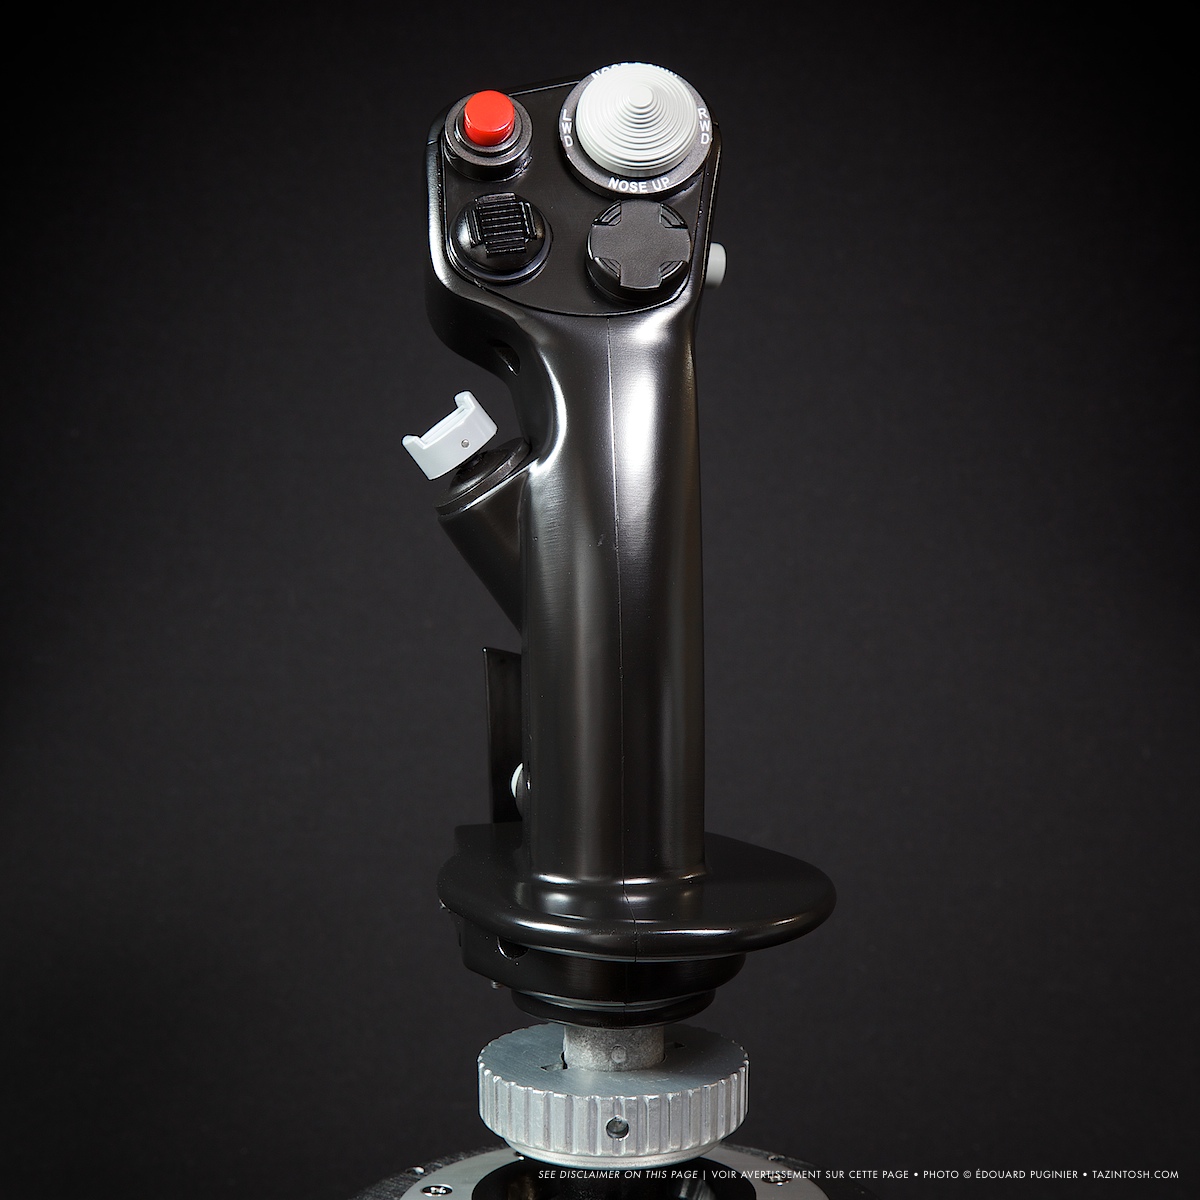
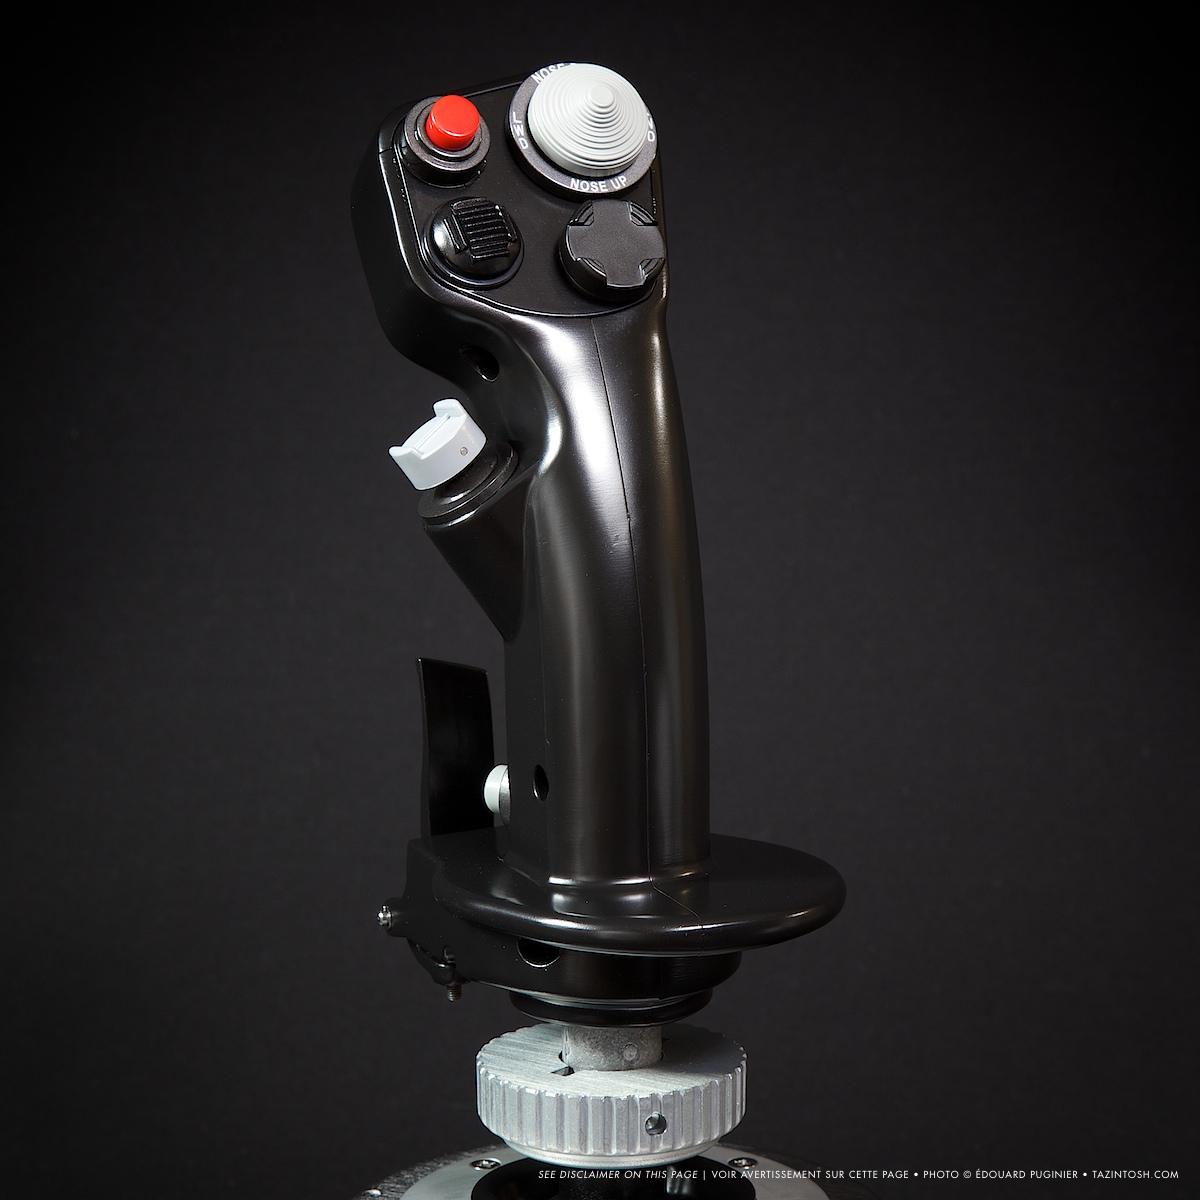
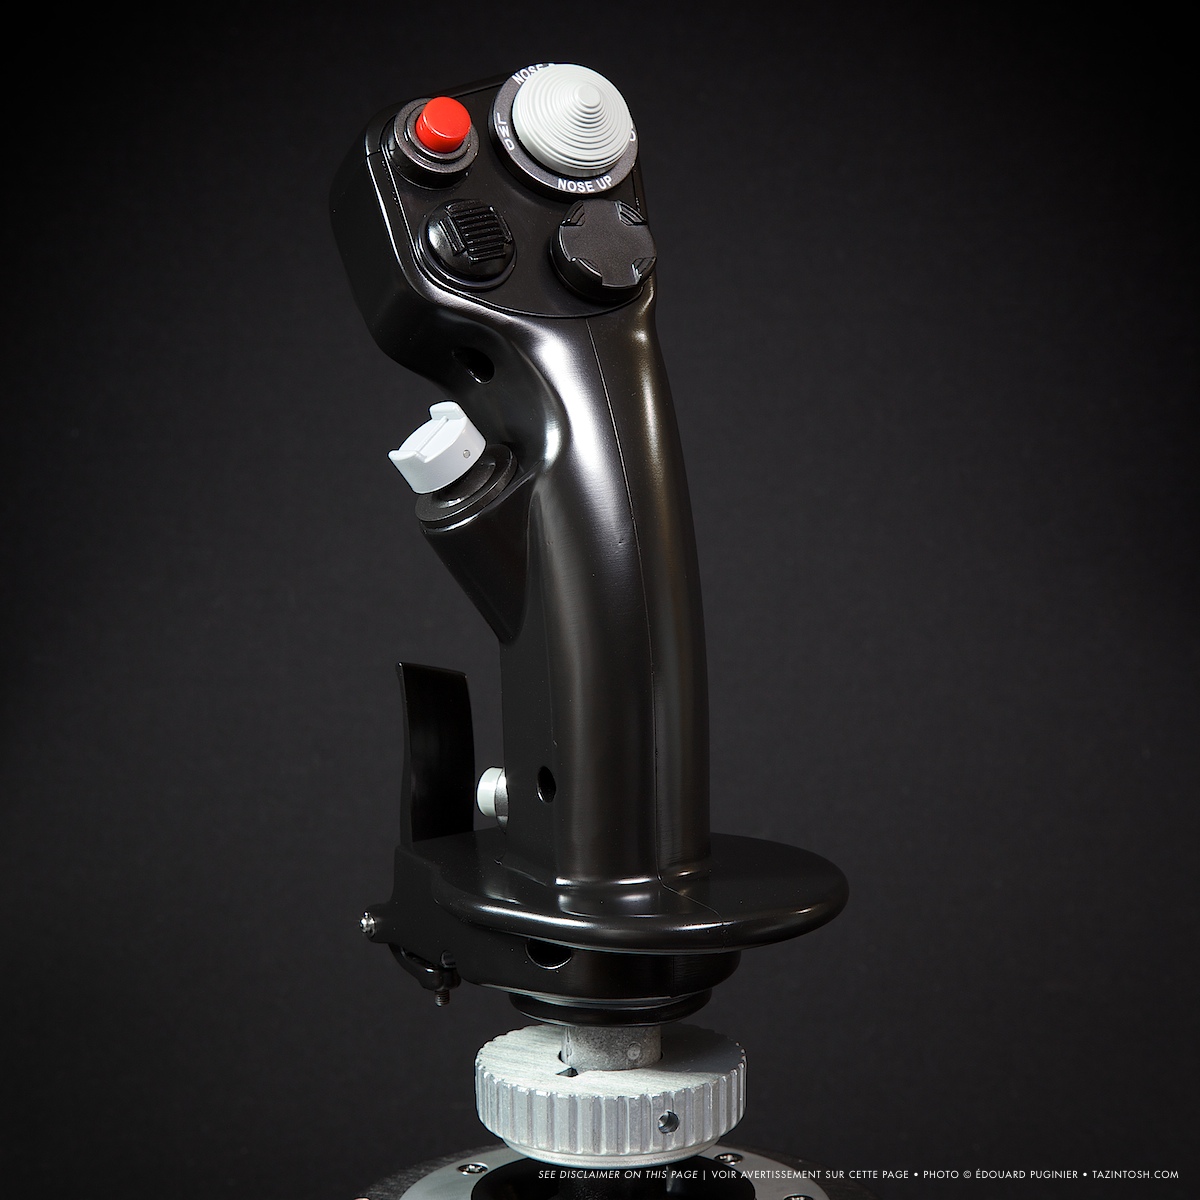
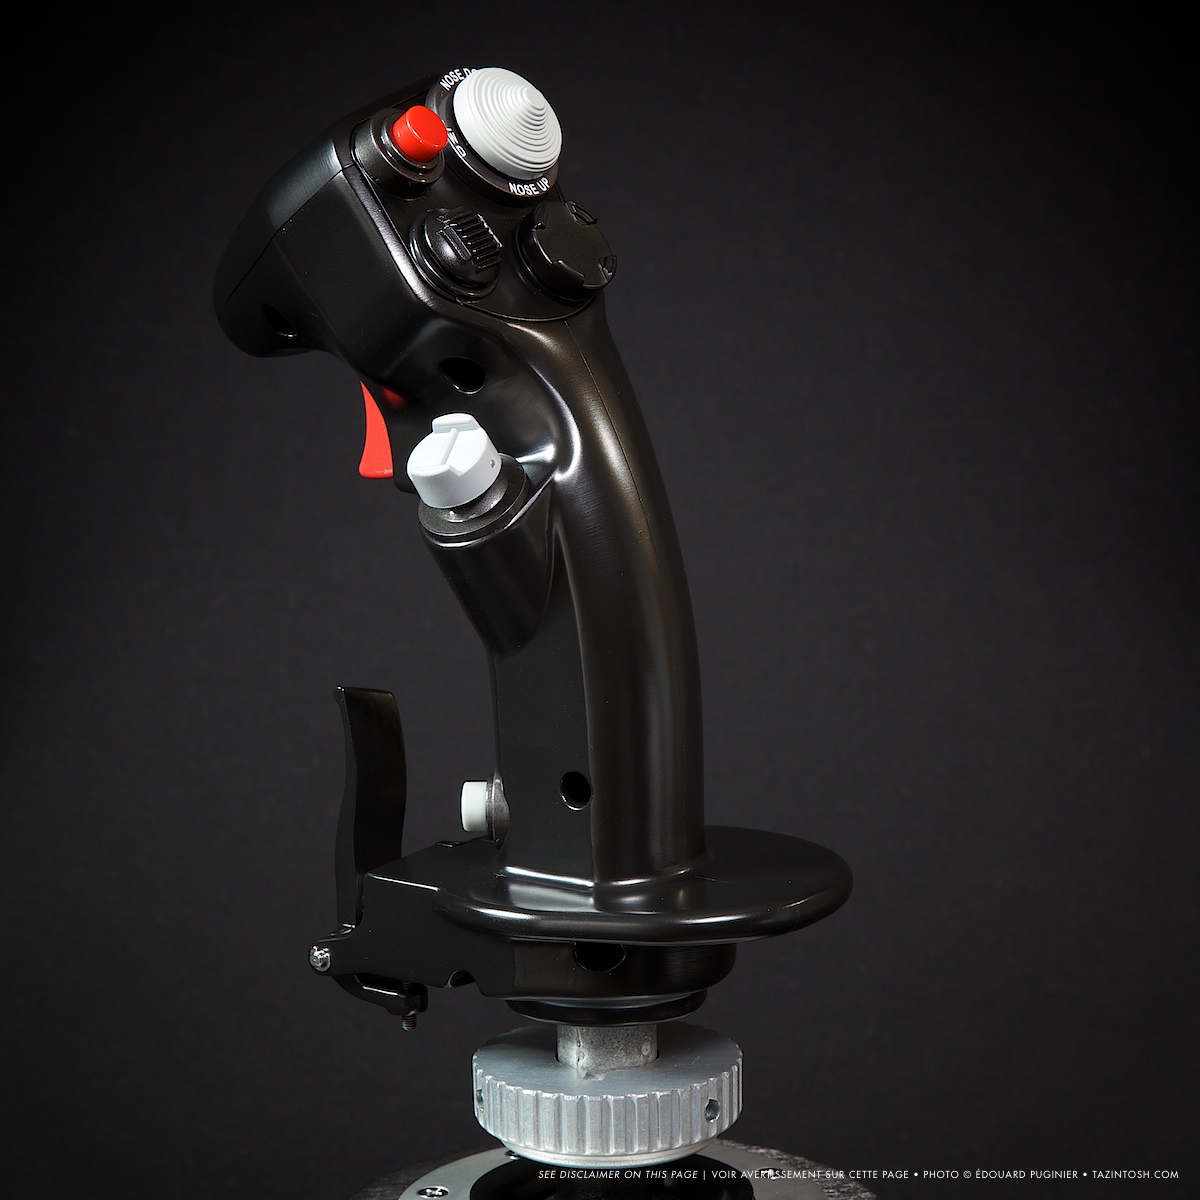
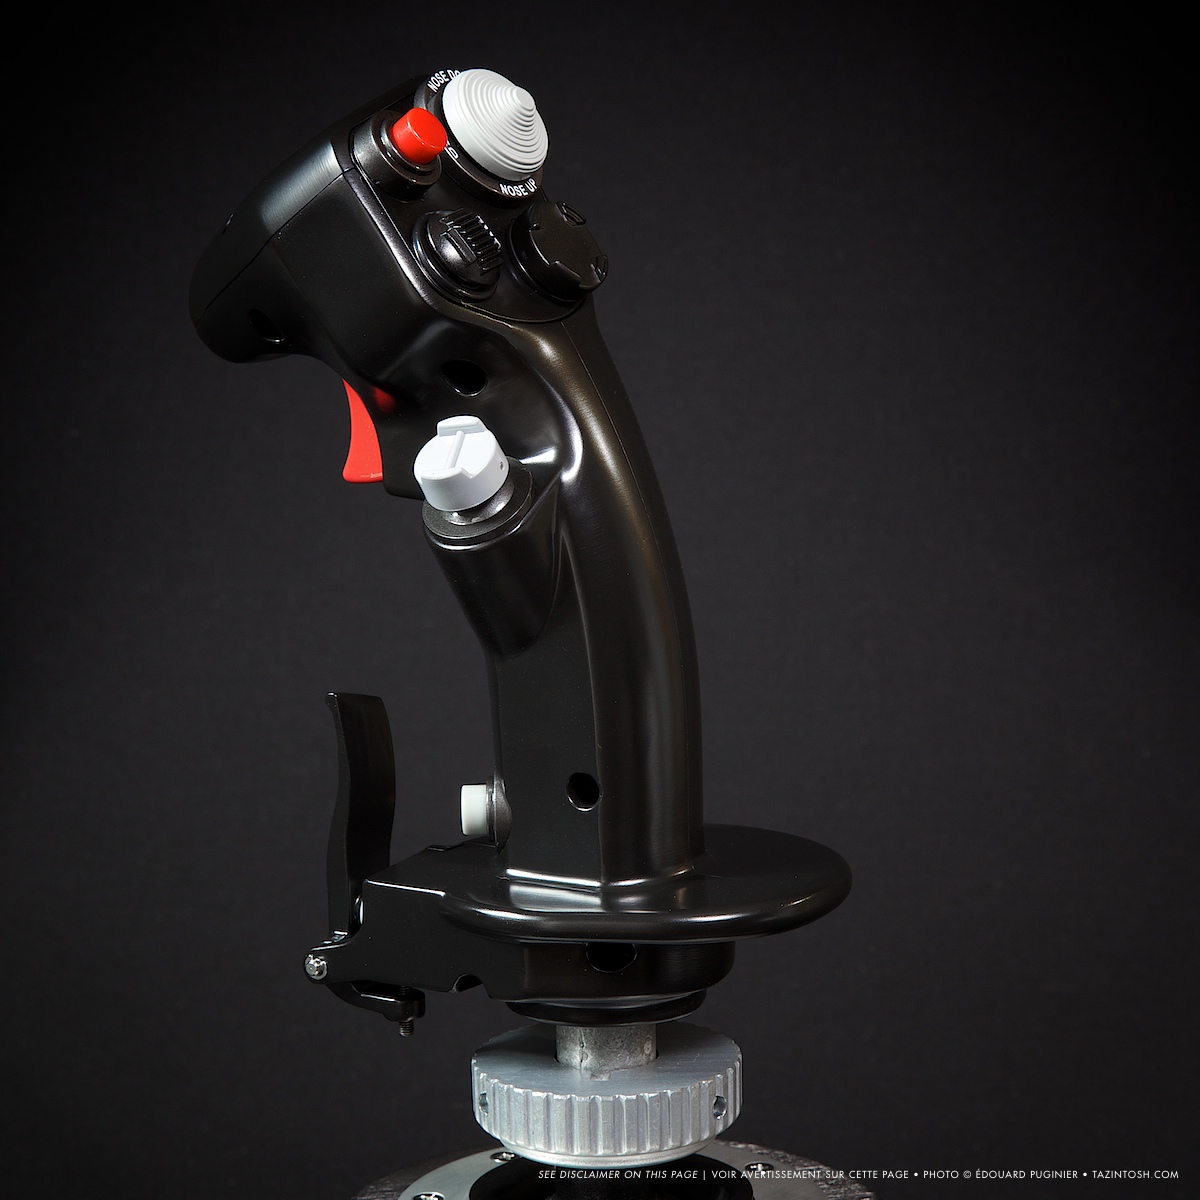
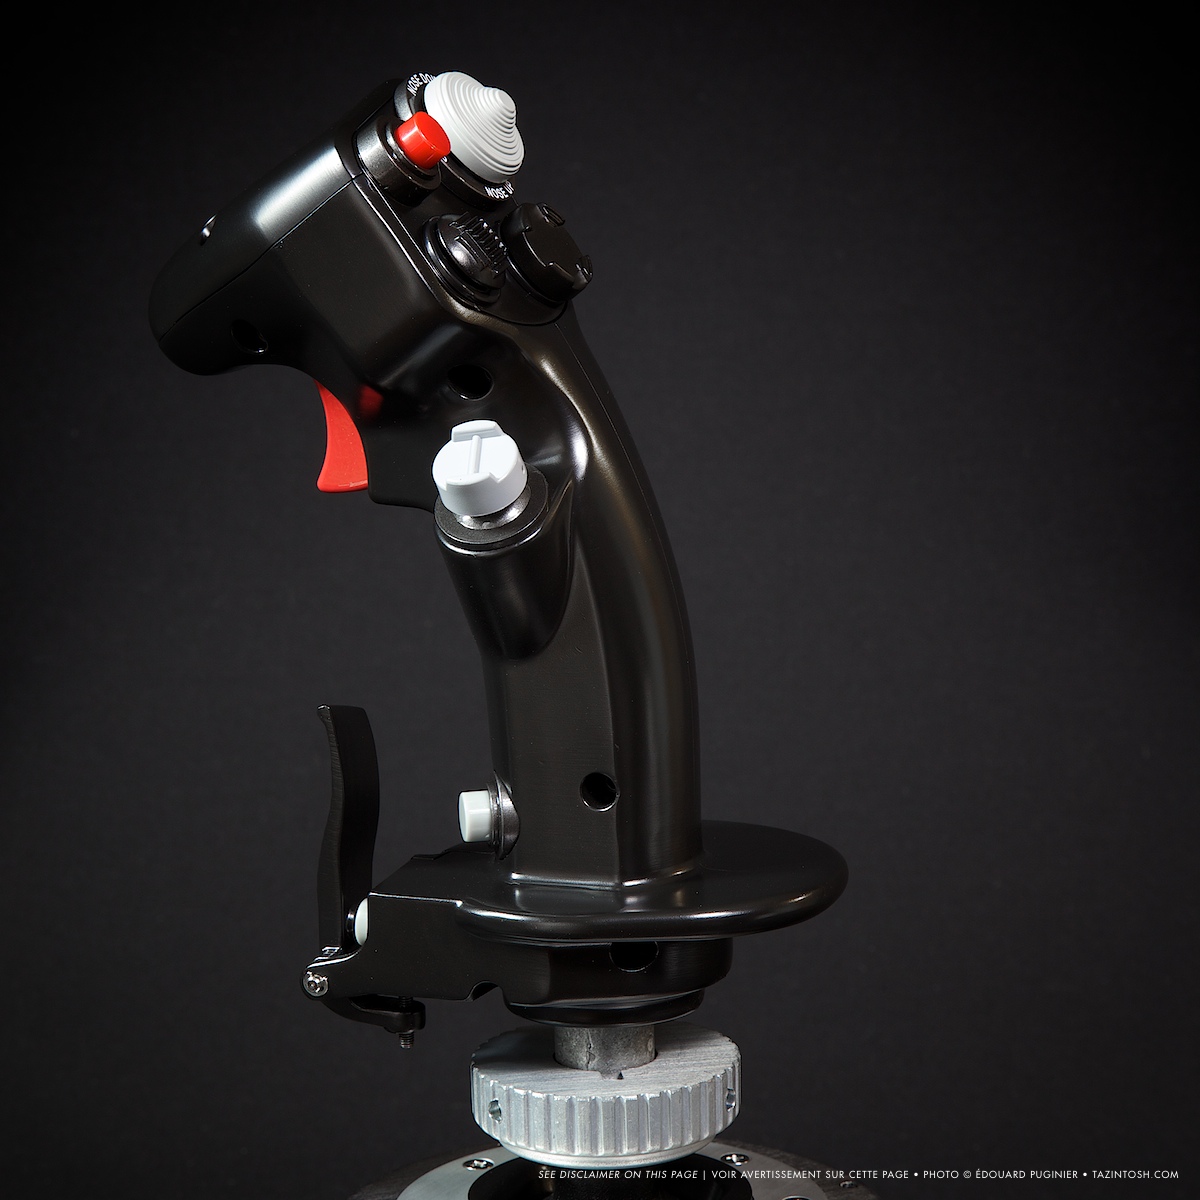
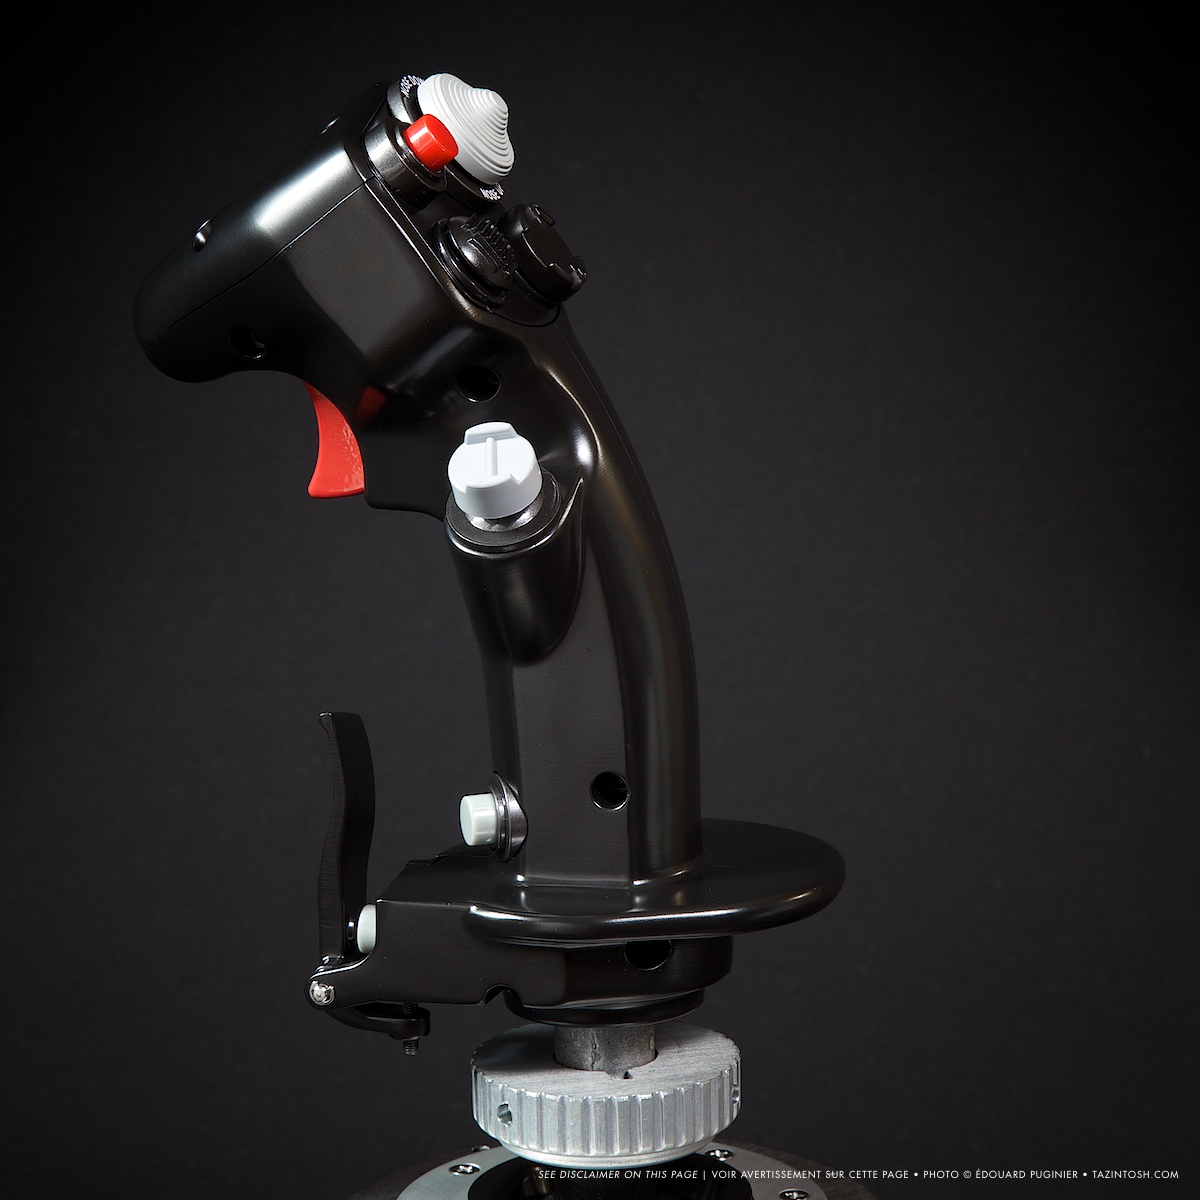
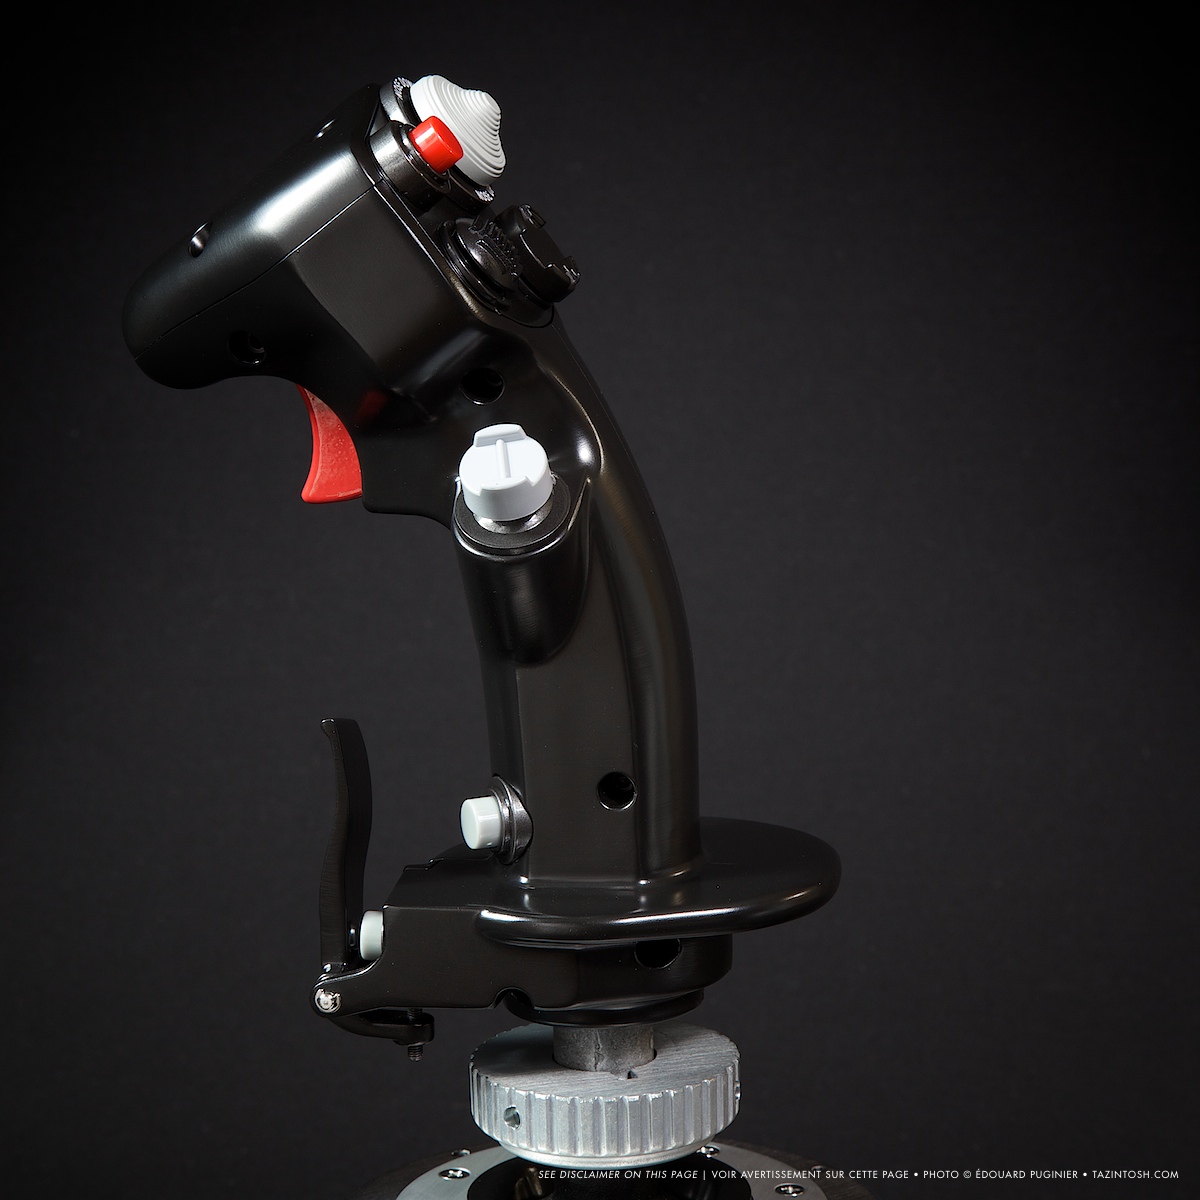
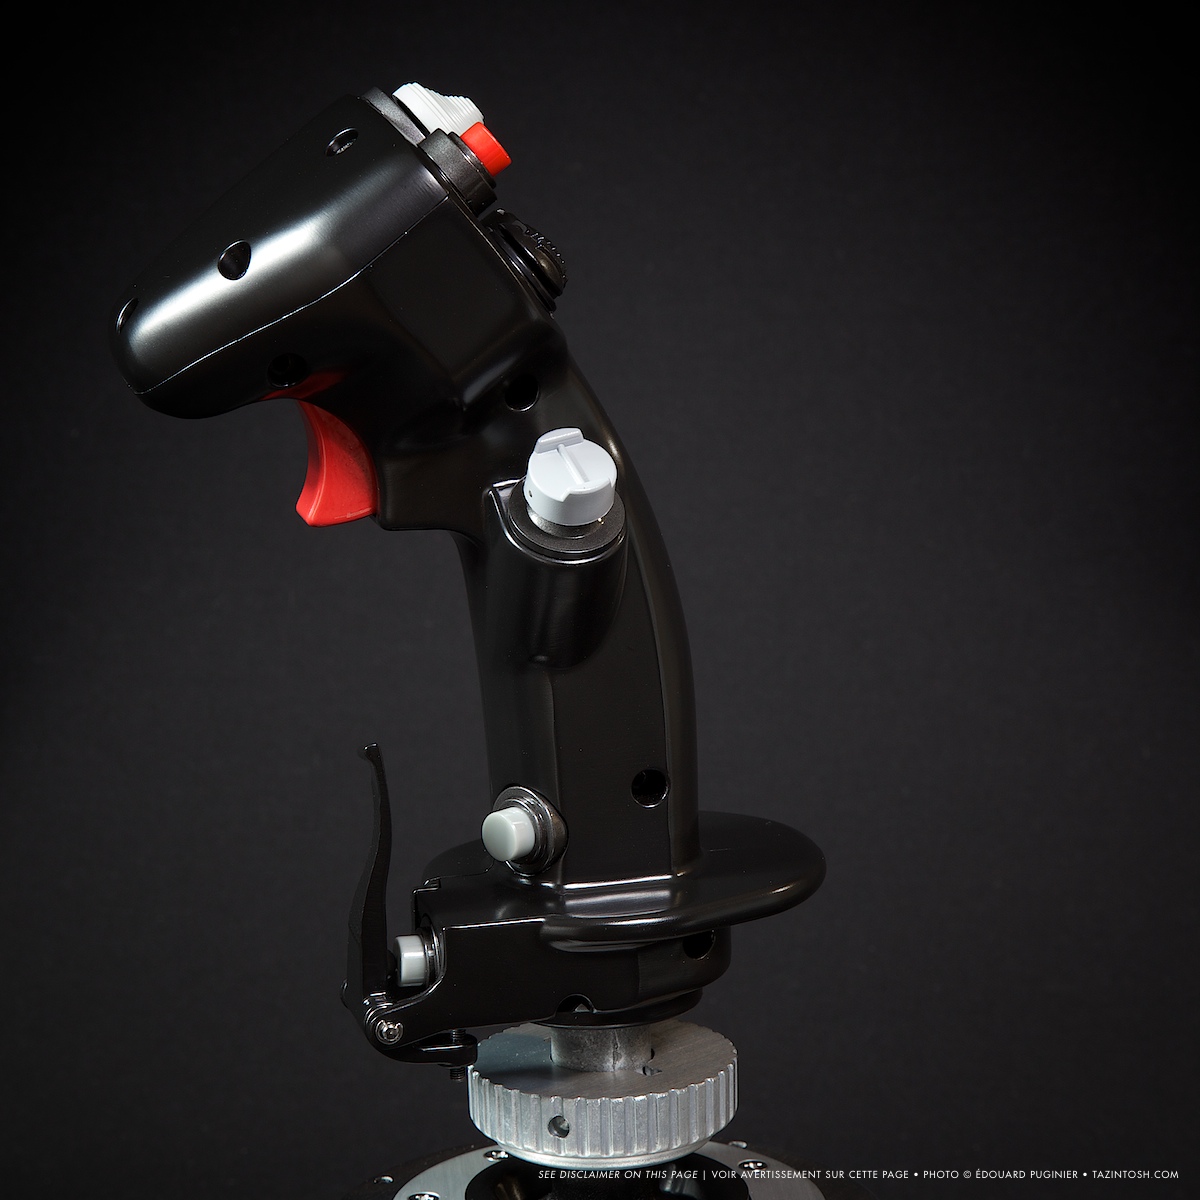
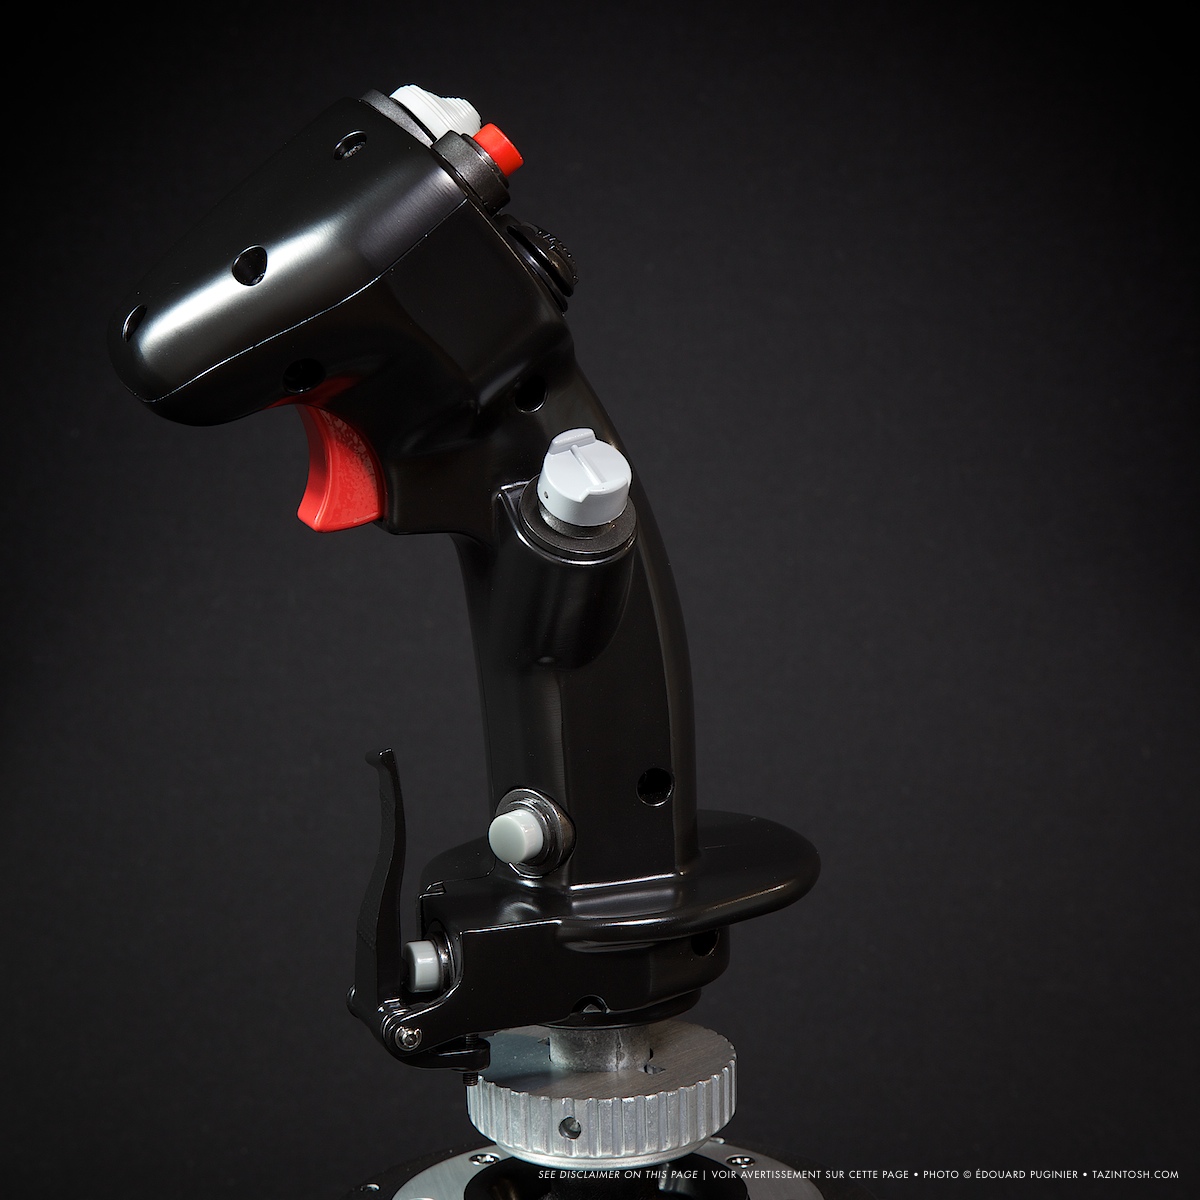
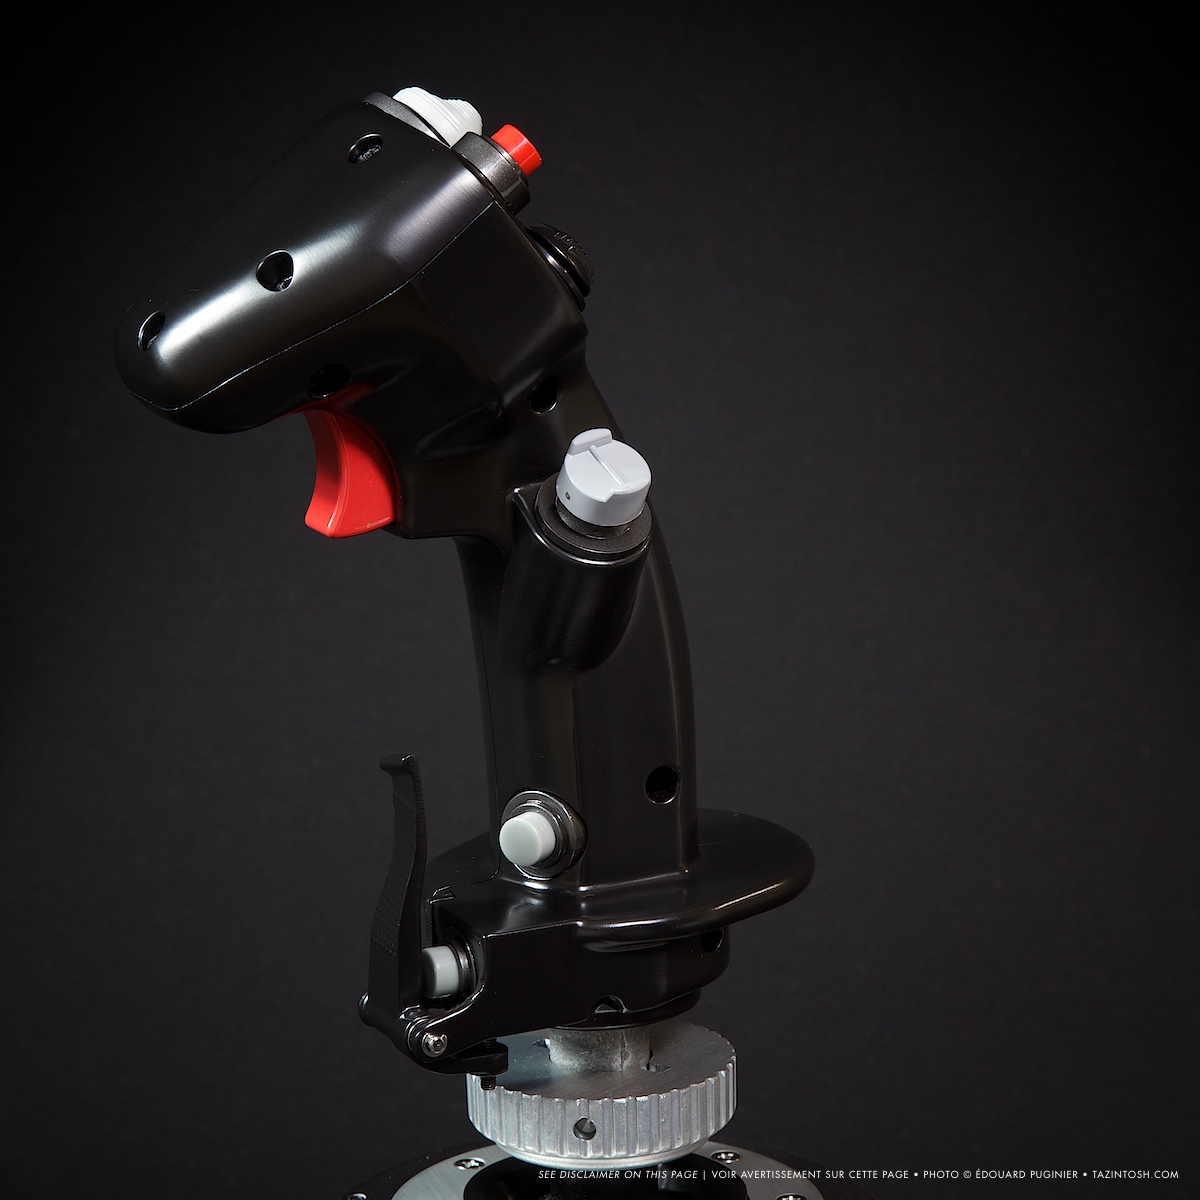
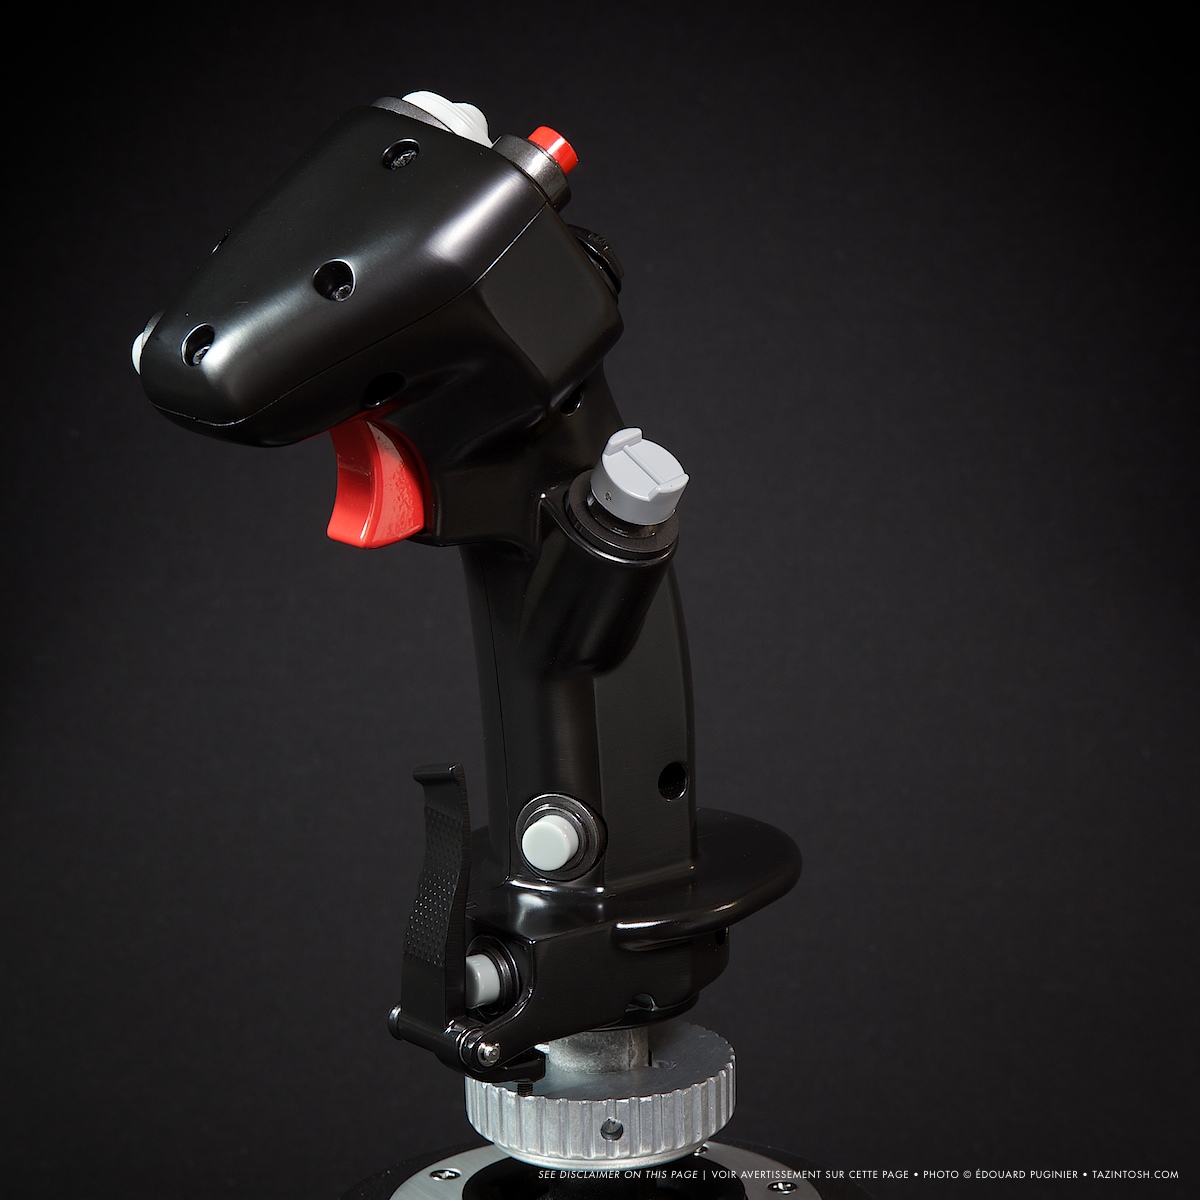
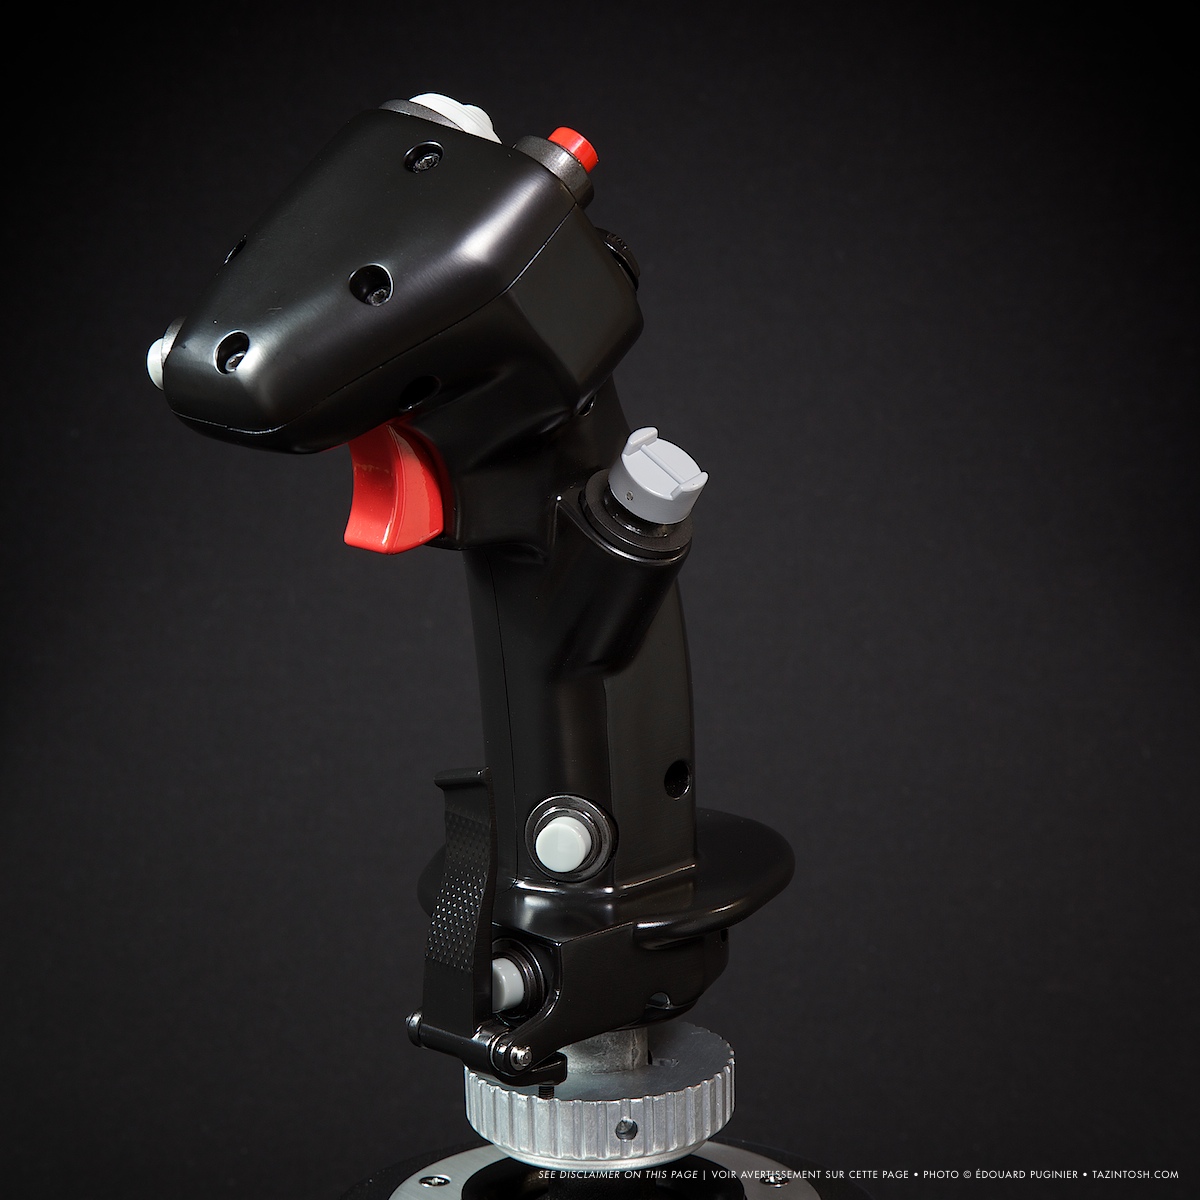
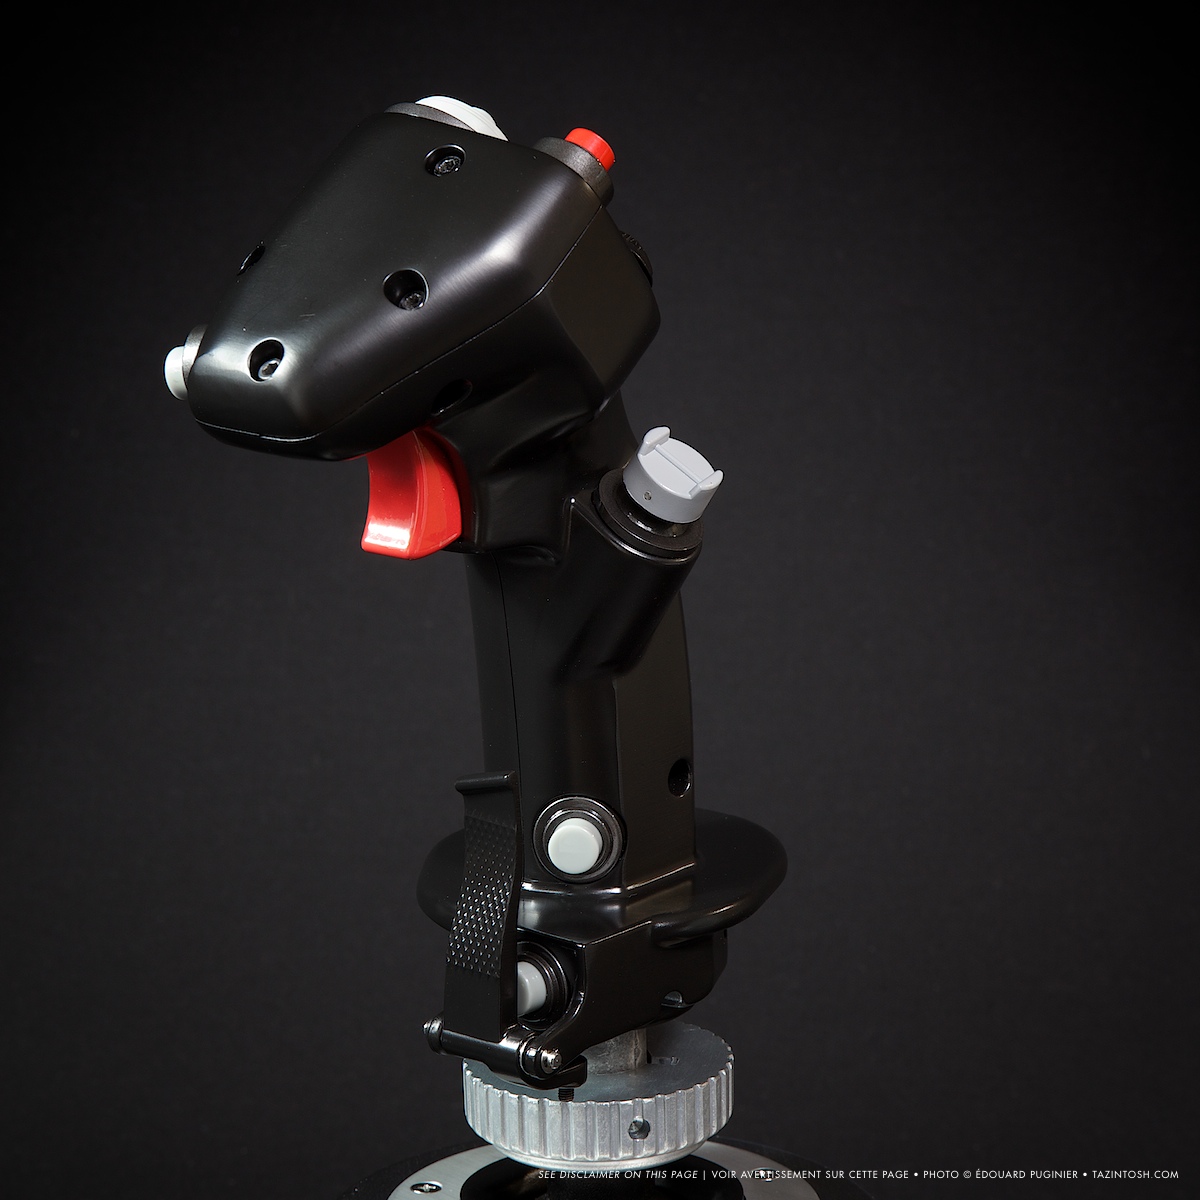
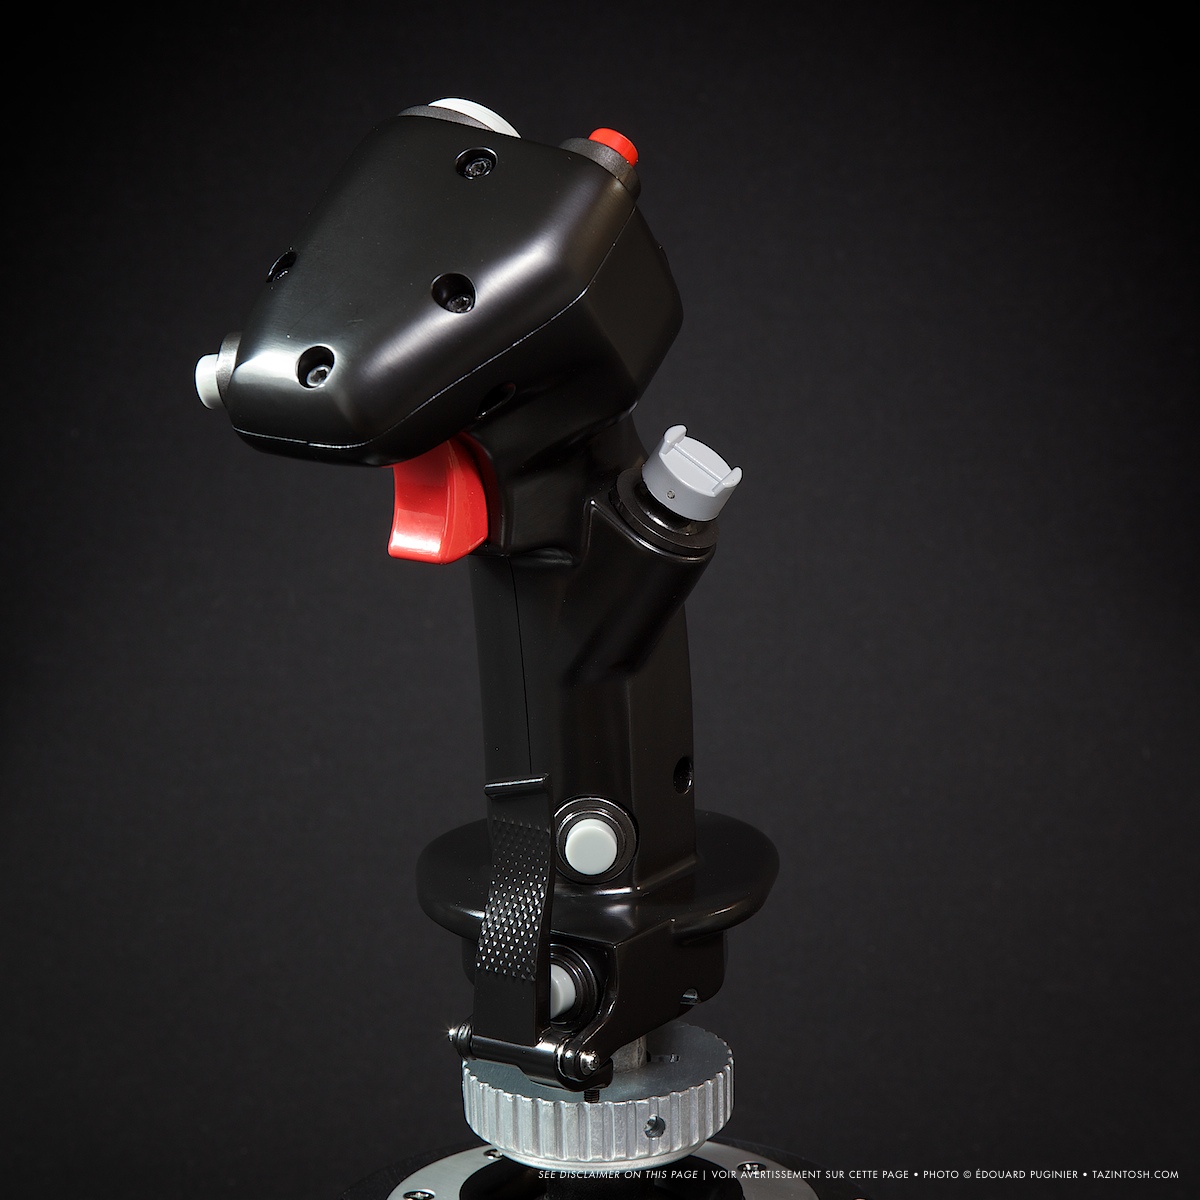
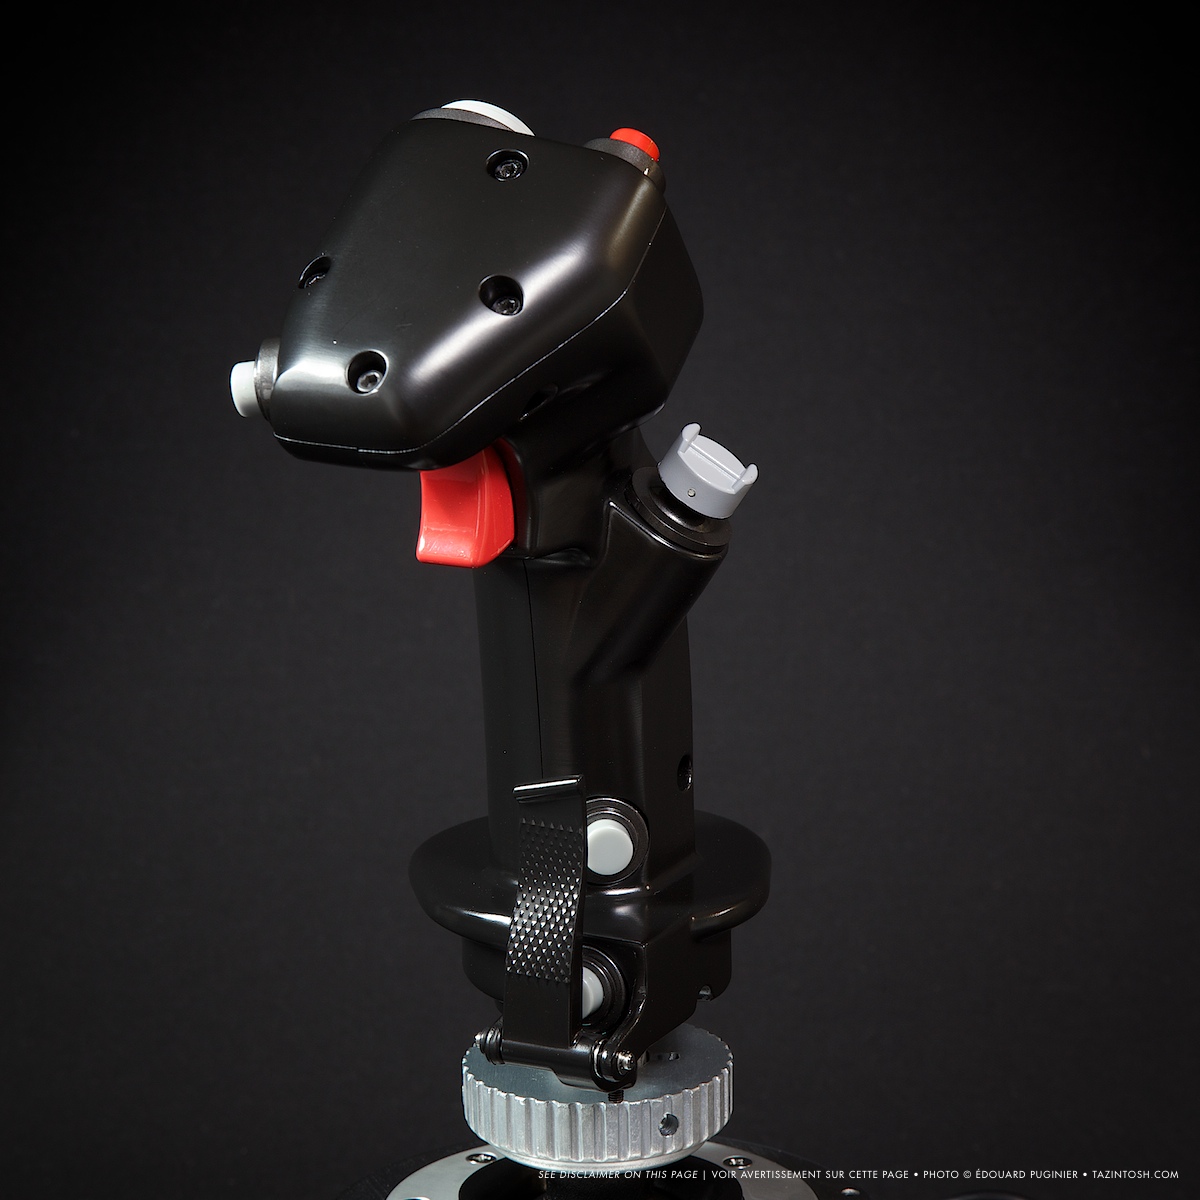
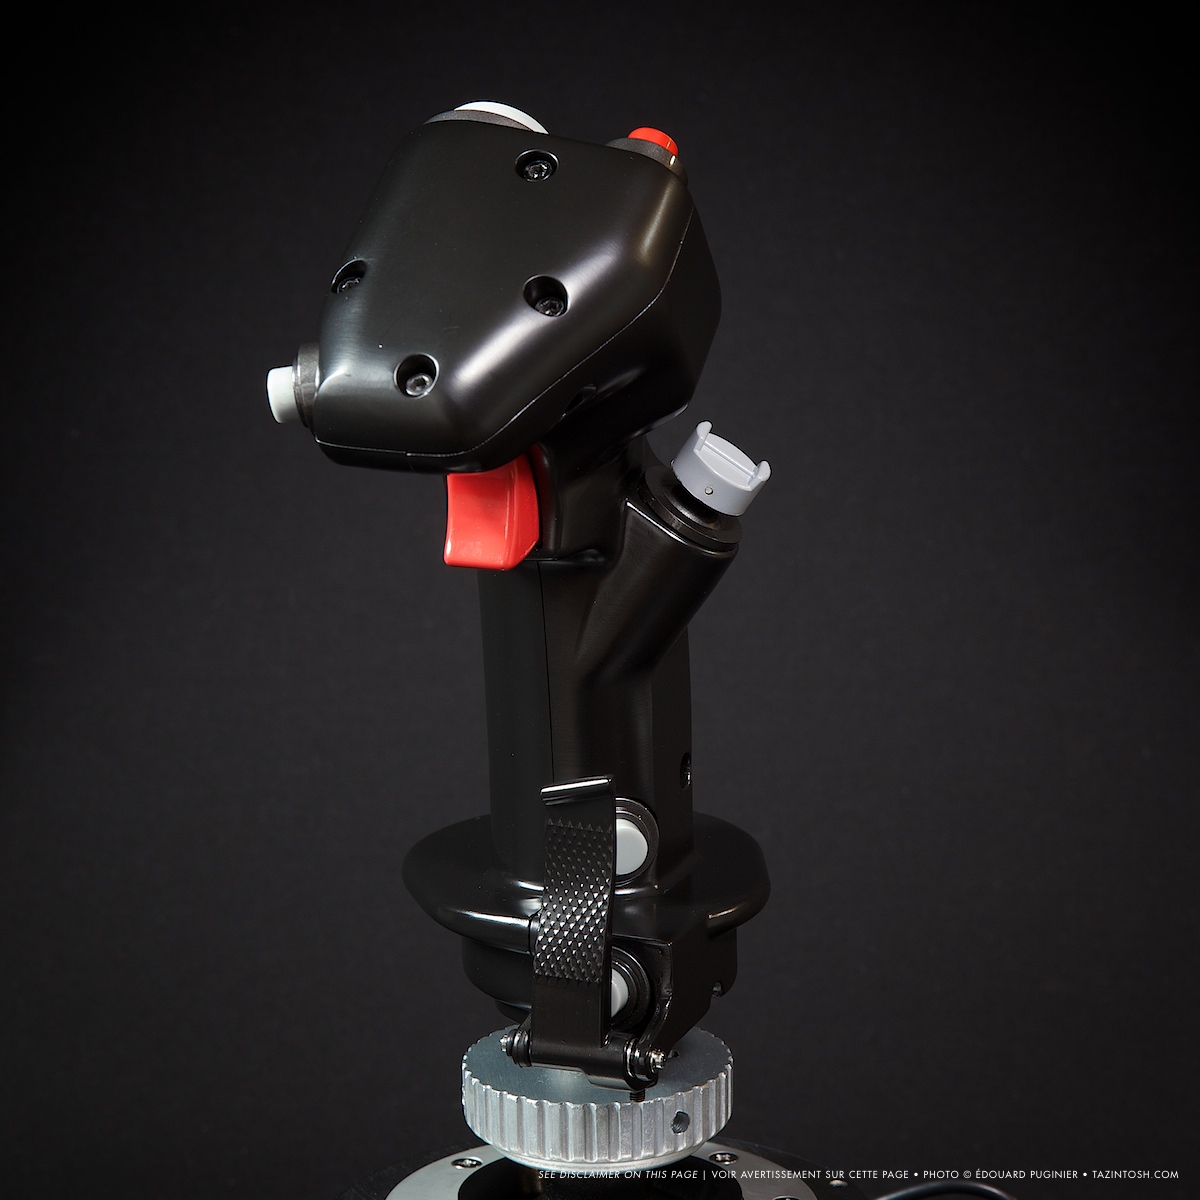
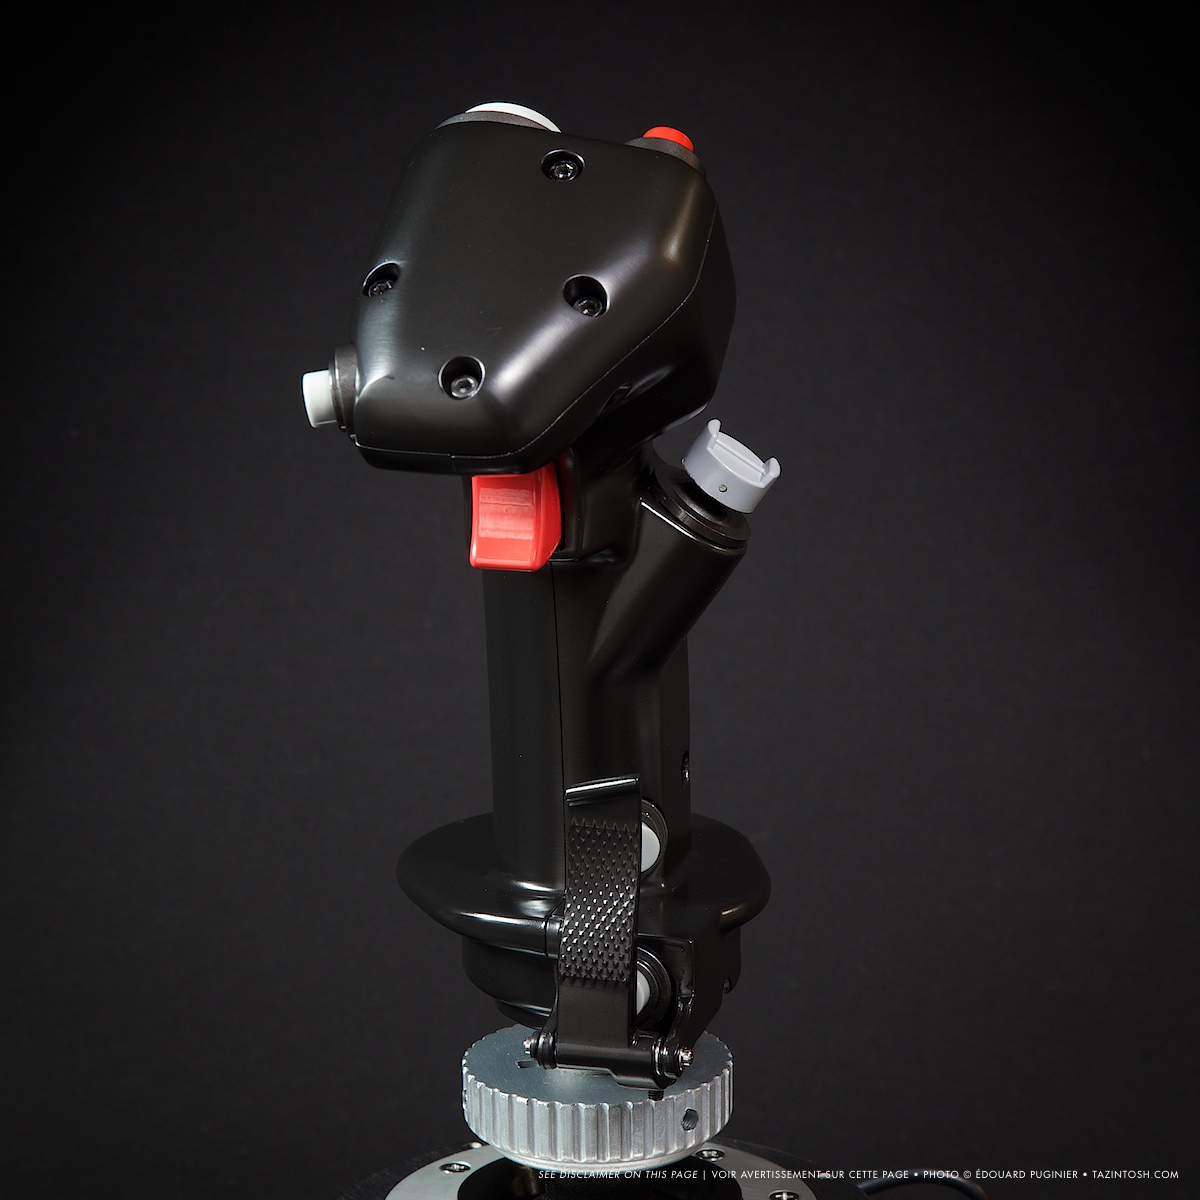
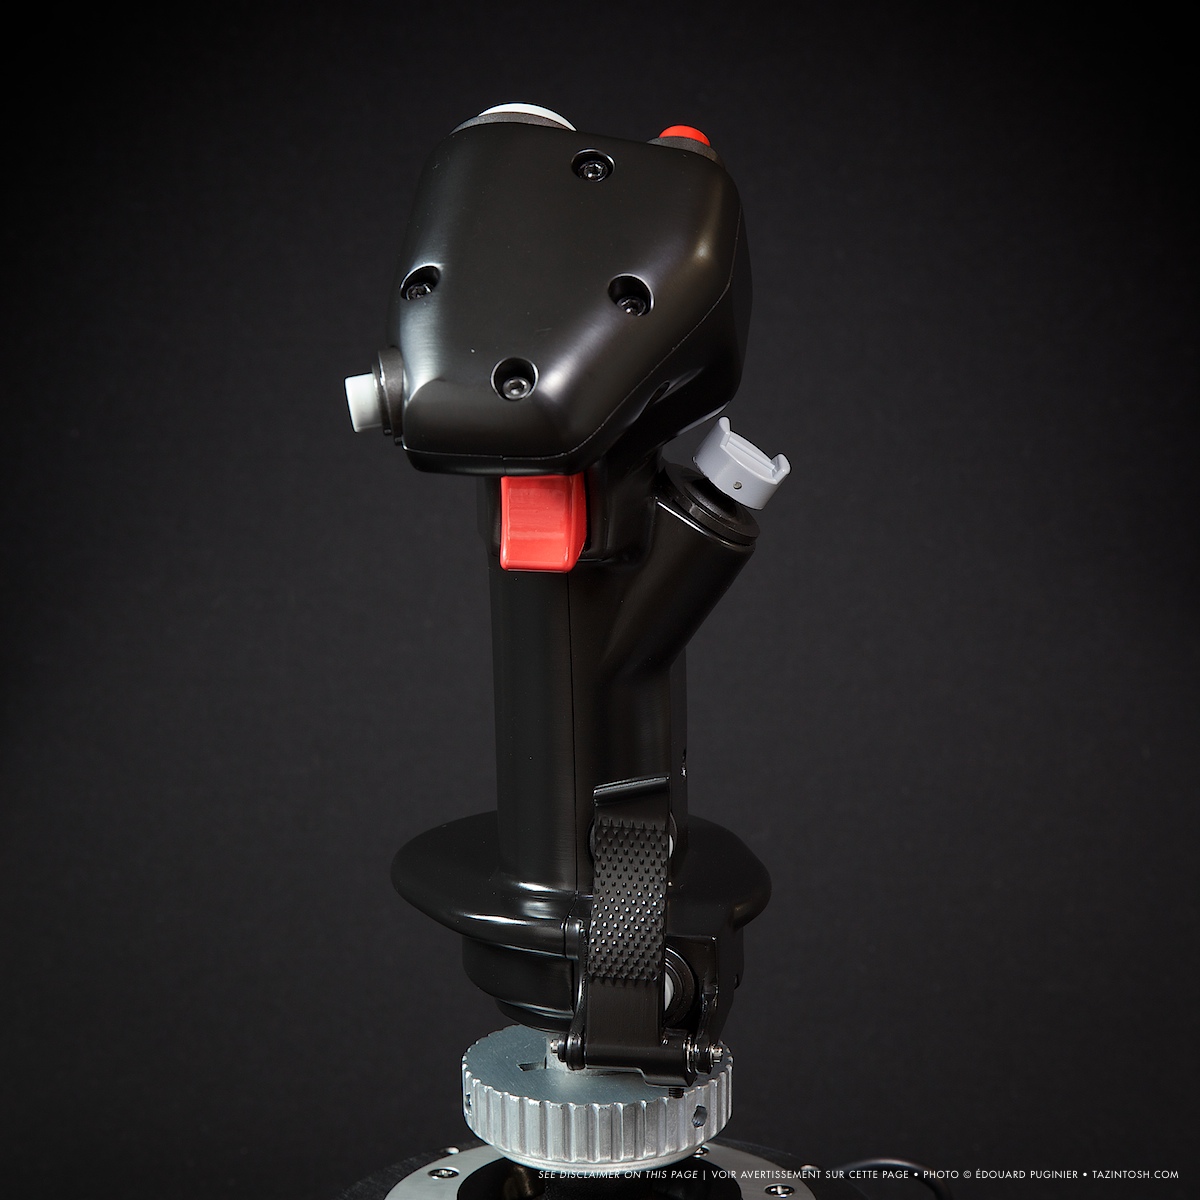
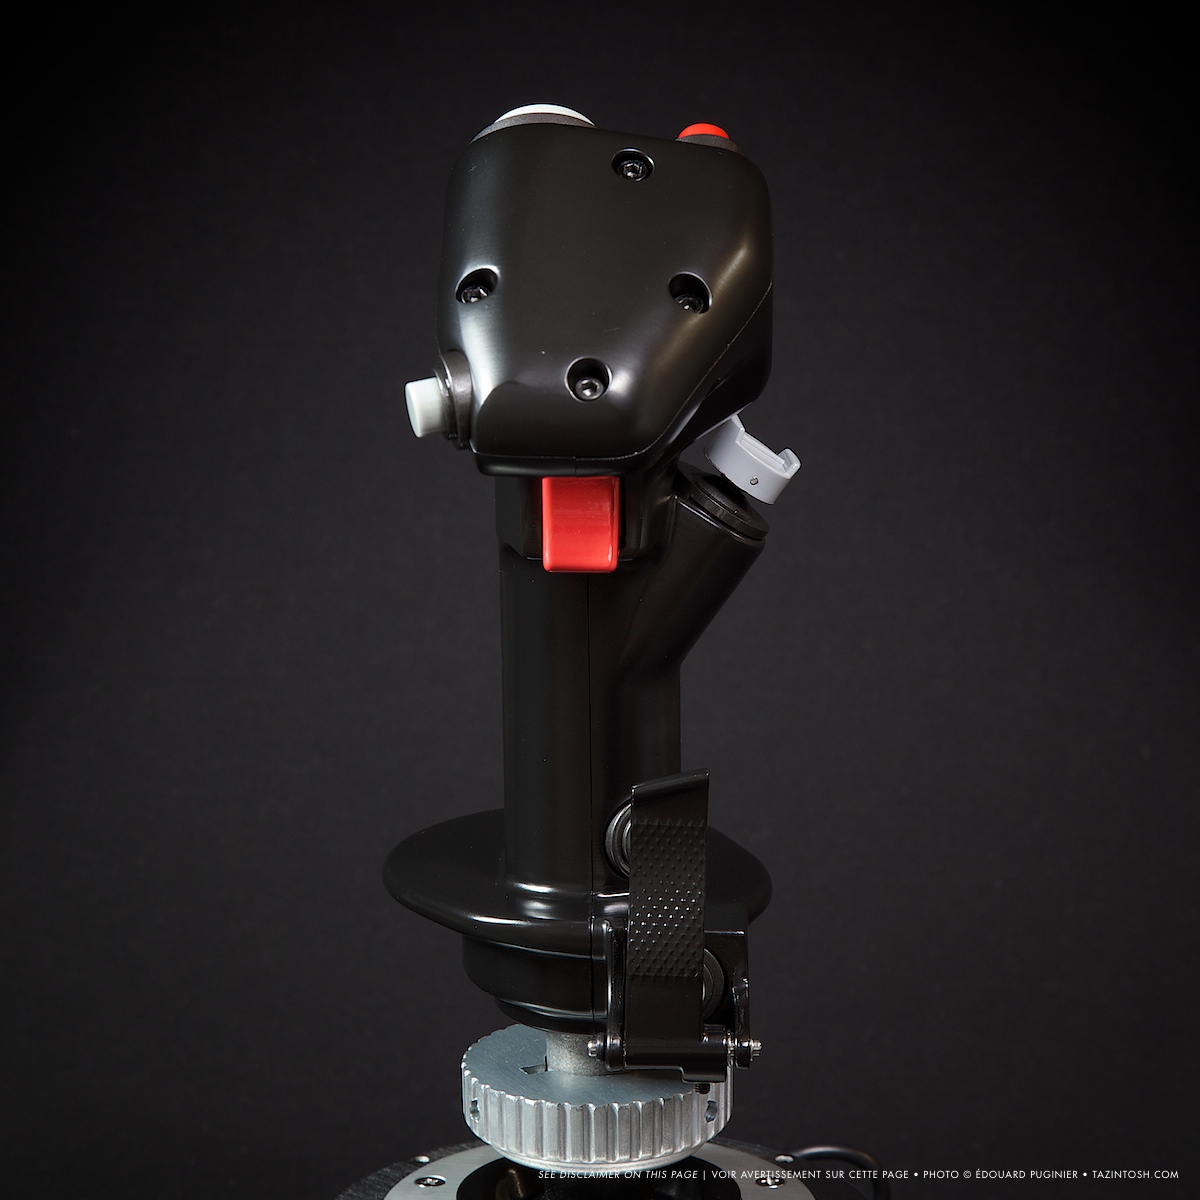
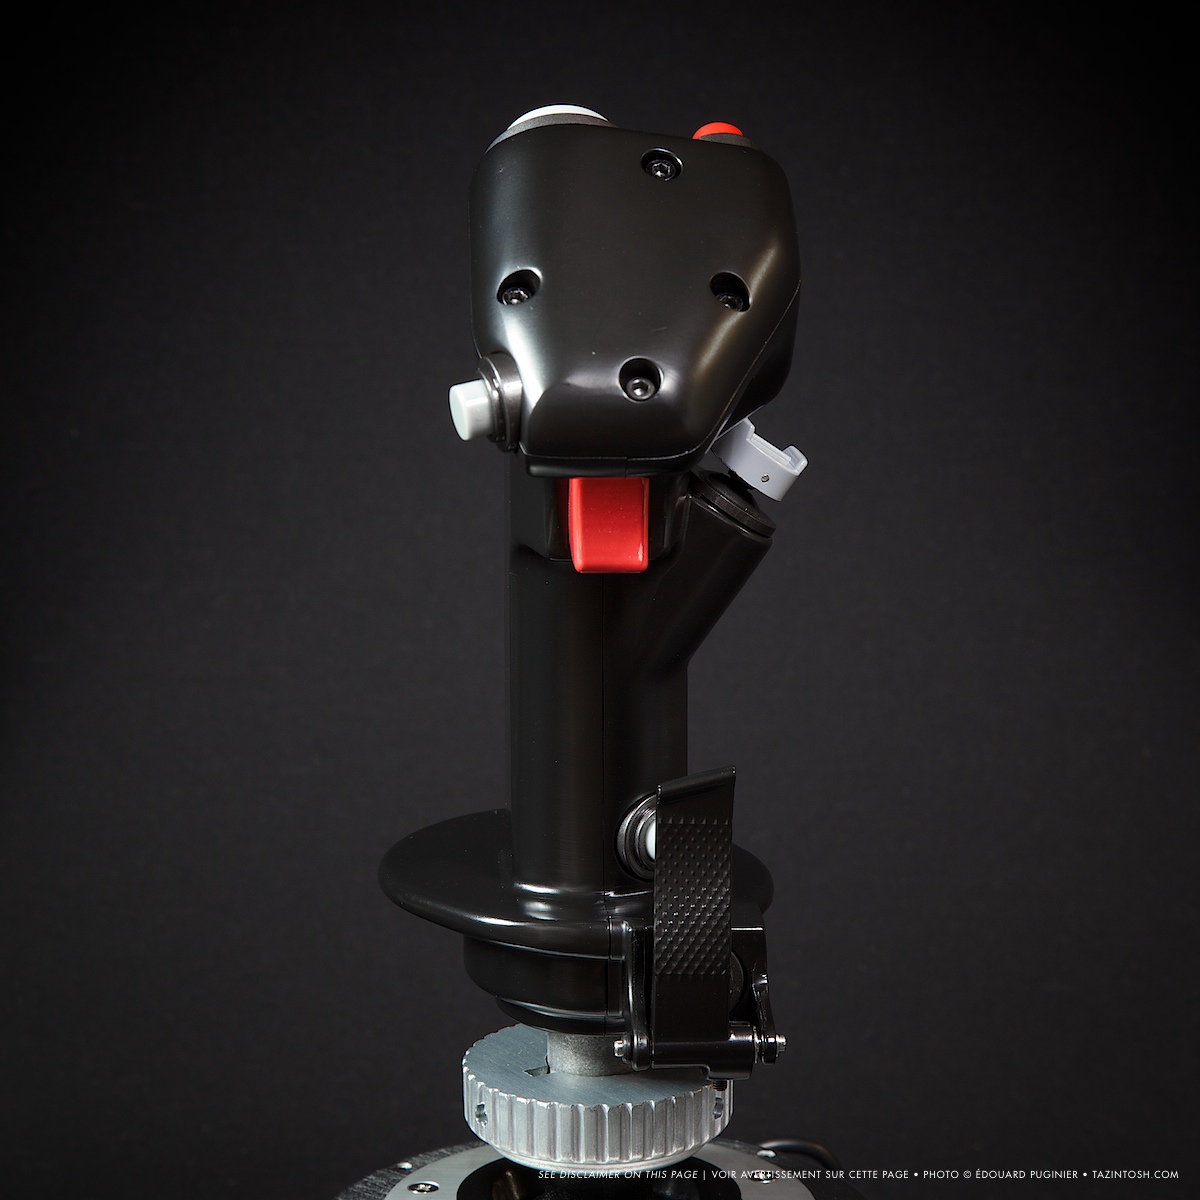
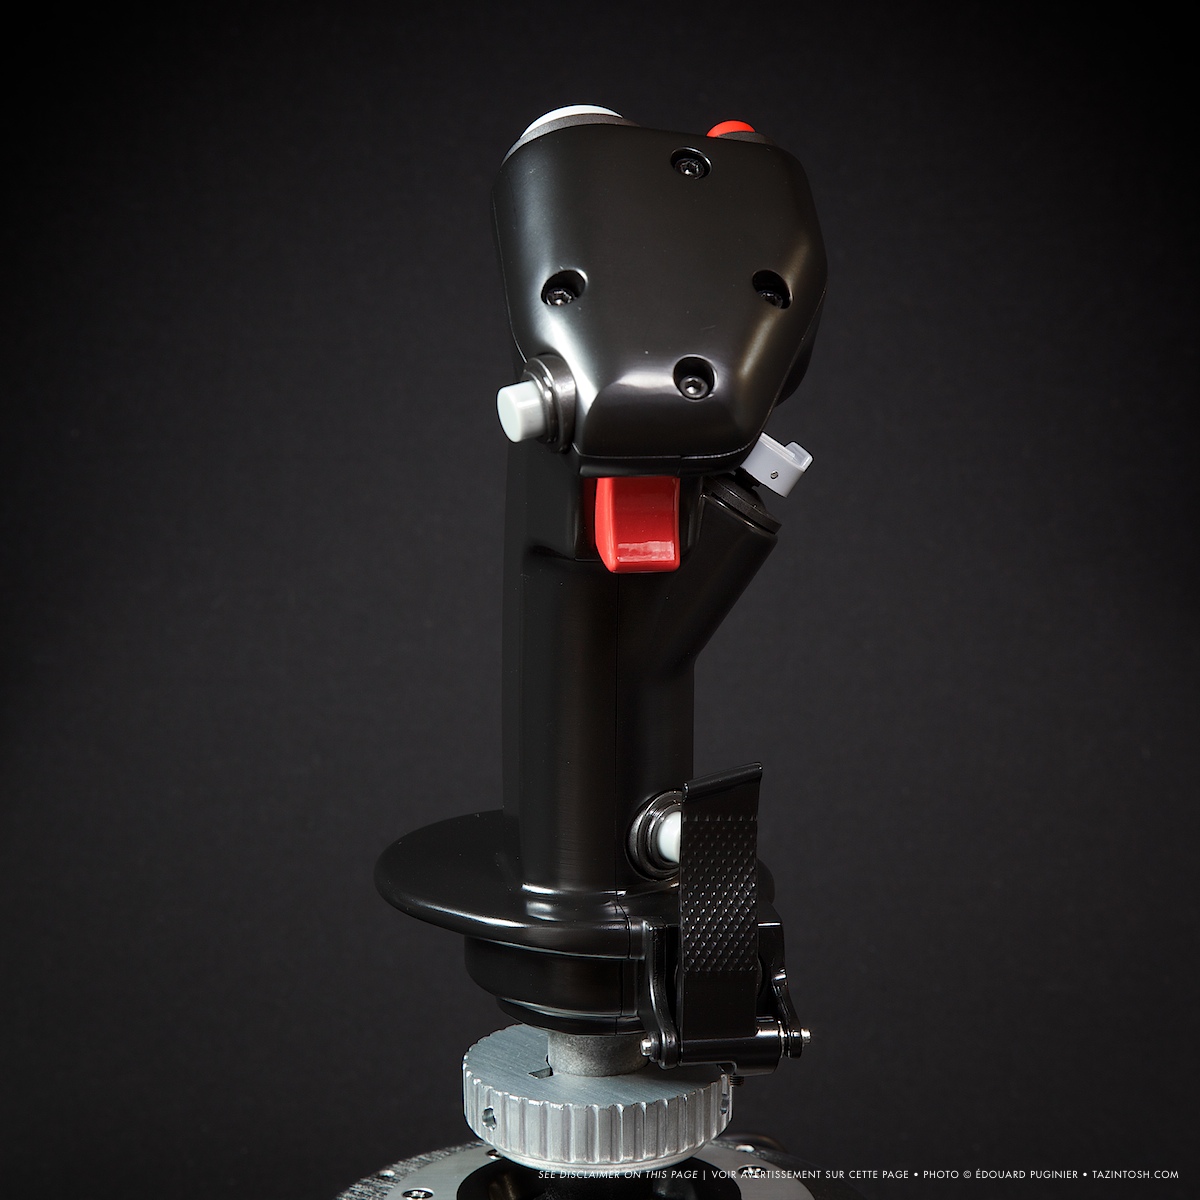
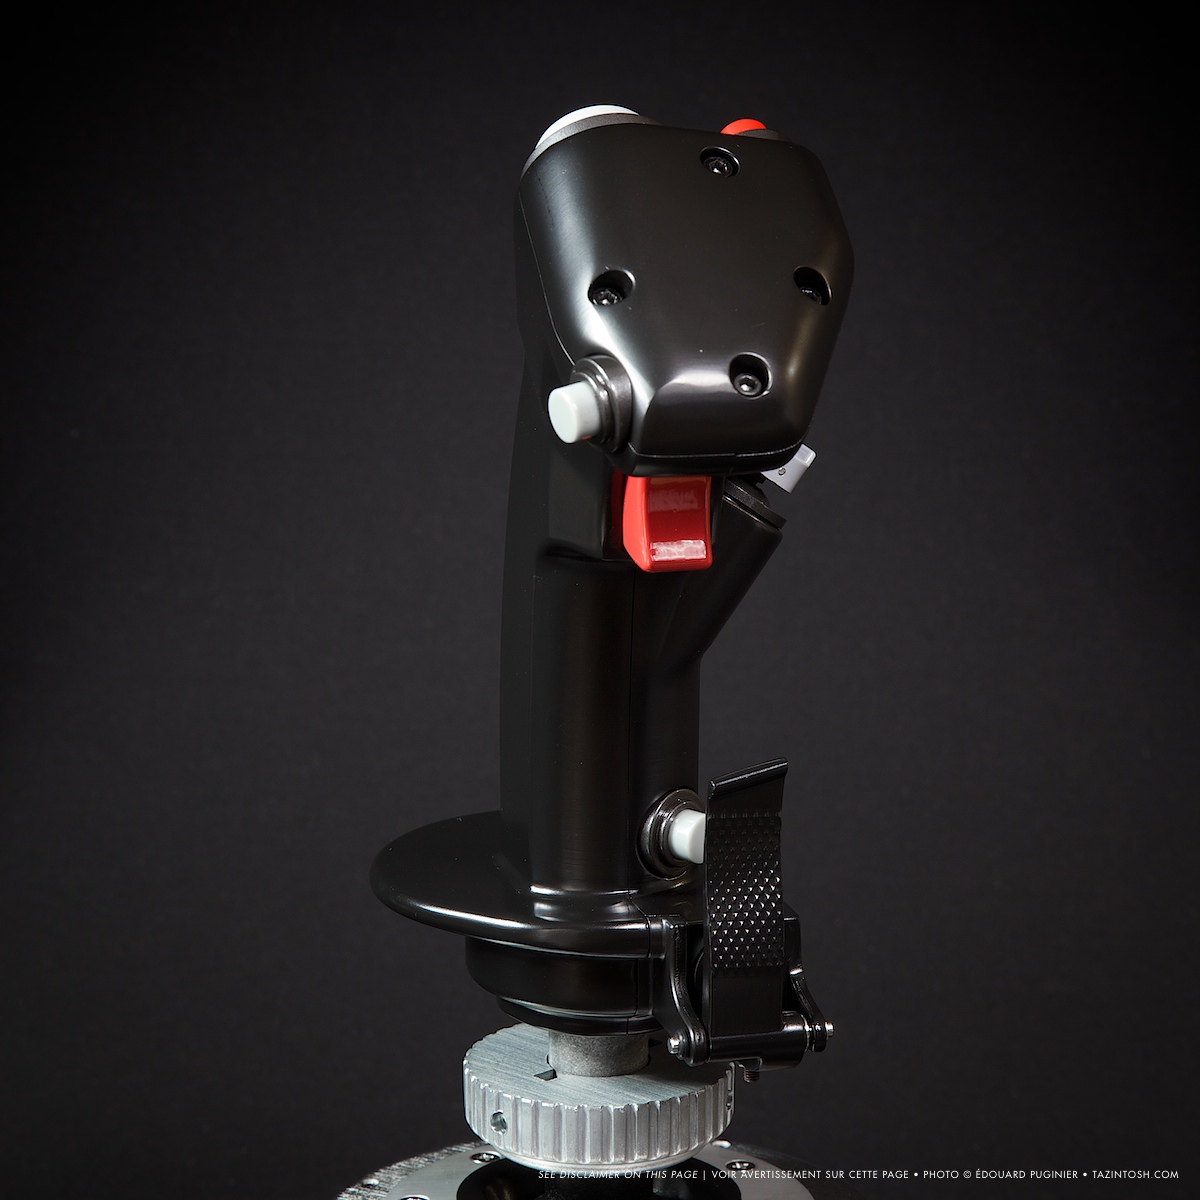
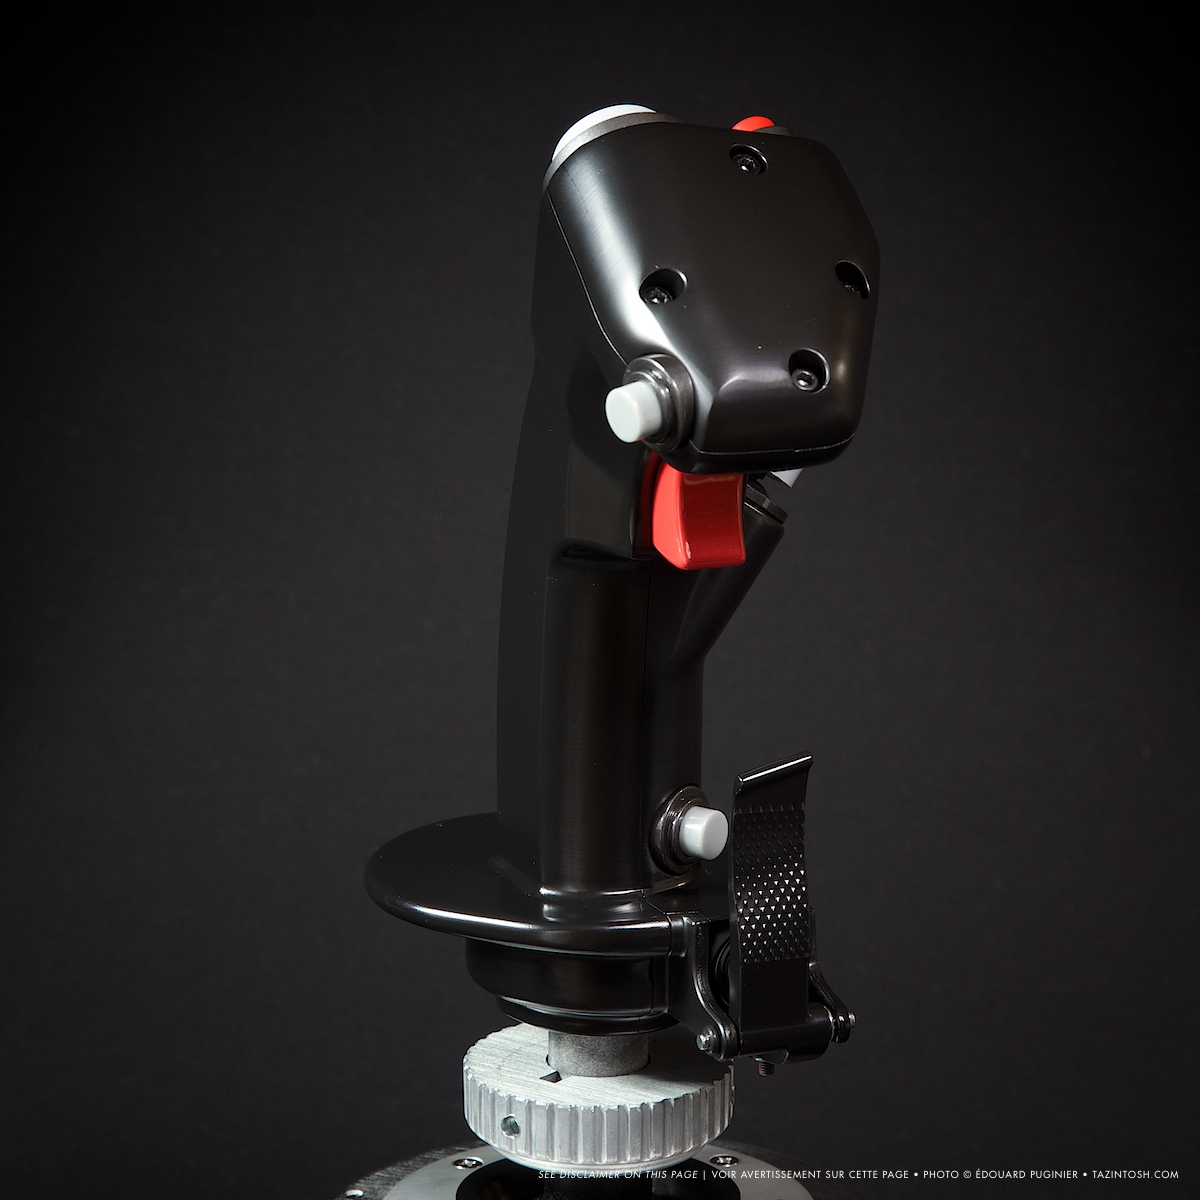
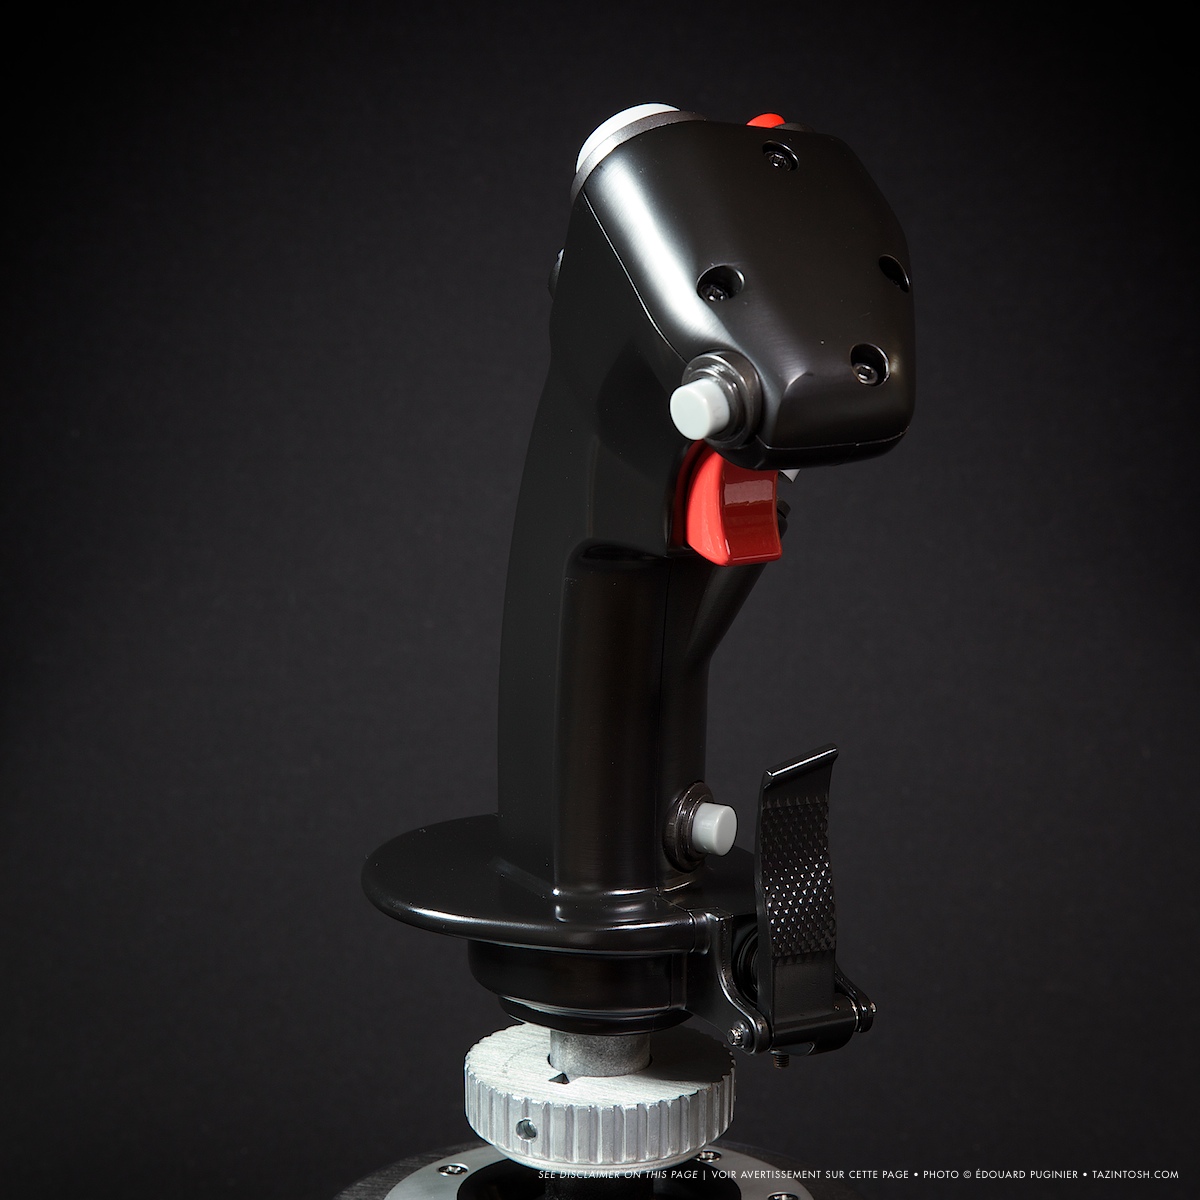
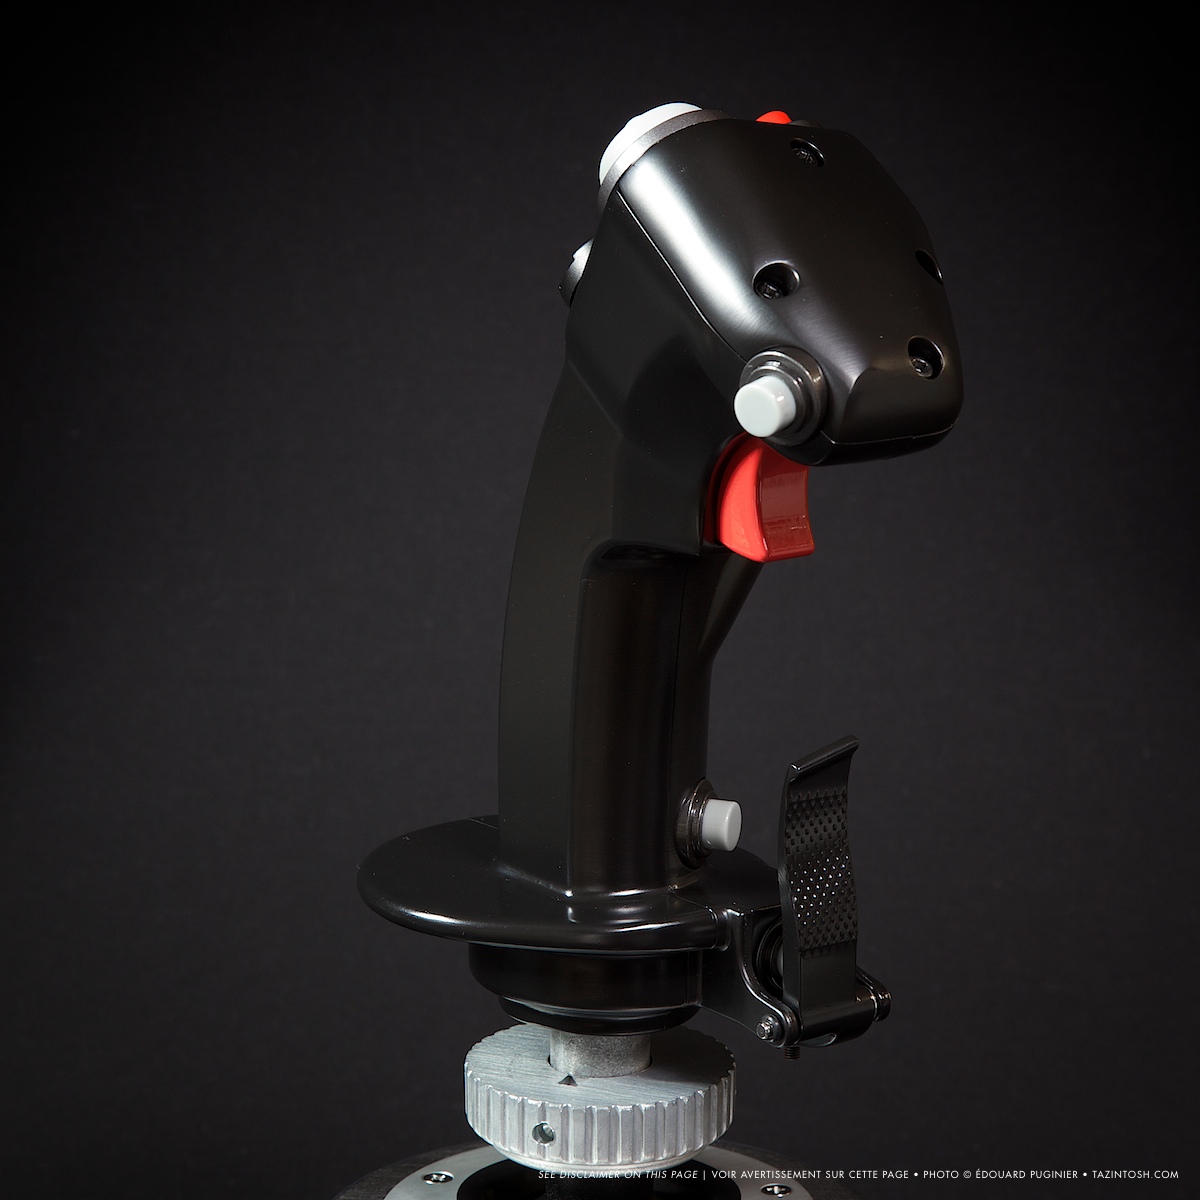
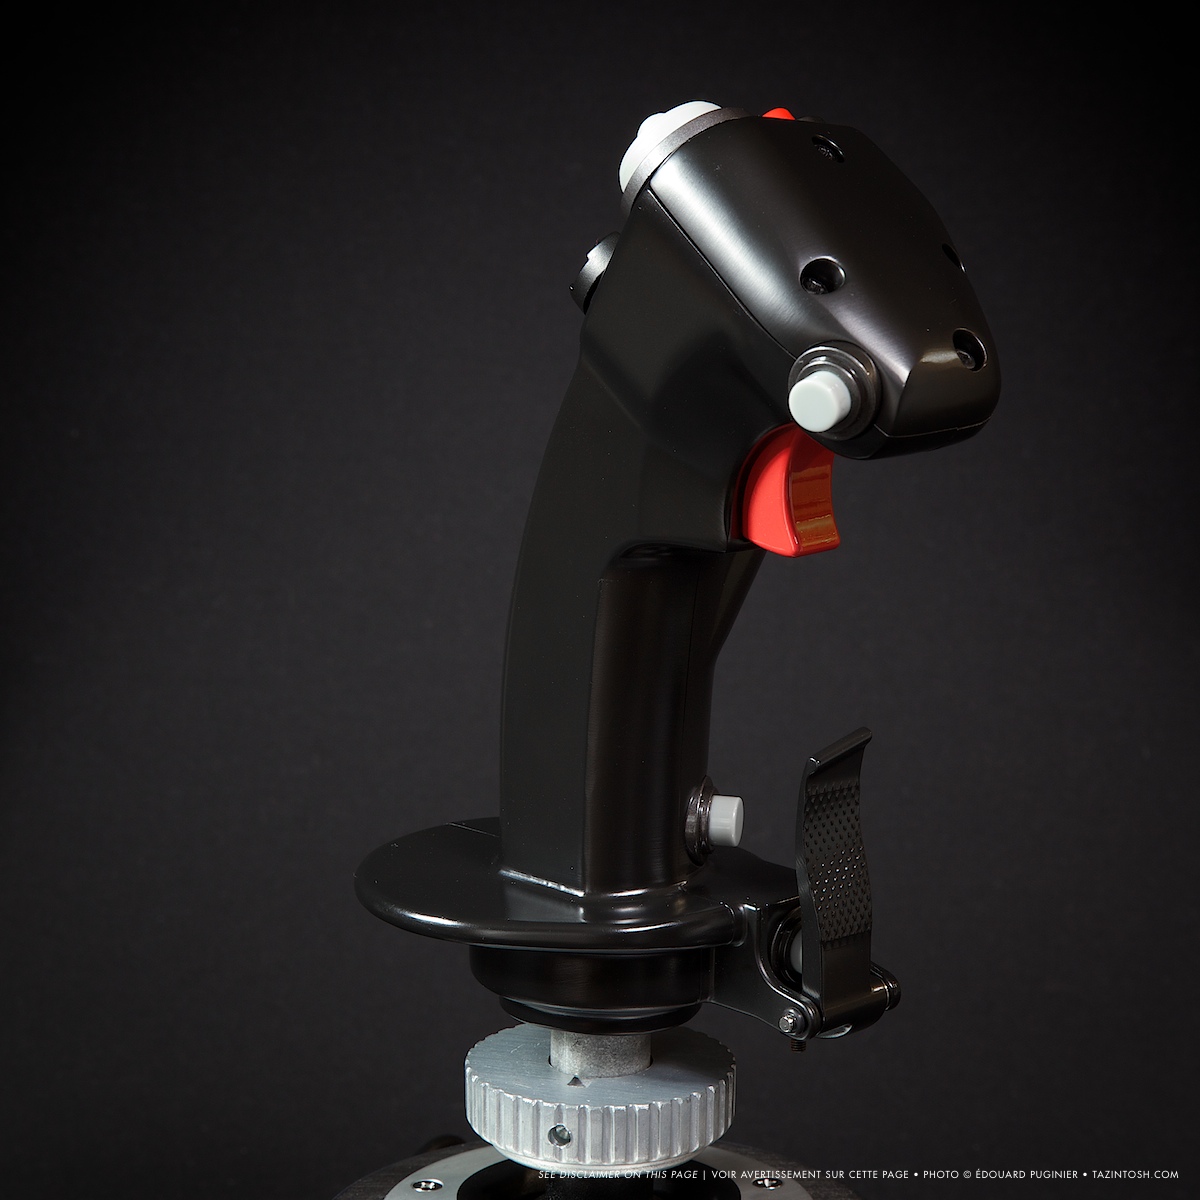
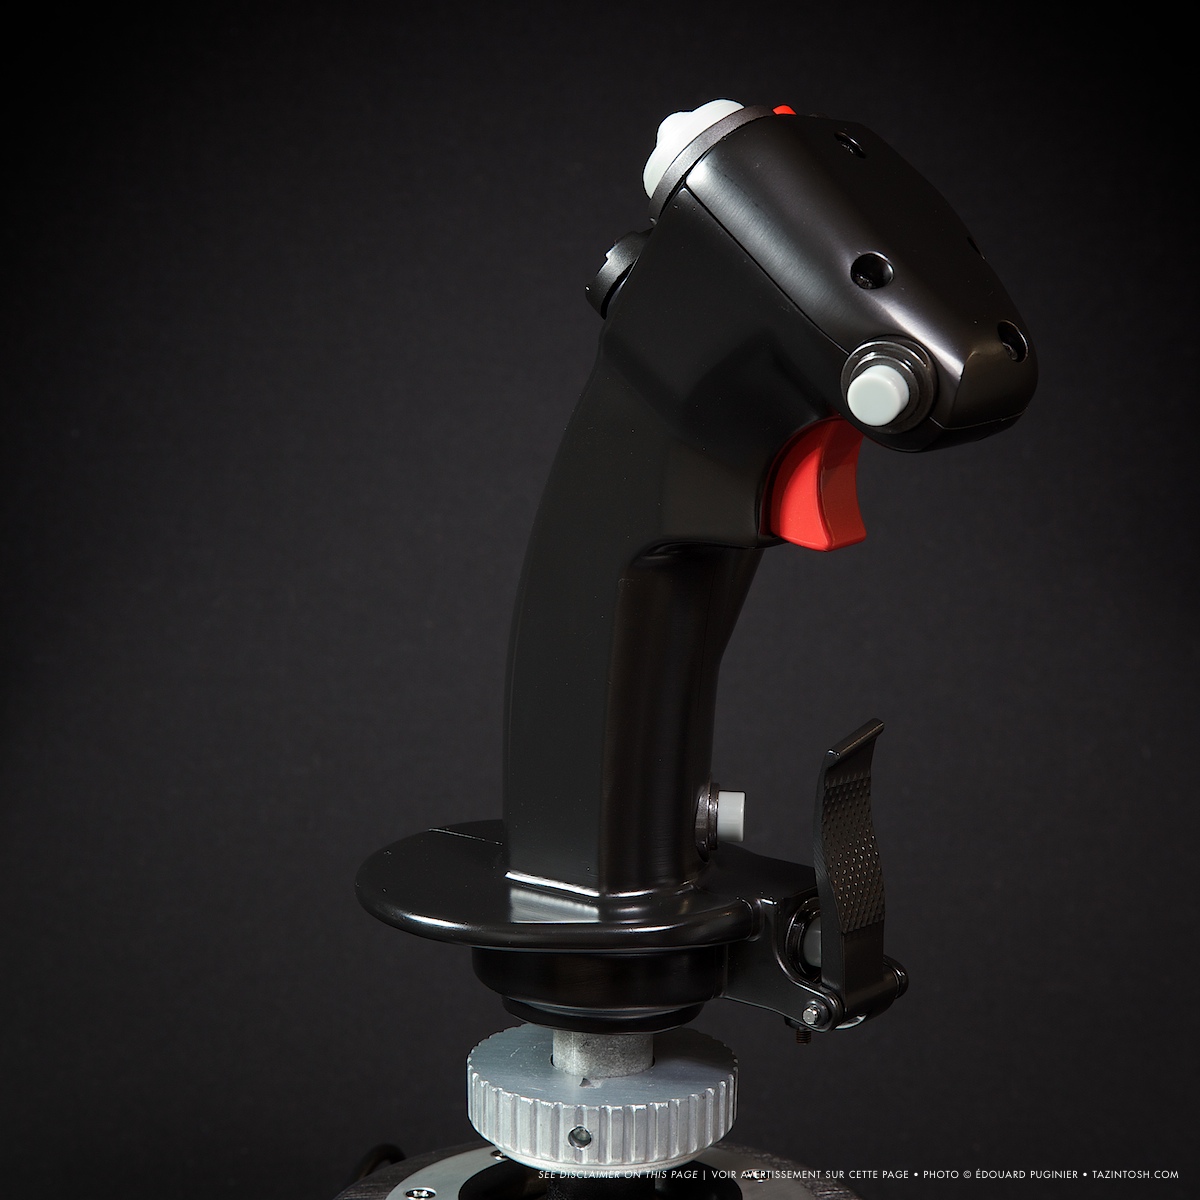
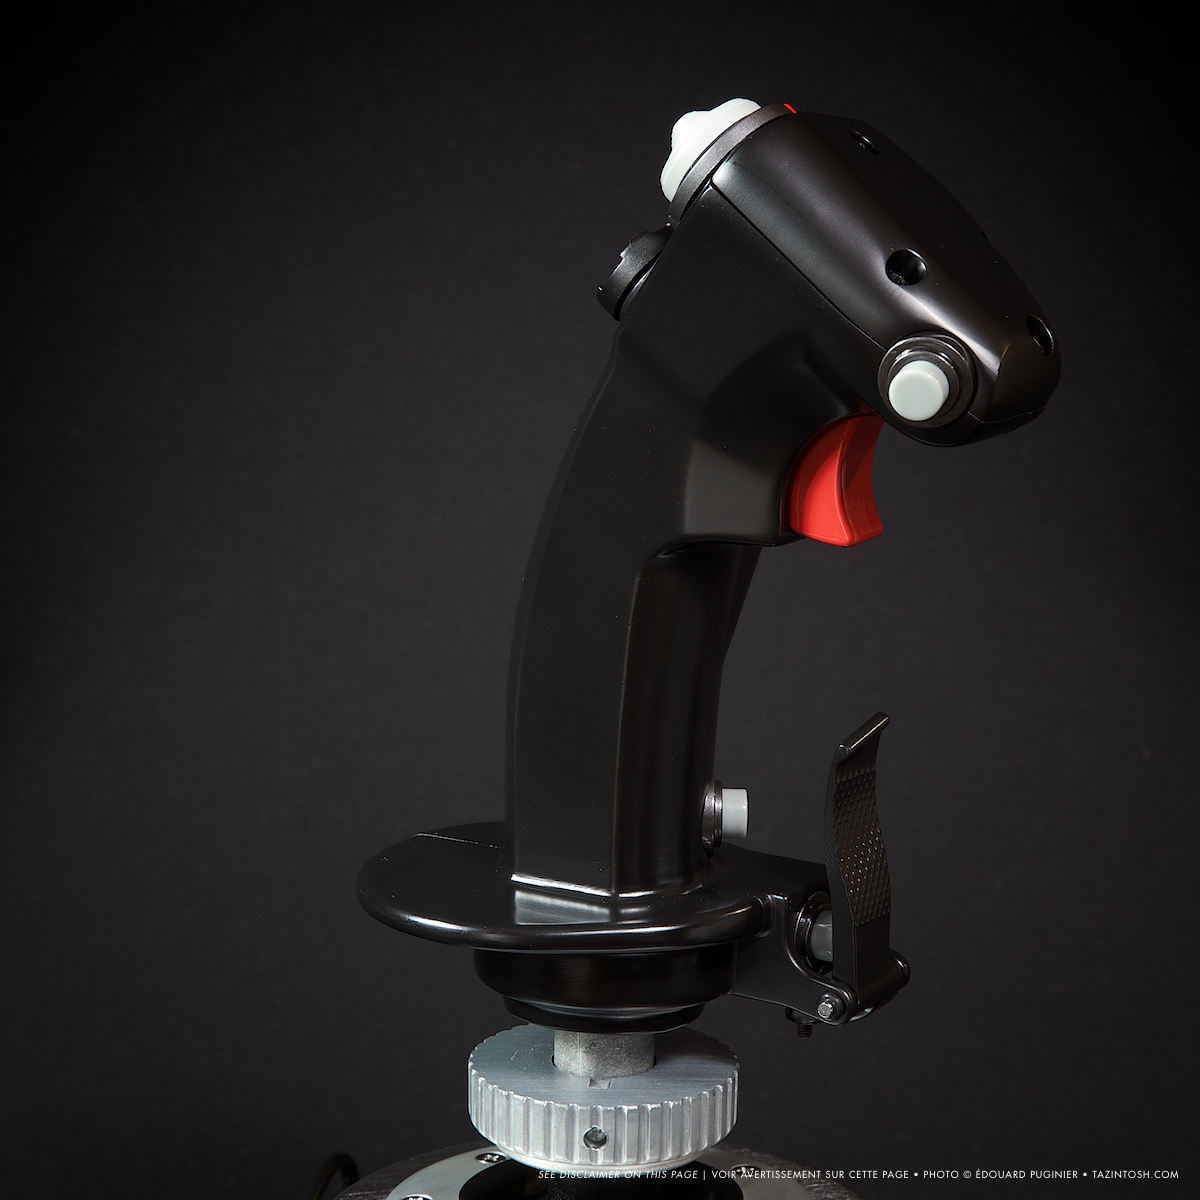
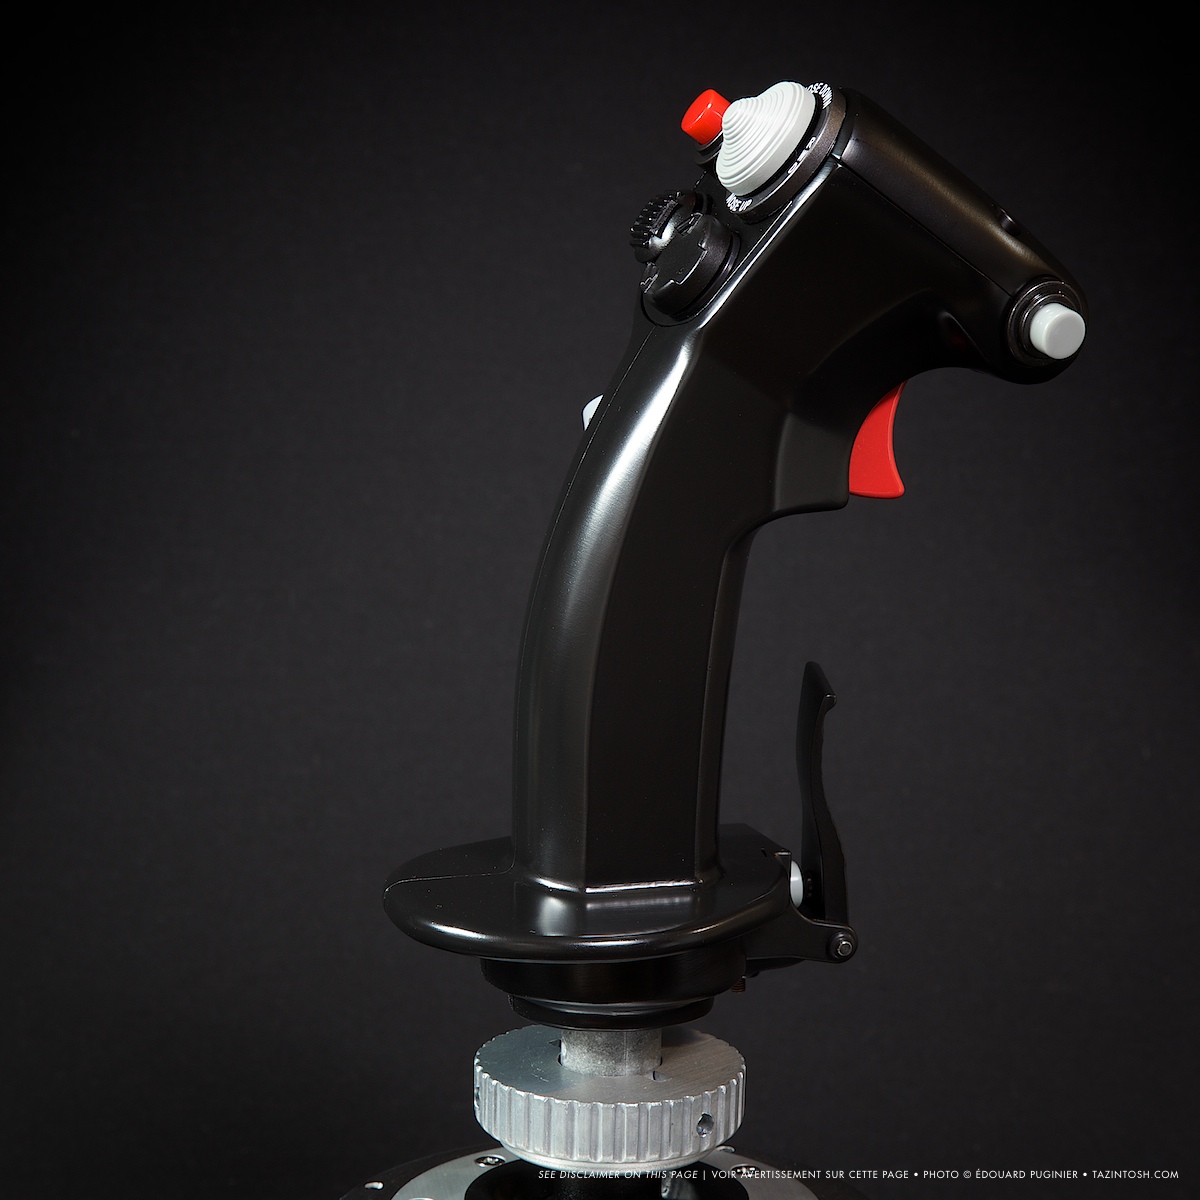
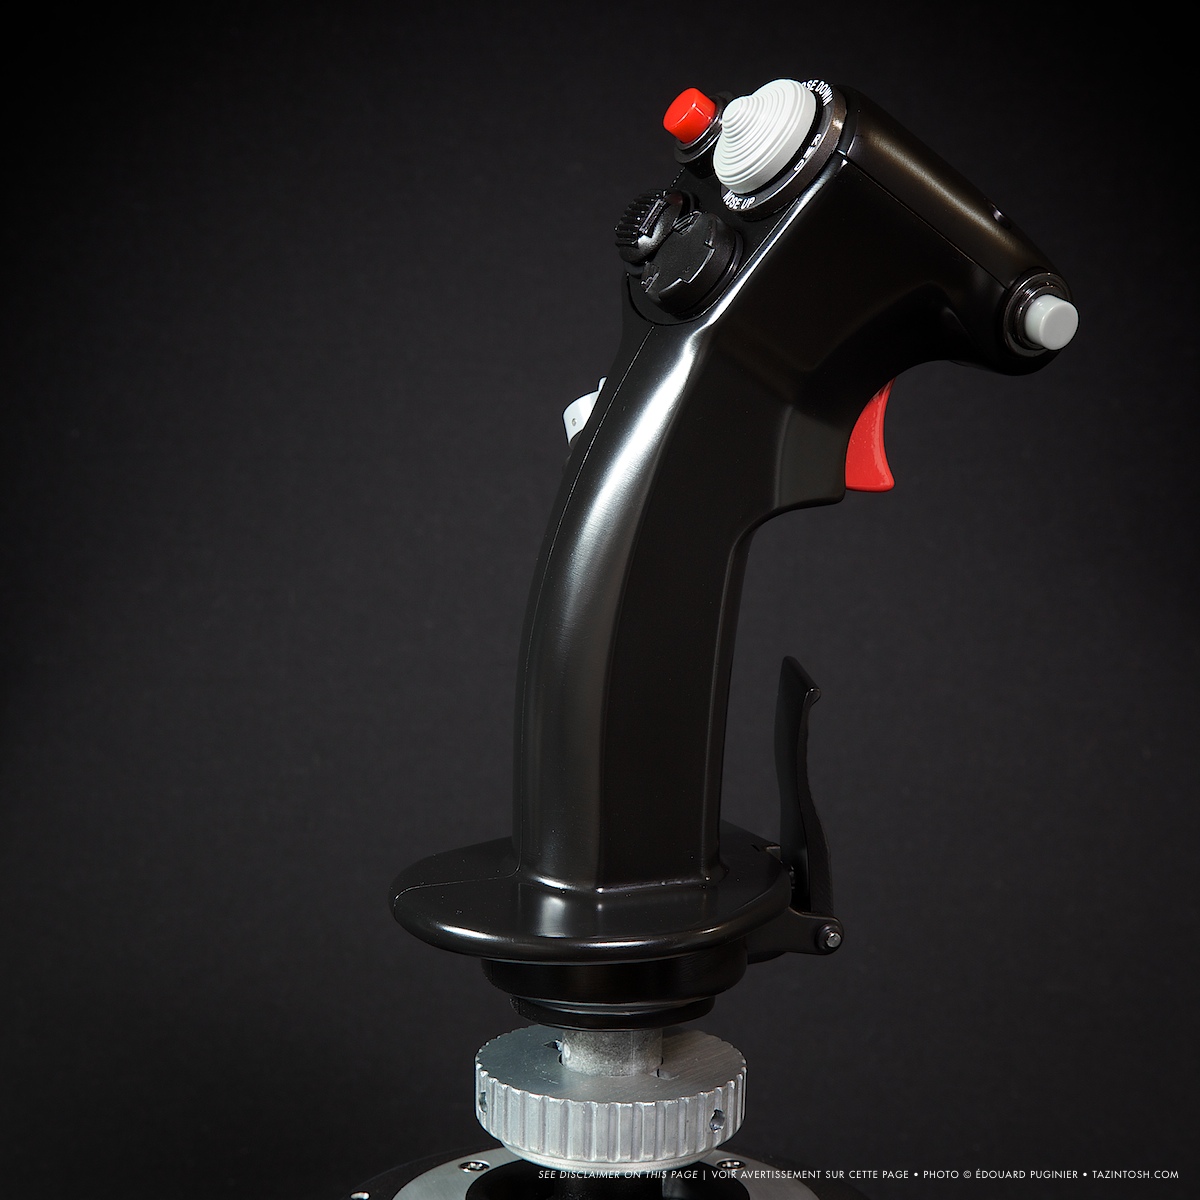
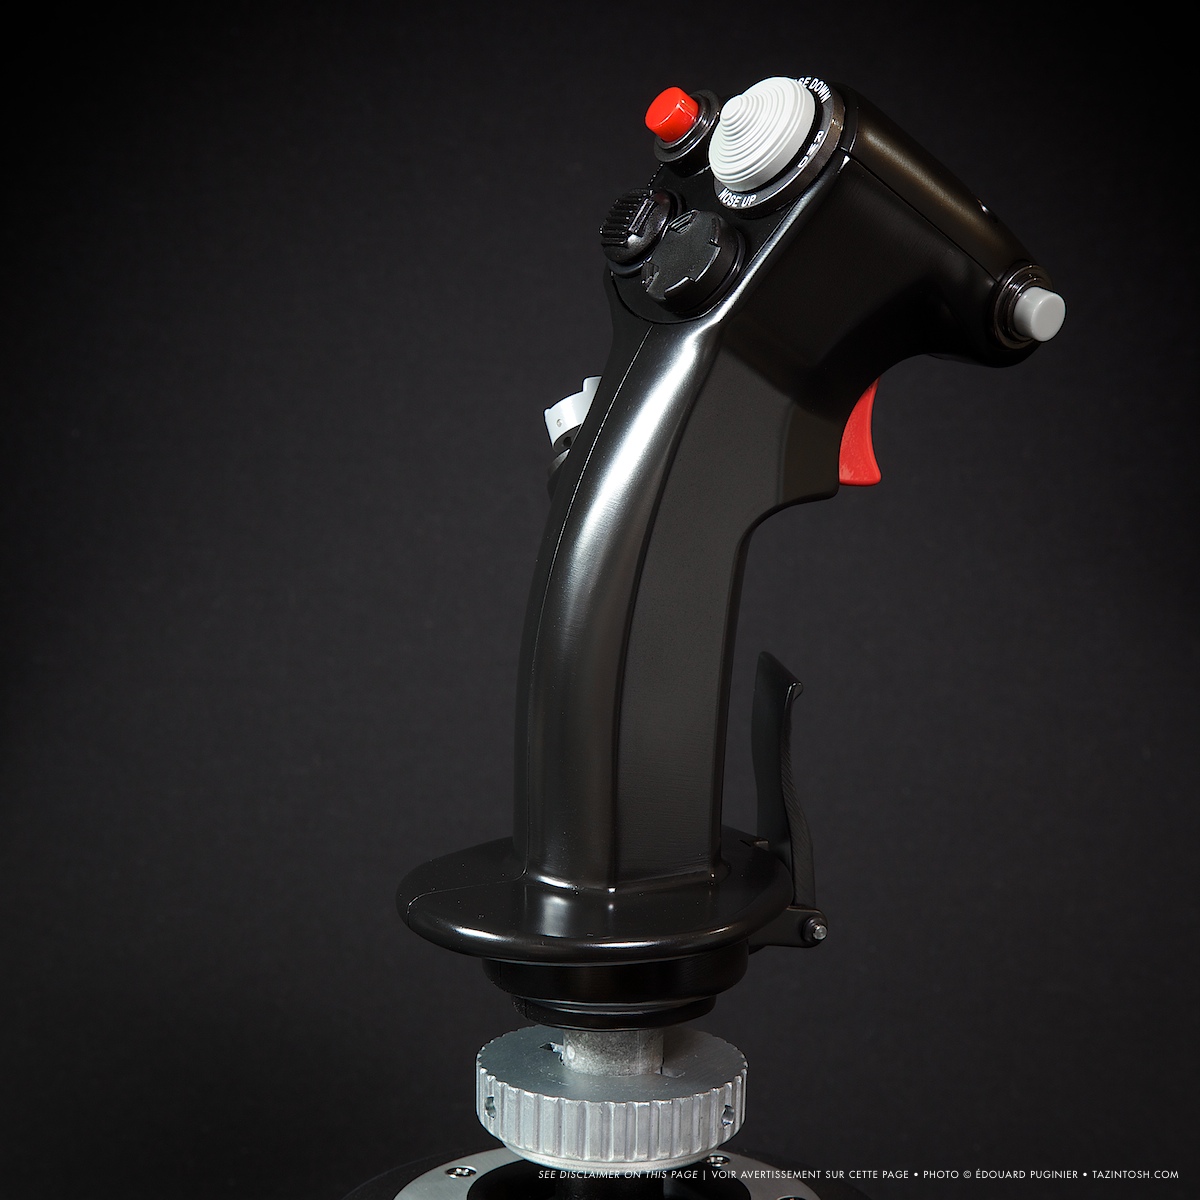
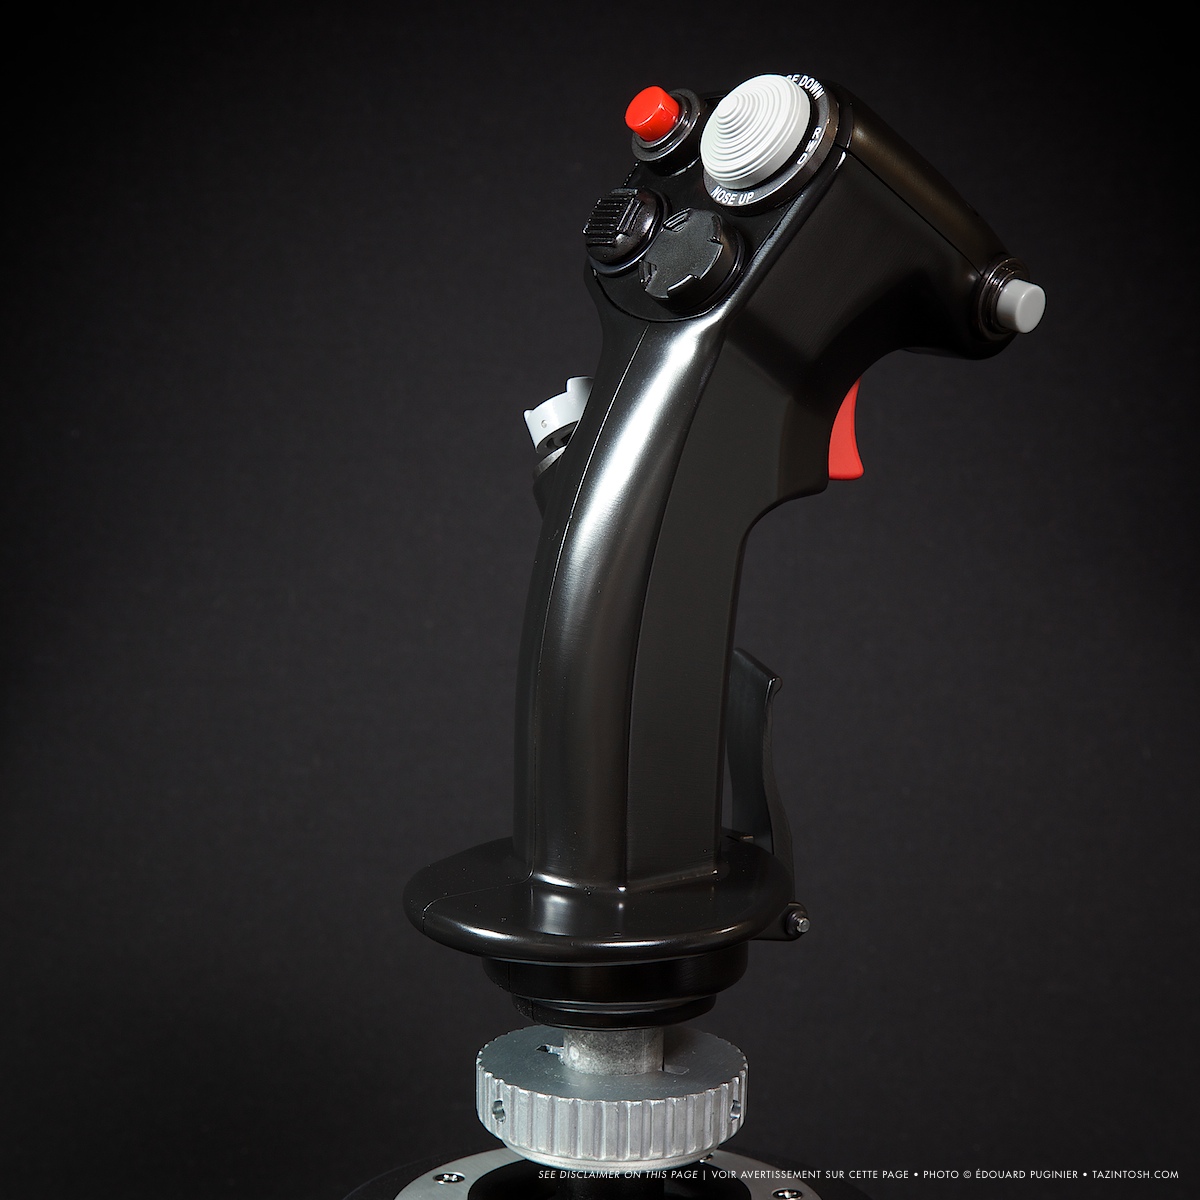
Joystick (A-10C replica)


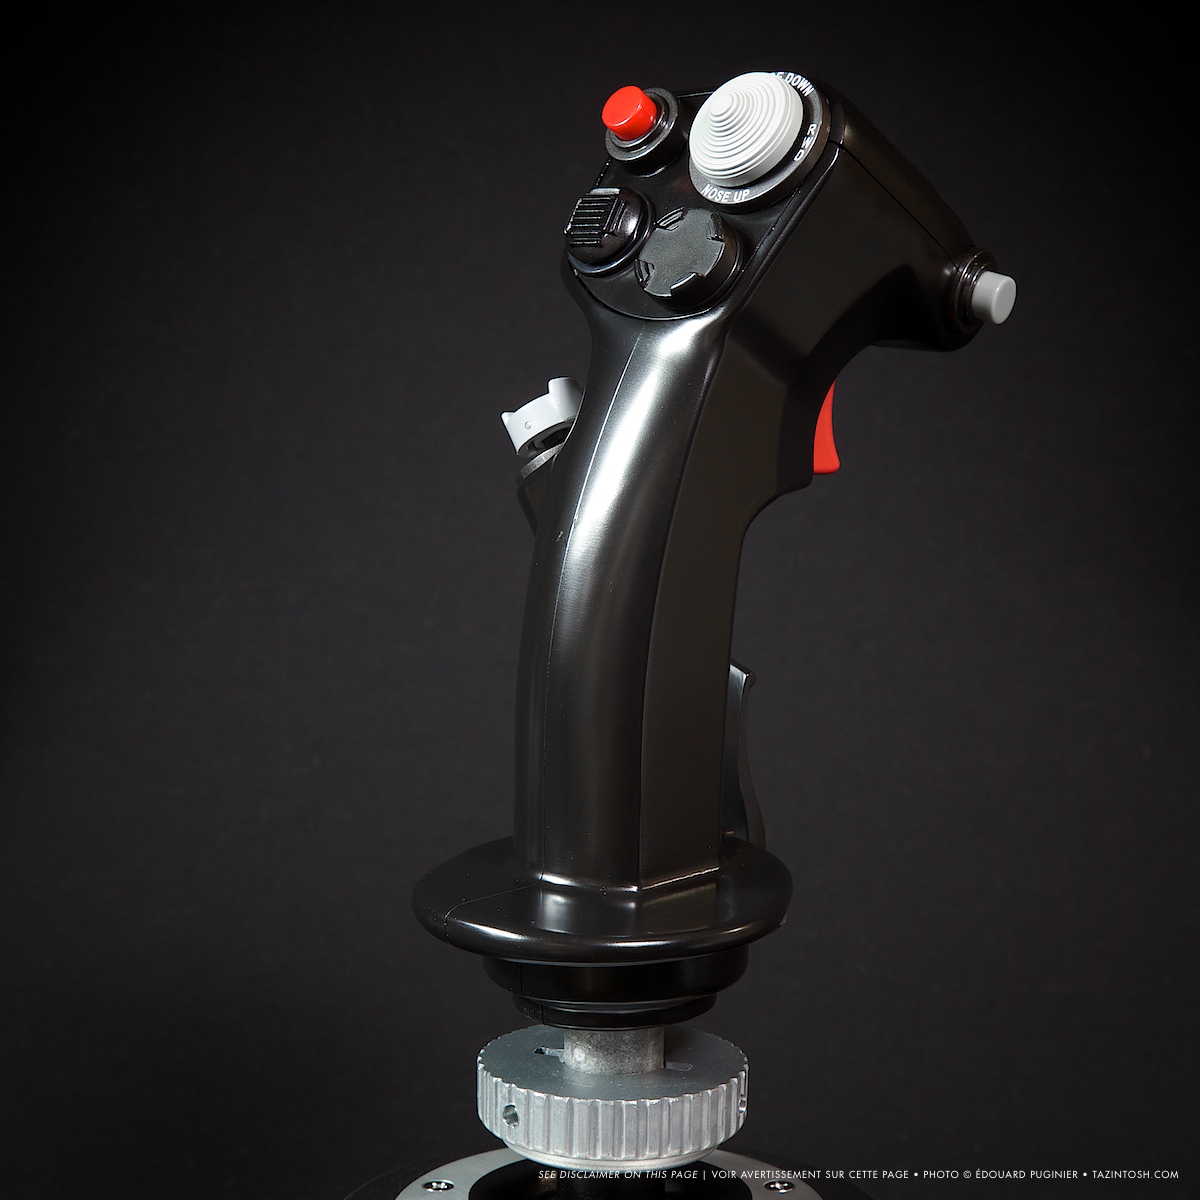
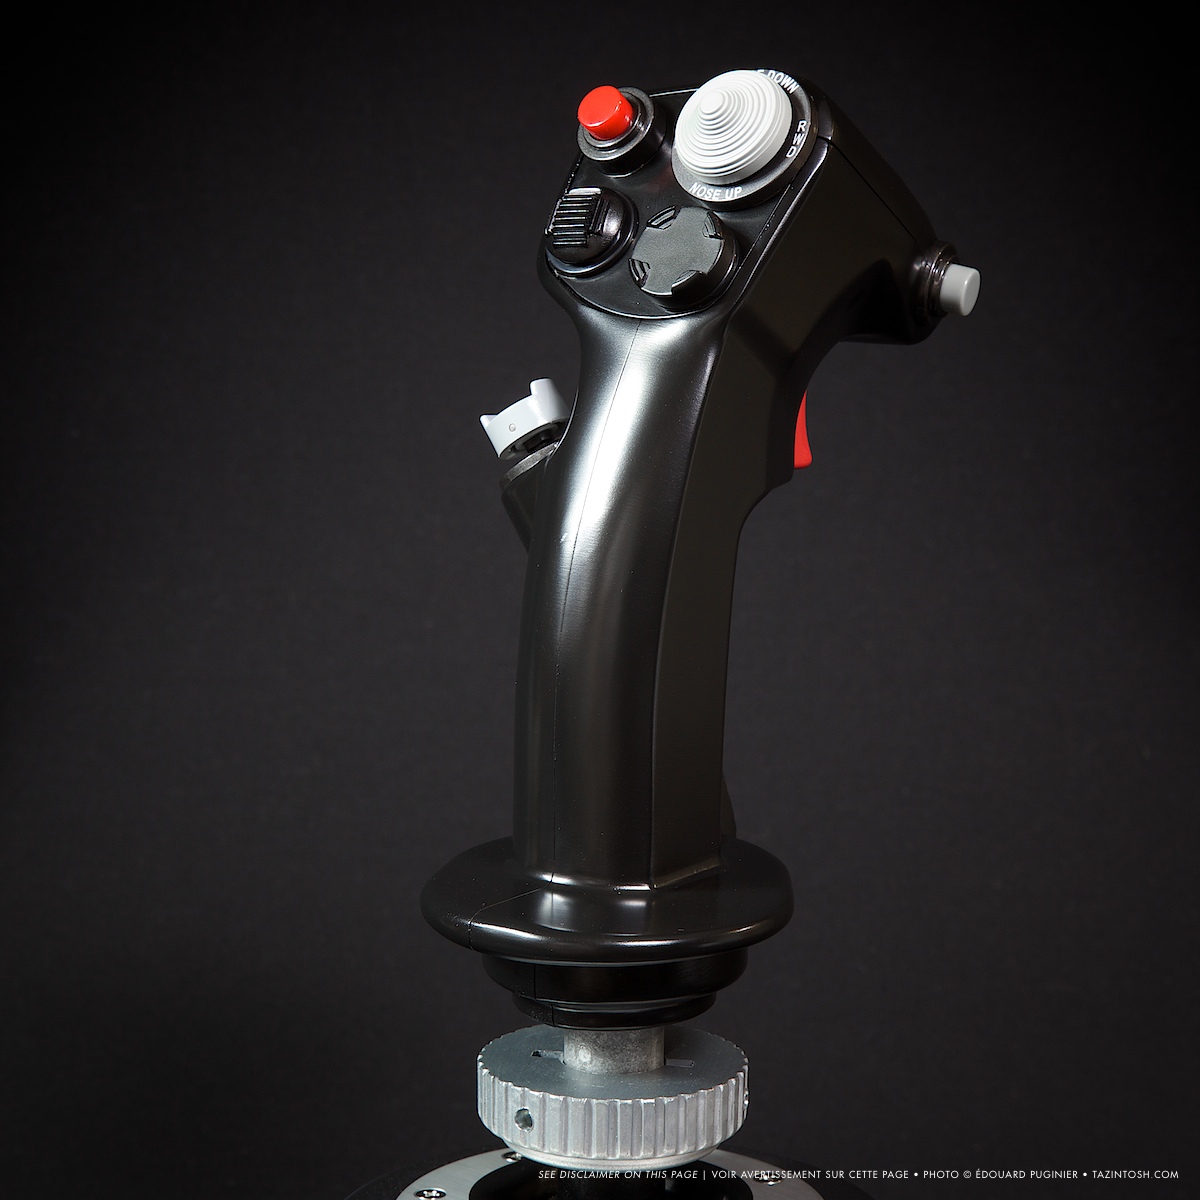
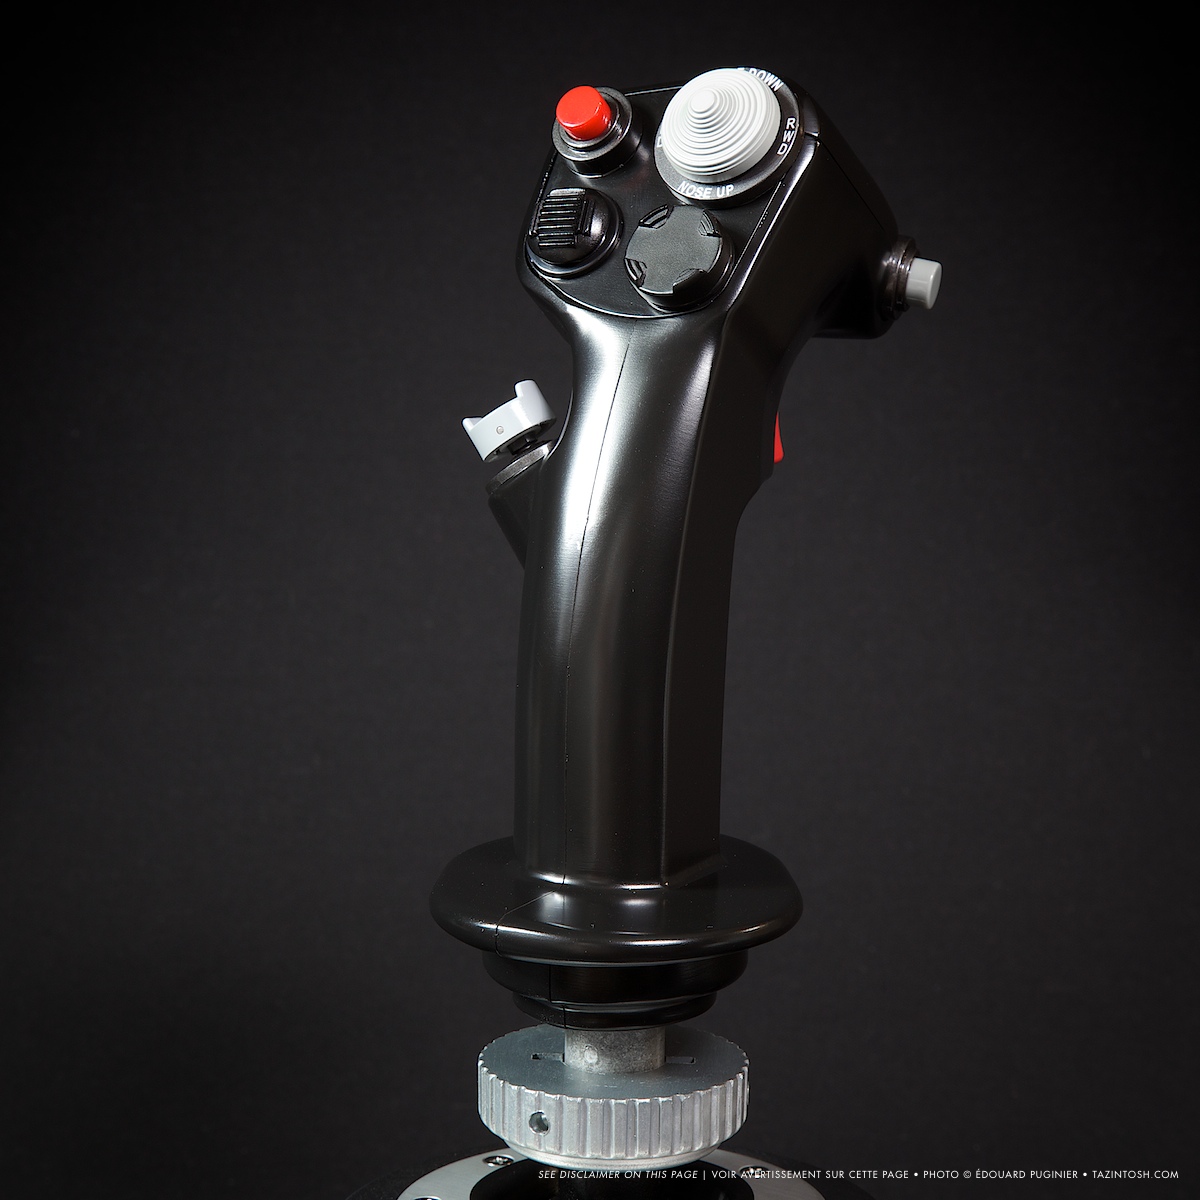

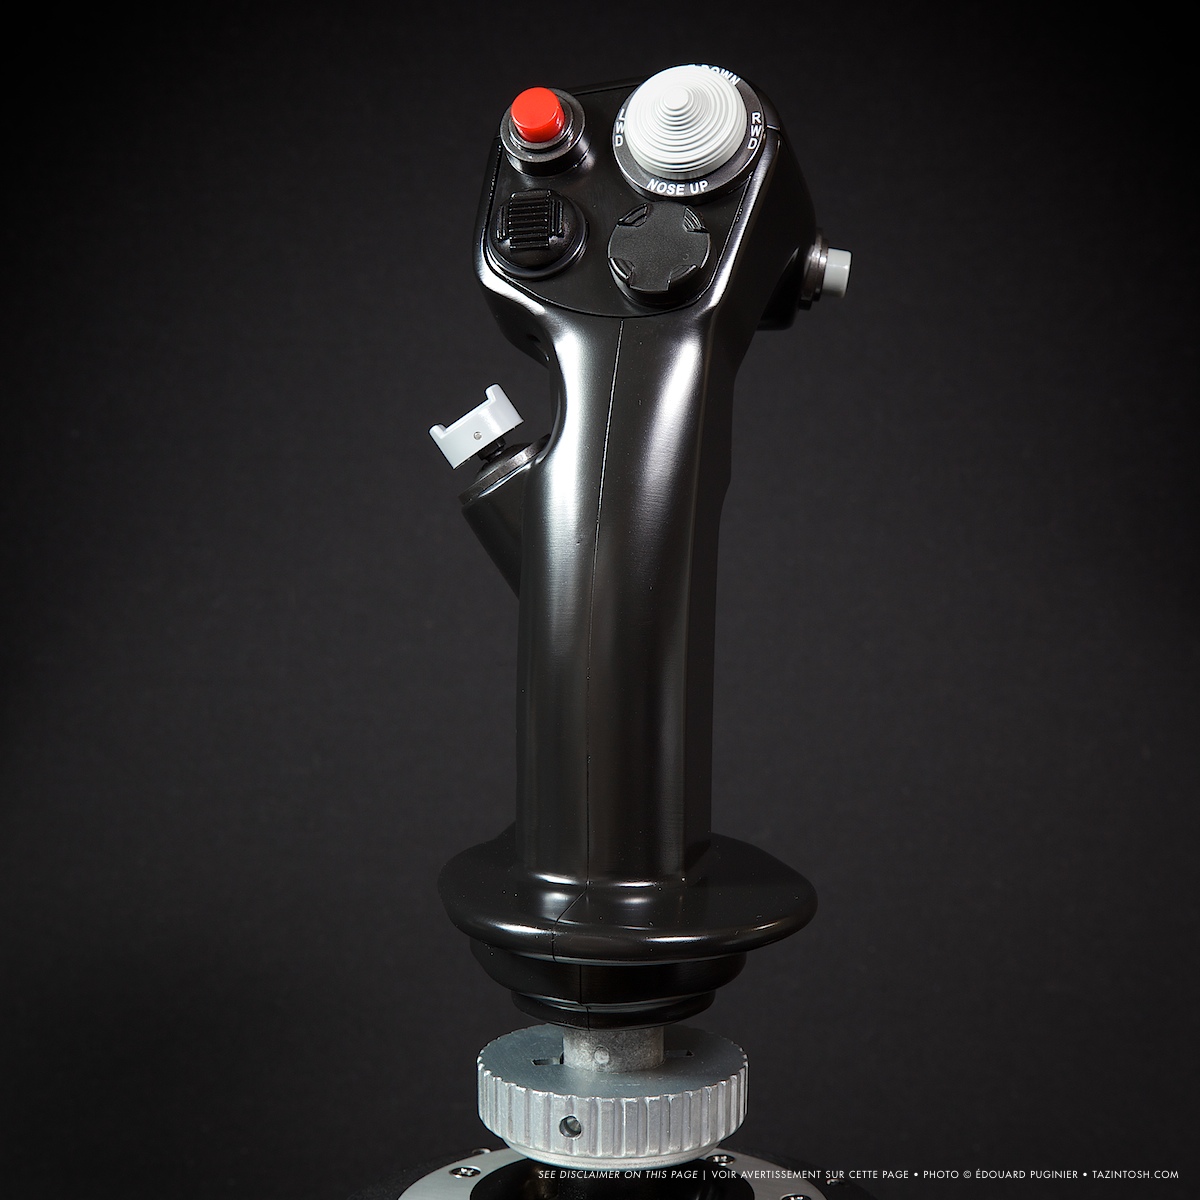
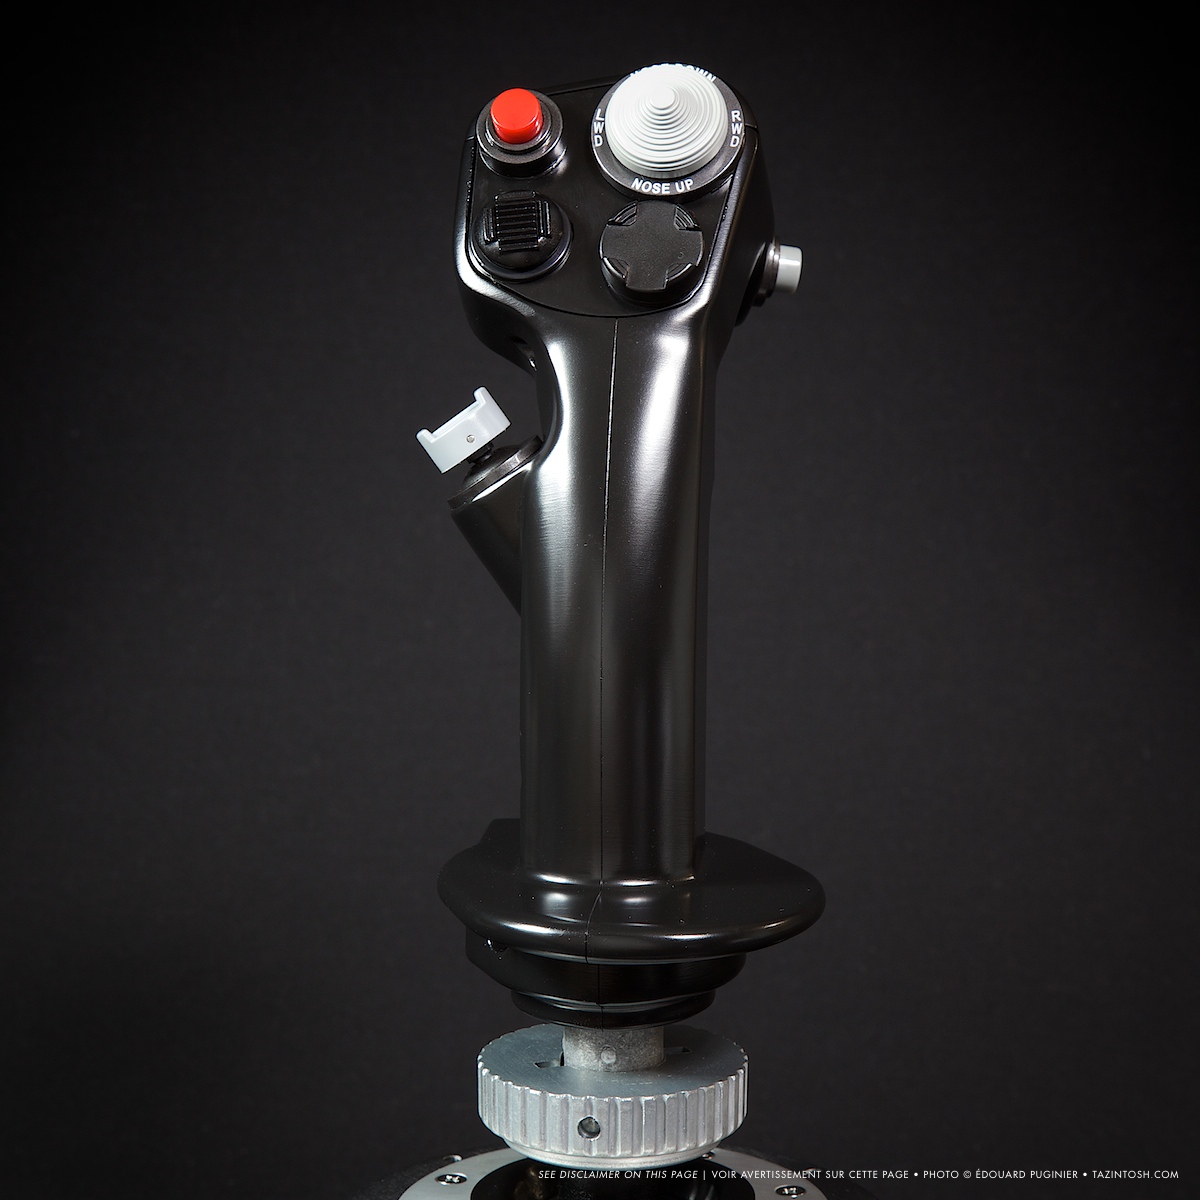
- 3D magnetic sensors (H.E.A.R.T HallEffect AccuRate Technology) on the stick: enjoy surgical precision that stays razor-sharp over time;
- 16 bits resolution (65536 x 65536 values);
- 5 coil spring system: firm, linear and fluid tension, with no dead zones
- USB connection with upgradeable firmware;
- Super-stable, weighted base (over 3kg);
- New detachable handle, crafted entirely of metal;
- Compatible with HOTAS COUGAR™ handle (and vice-versa);
- Detachable metal plate for desk- or cockpit-style use;
- Realistic pressure on buttons and trigger.
35 base actions
- 3 8-way hats;
- 1 4-way hat with push button;
- 1 dual trigger;
- 4 push buttons.
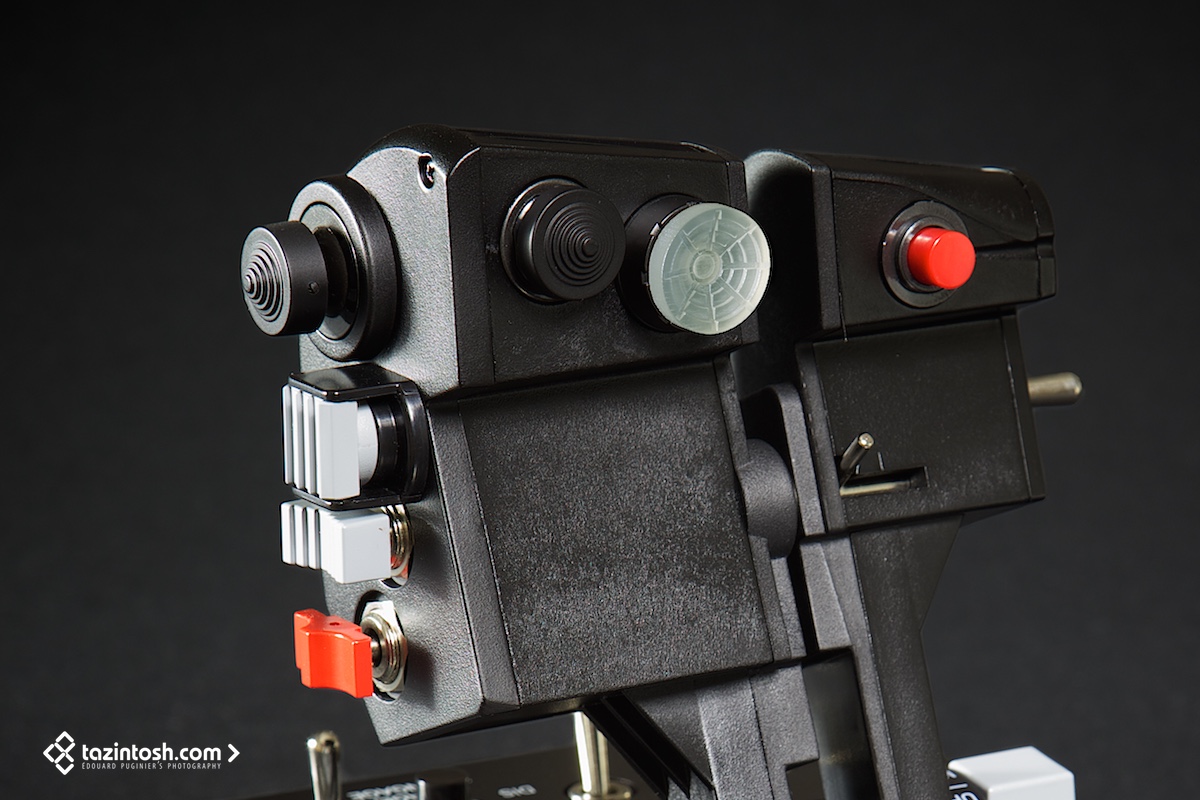
Dual throttles and control panel (A-10C replica)

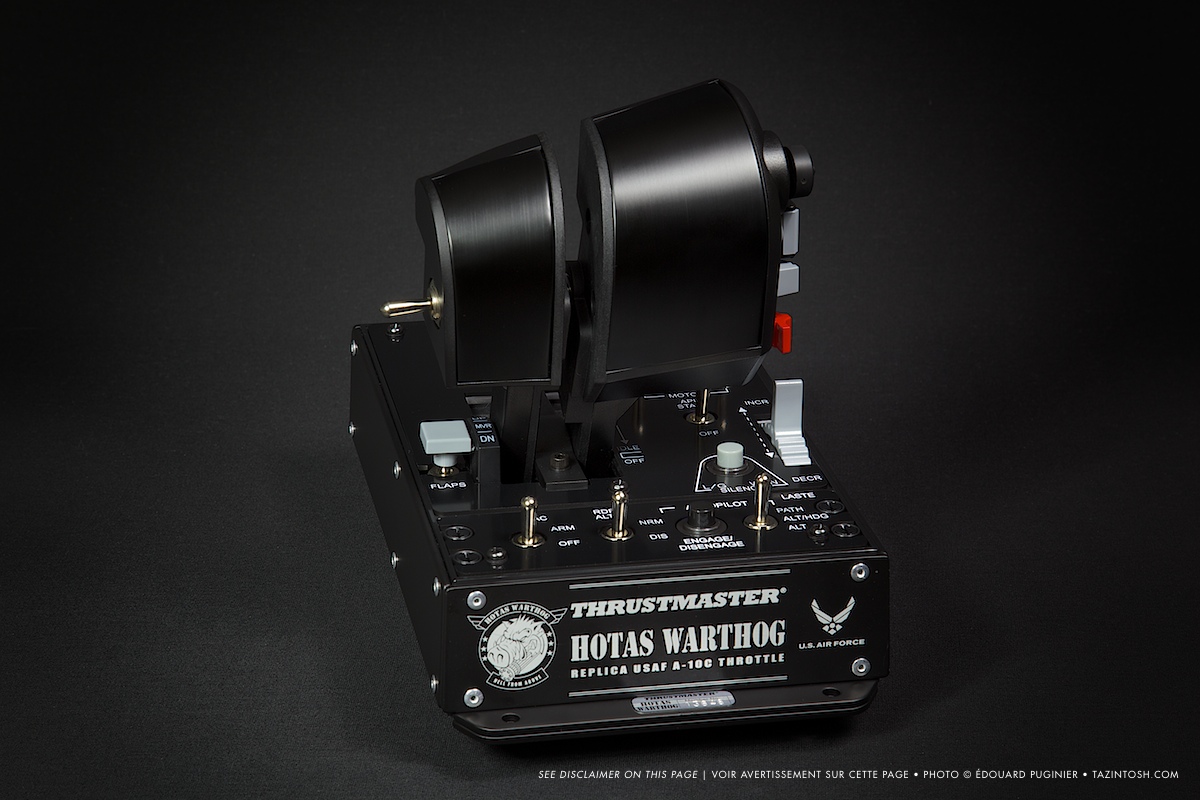
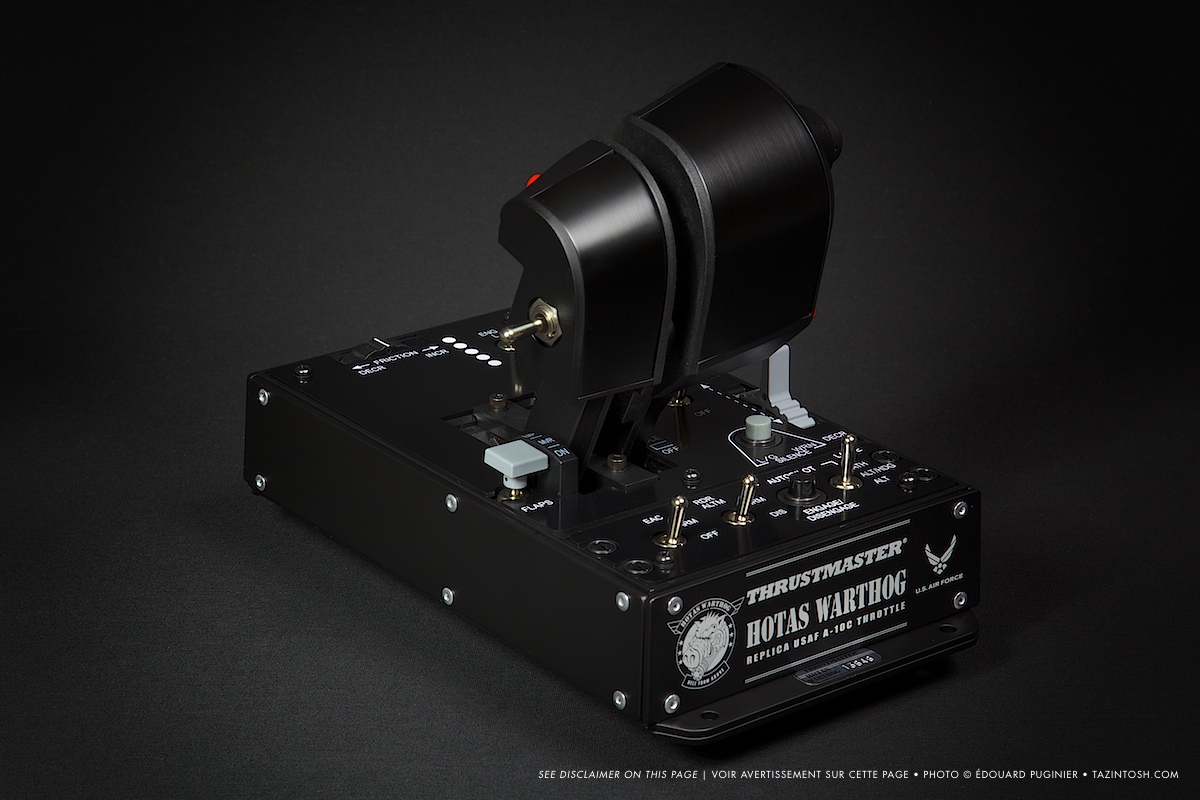

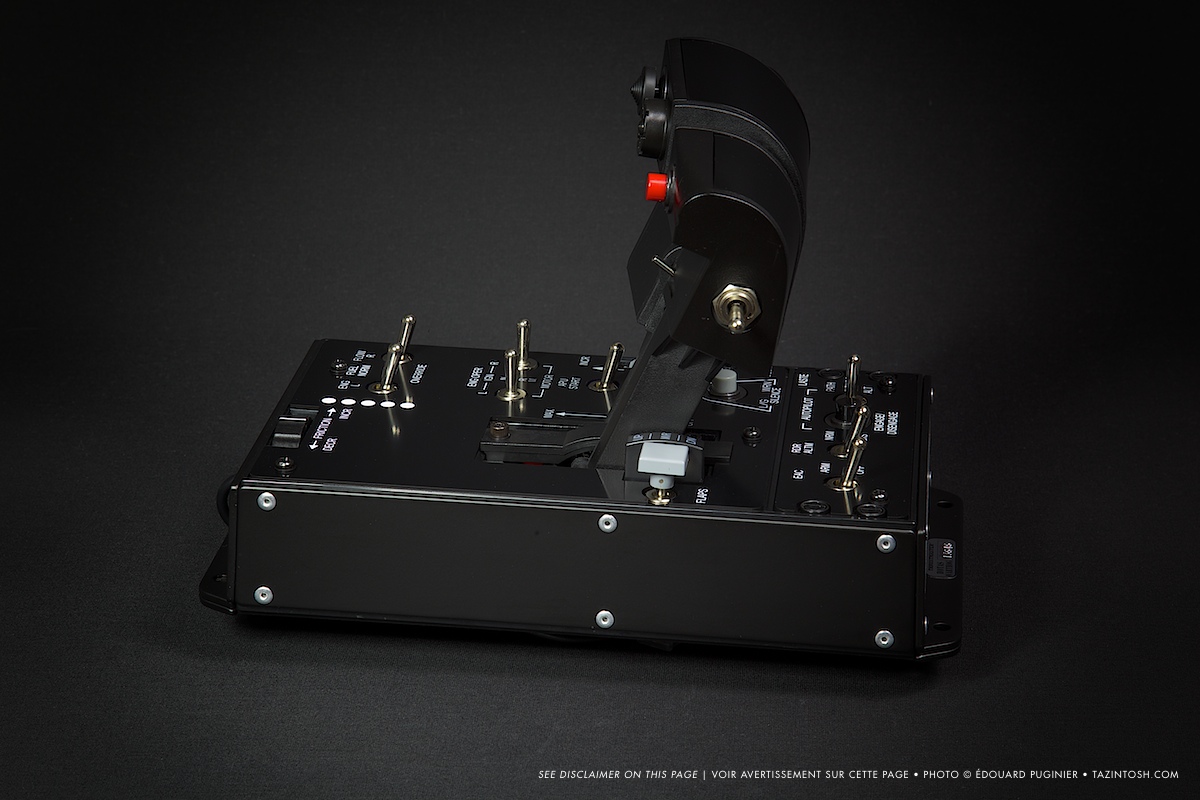

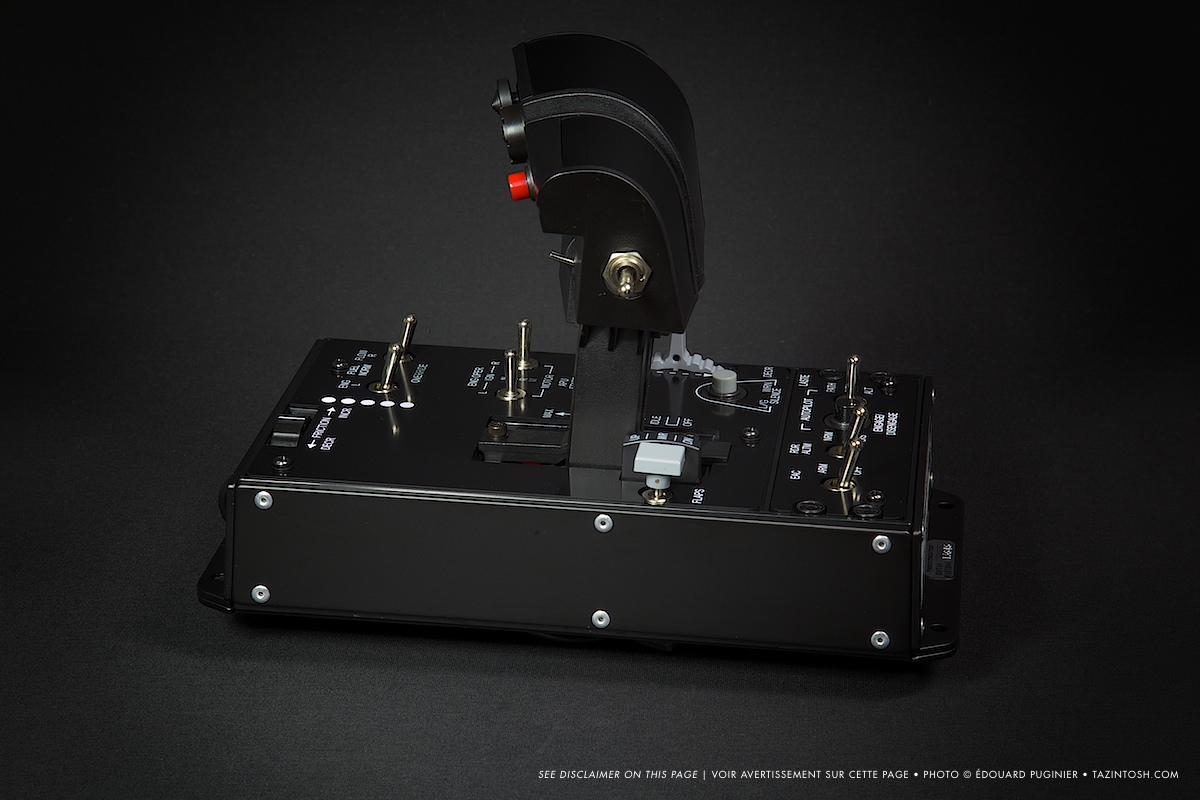
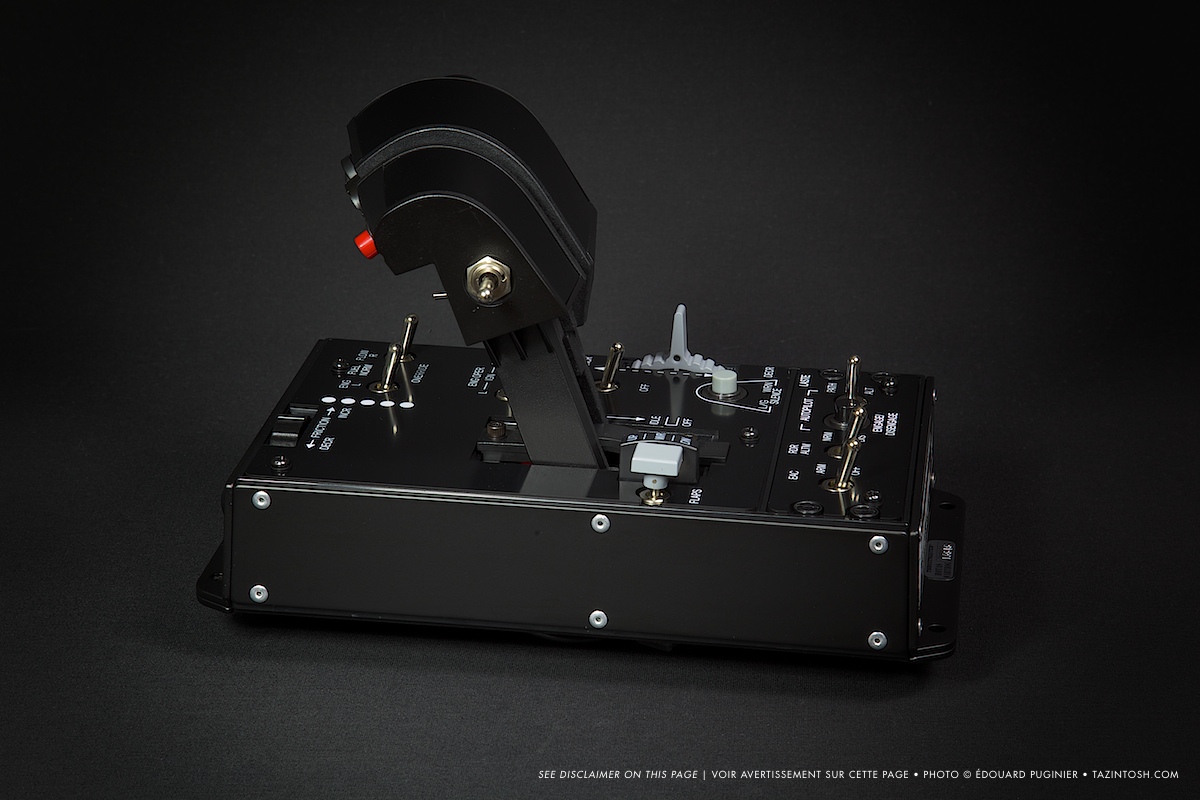
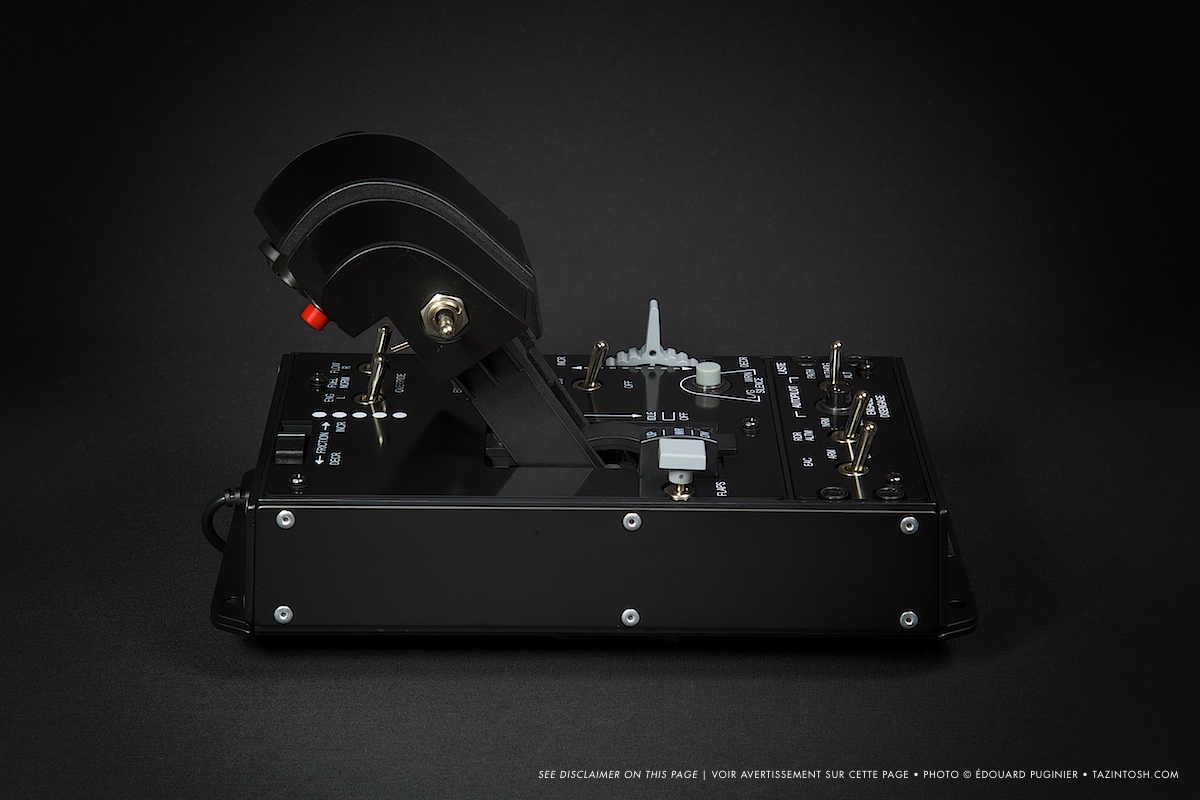
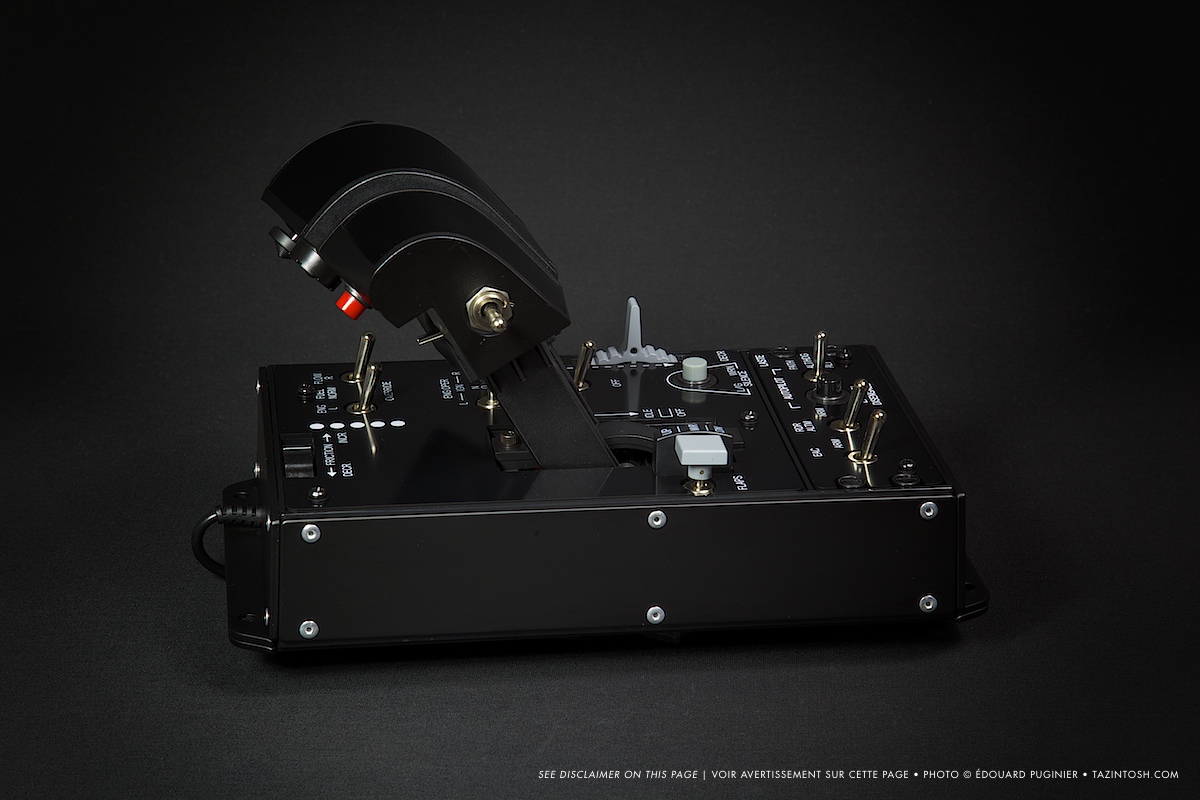
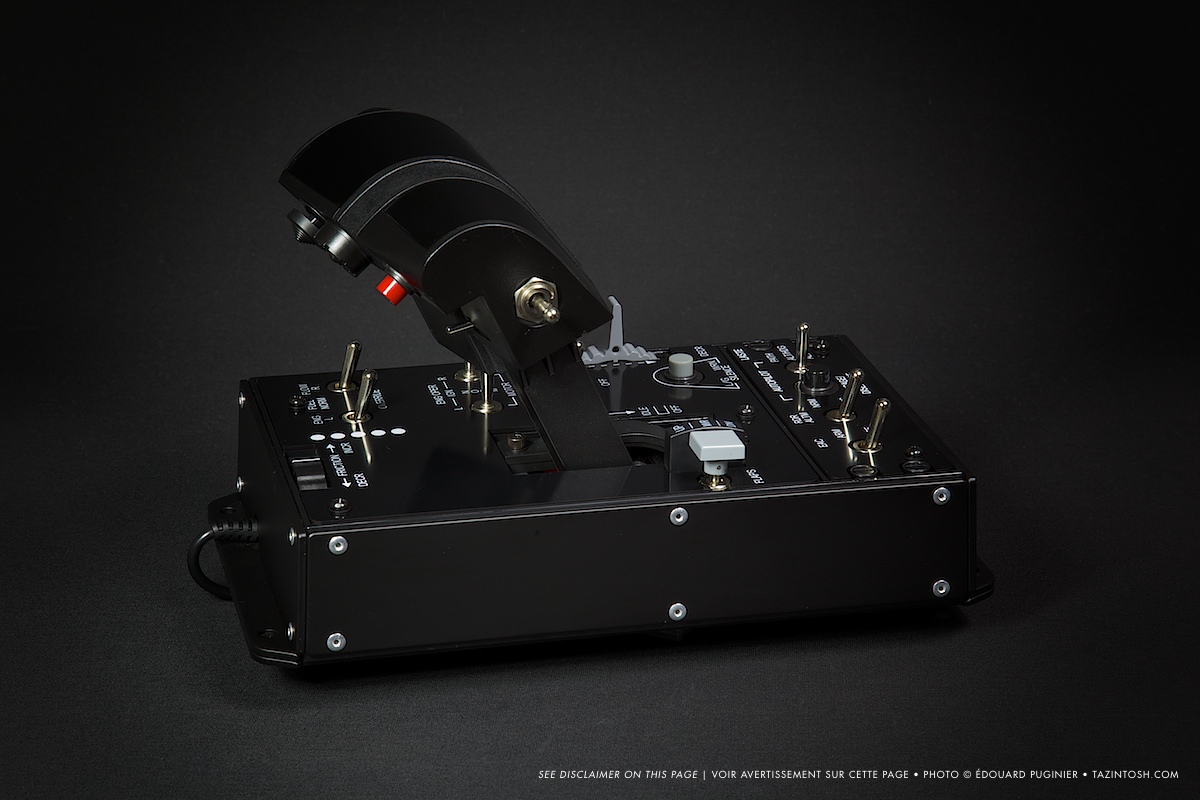
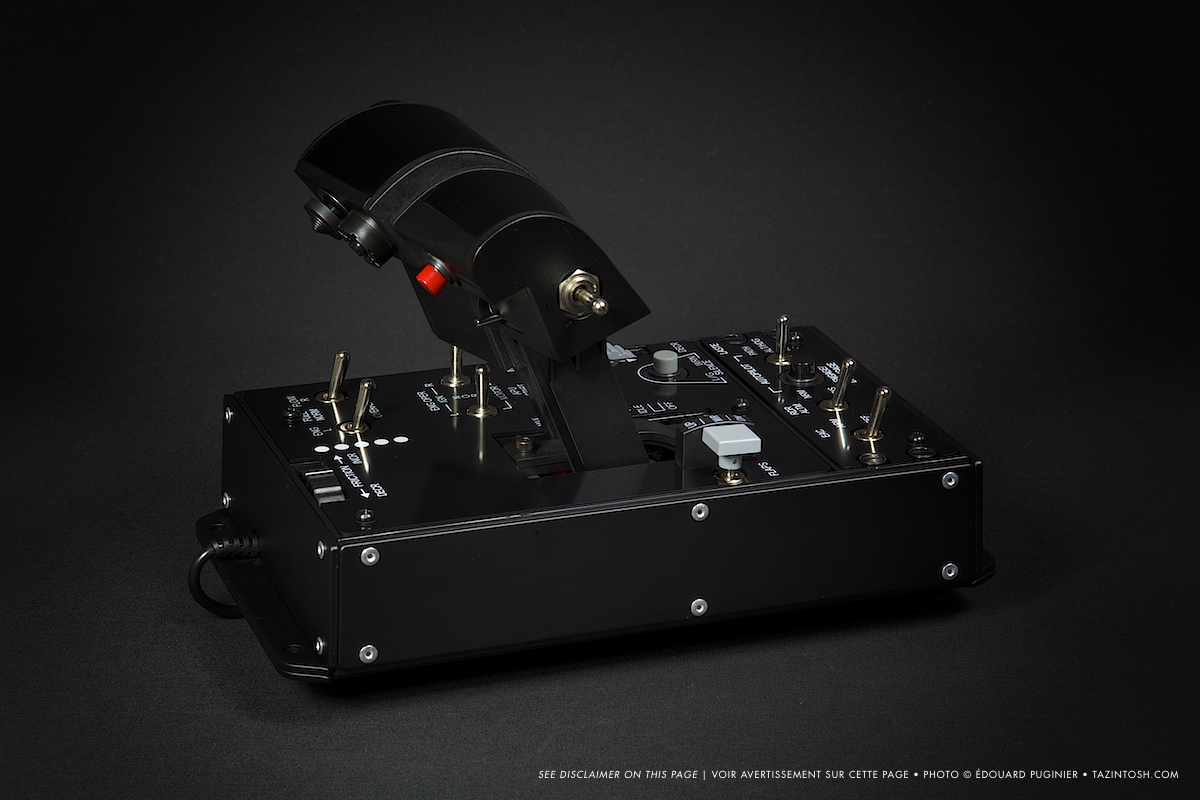
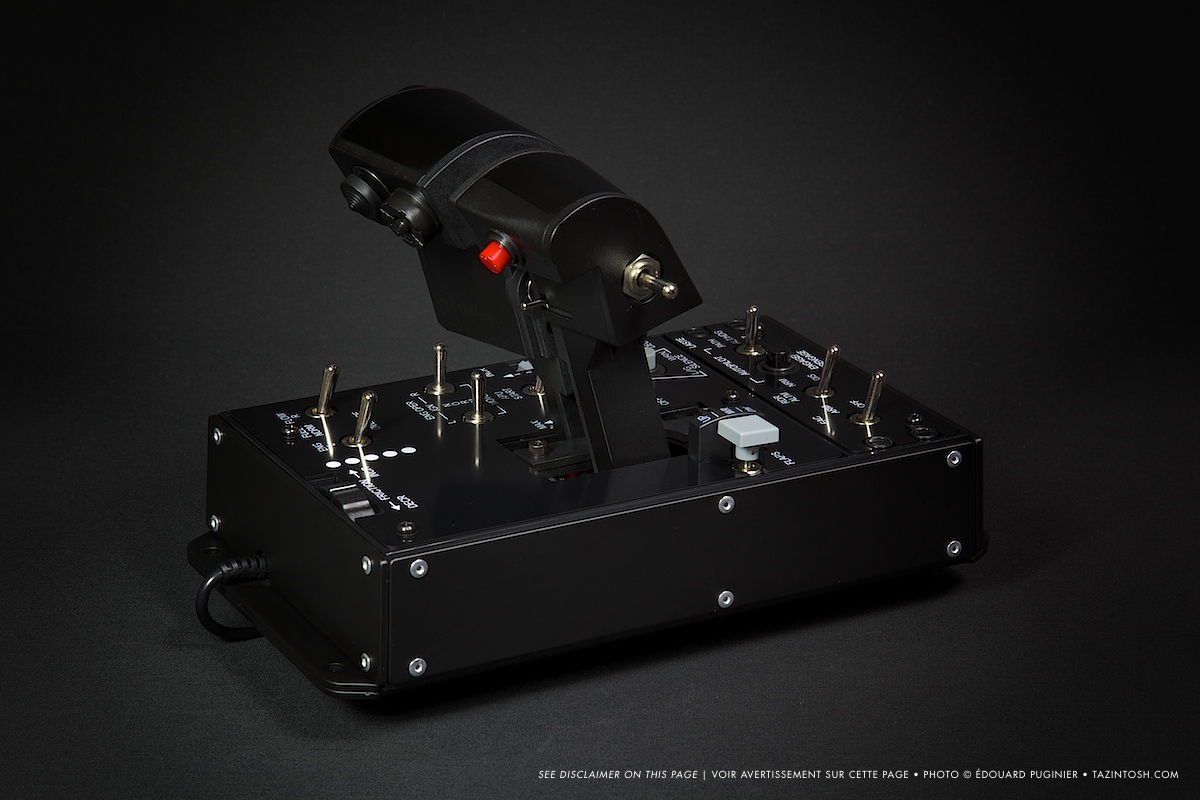
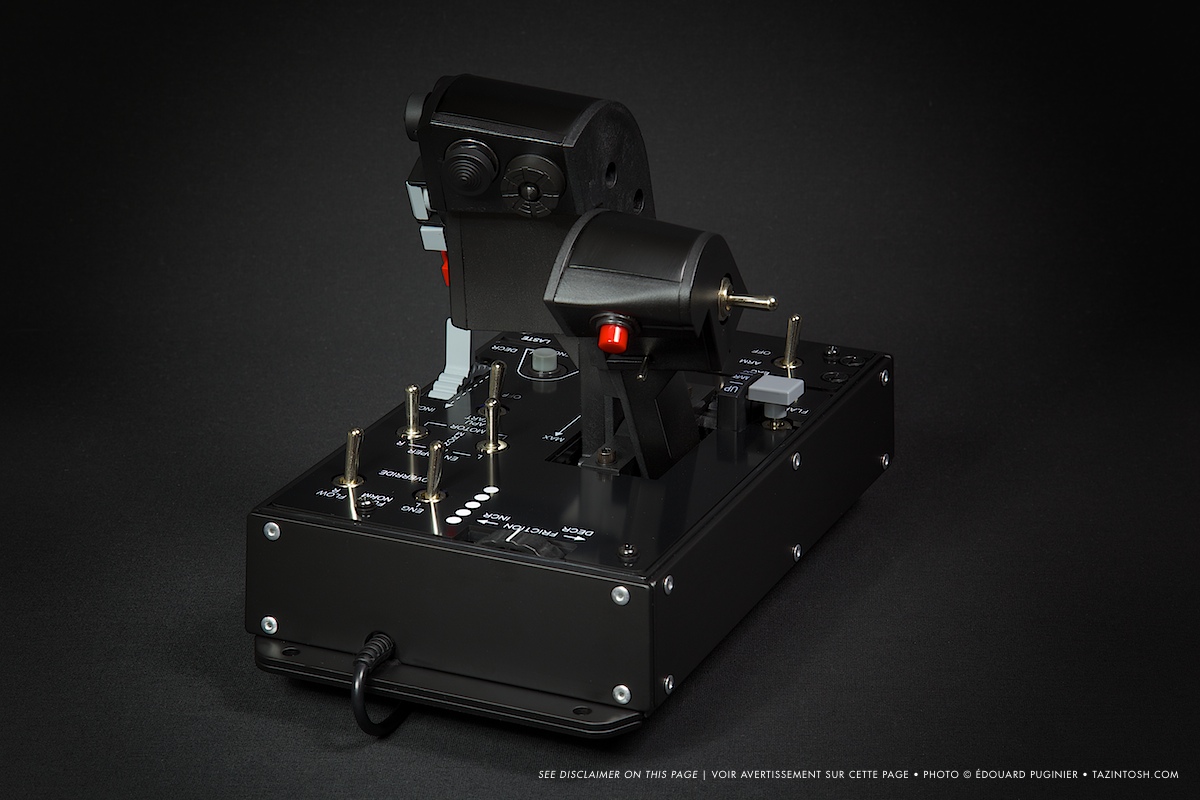

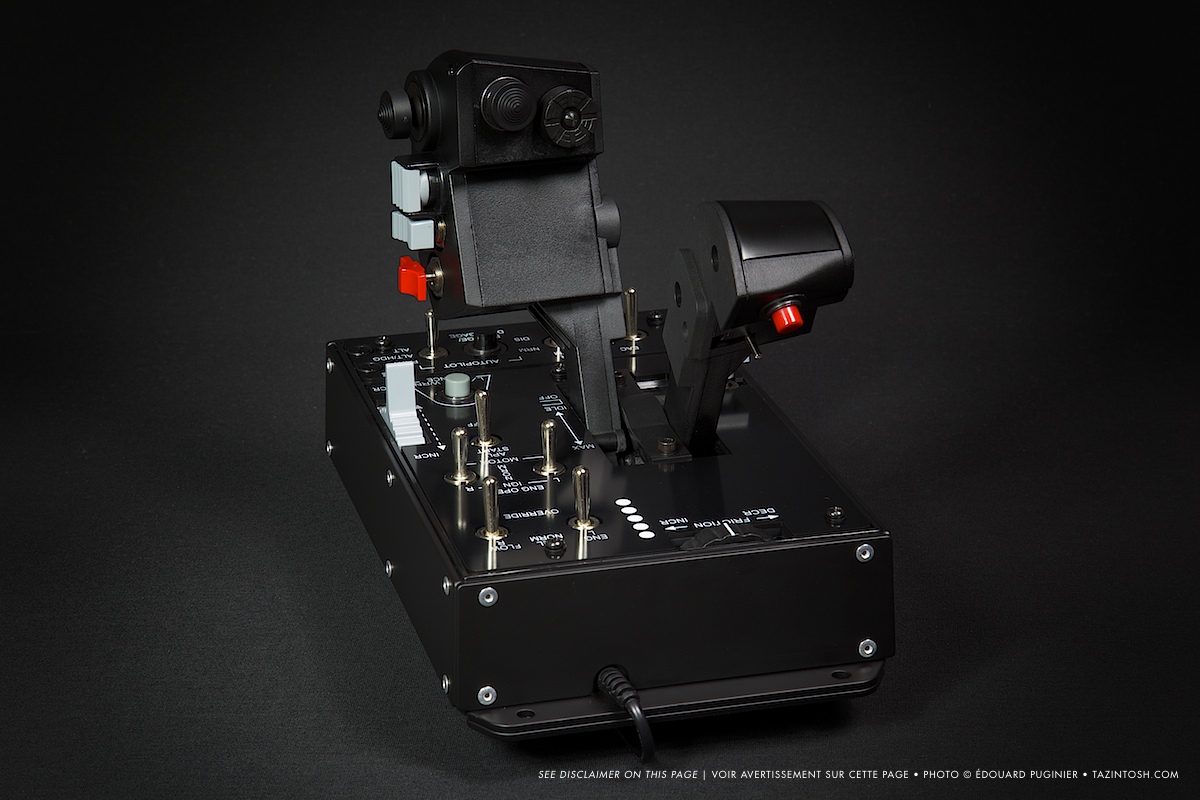
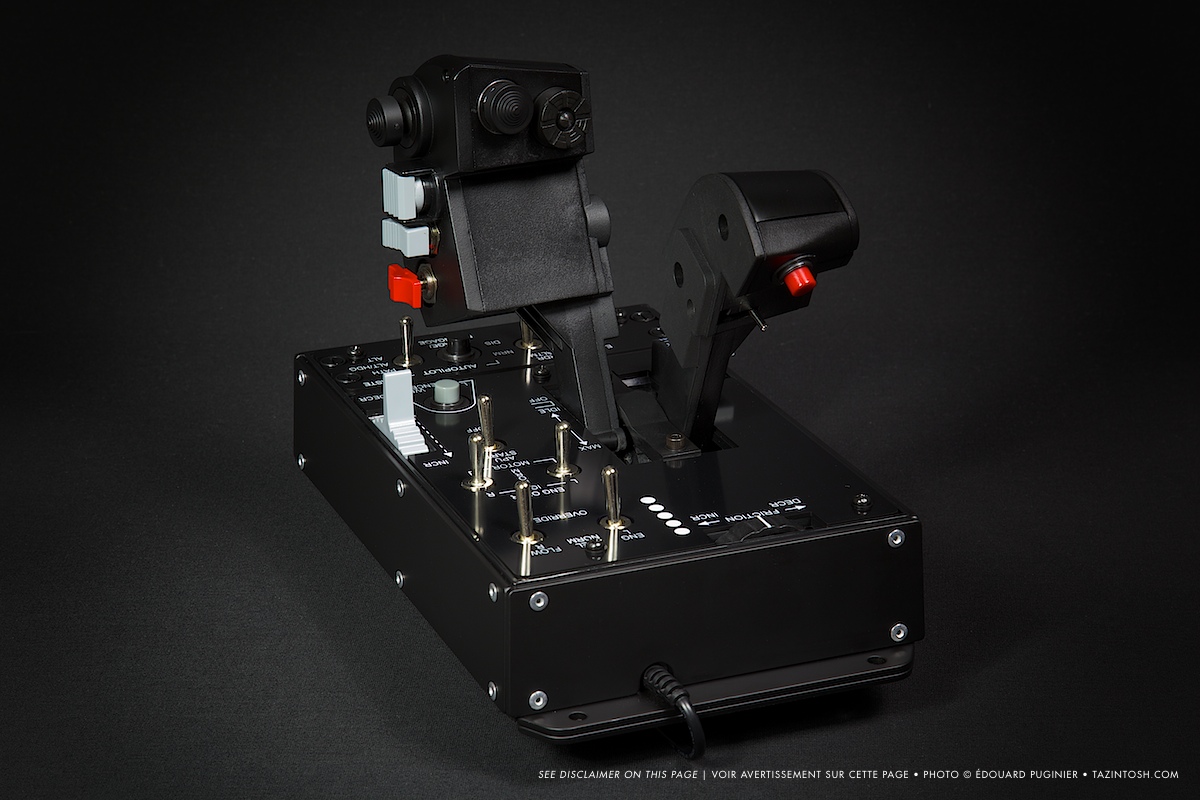
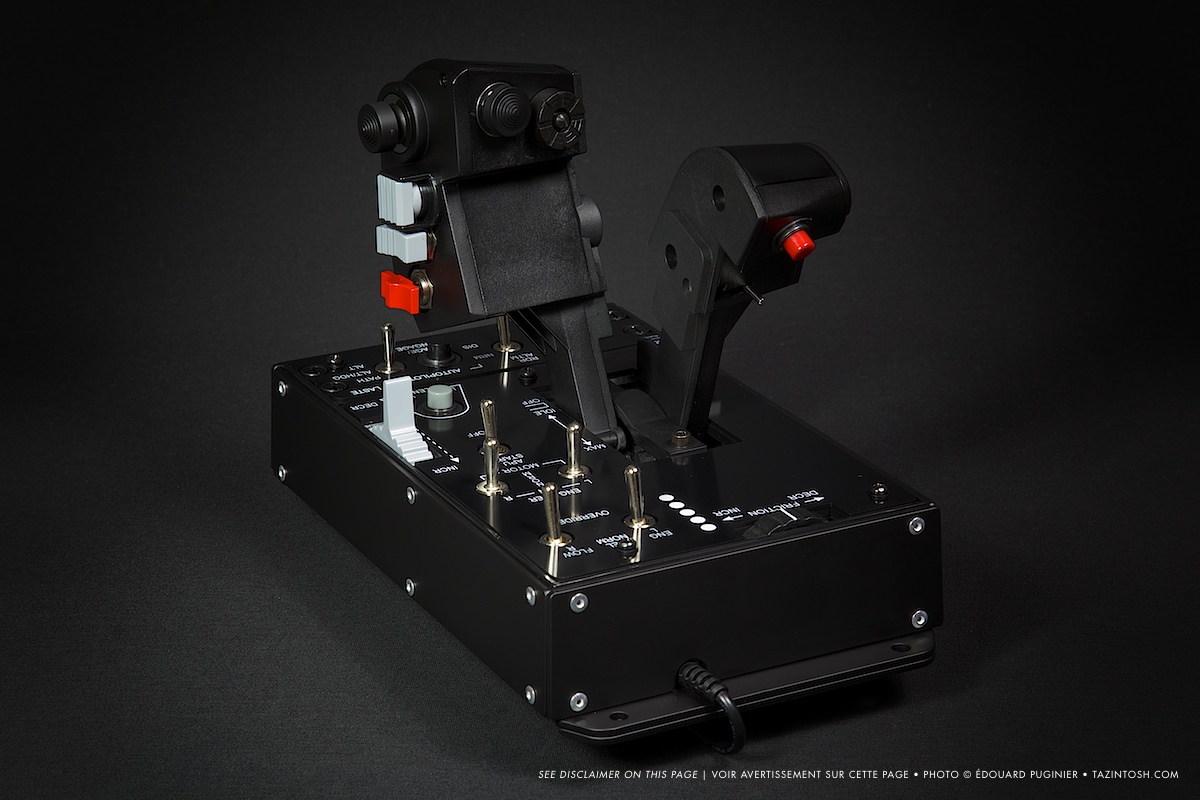
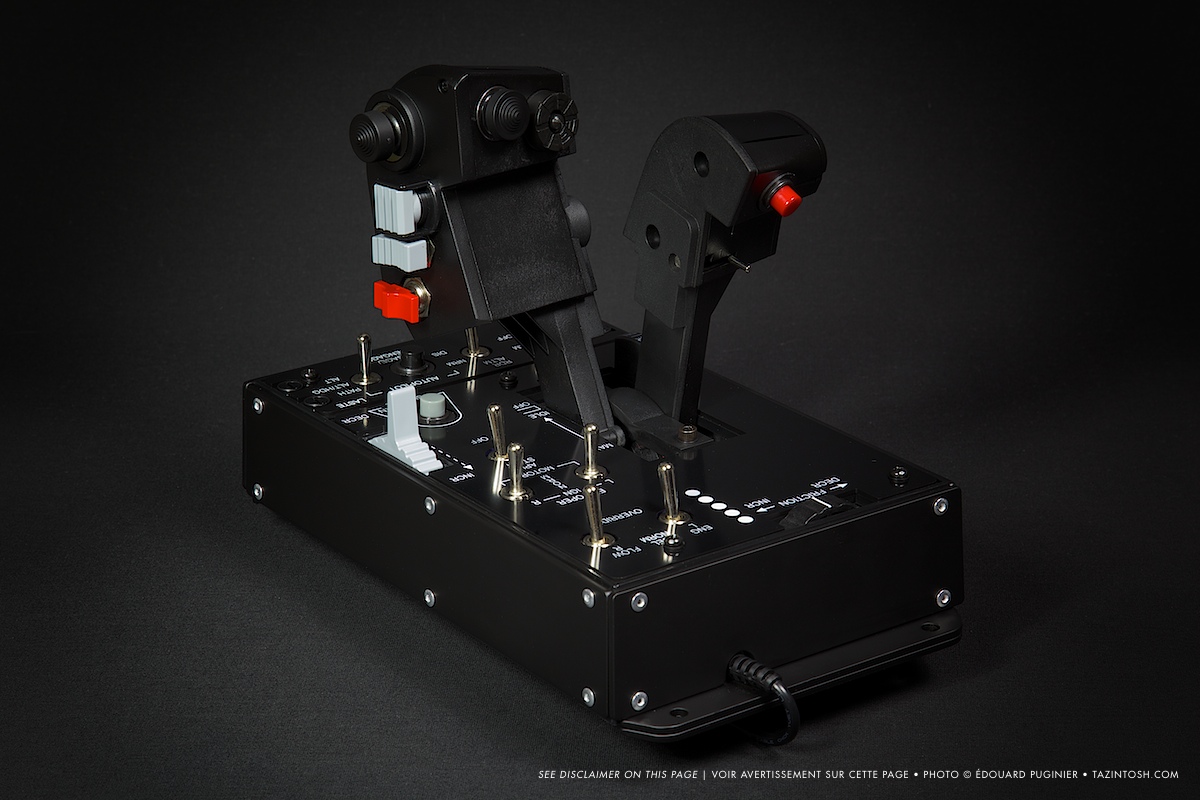
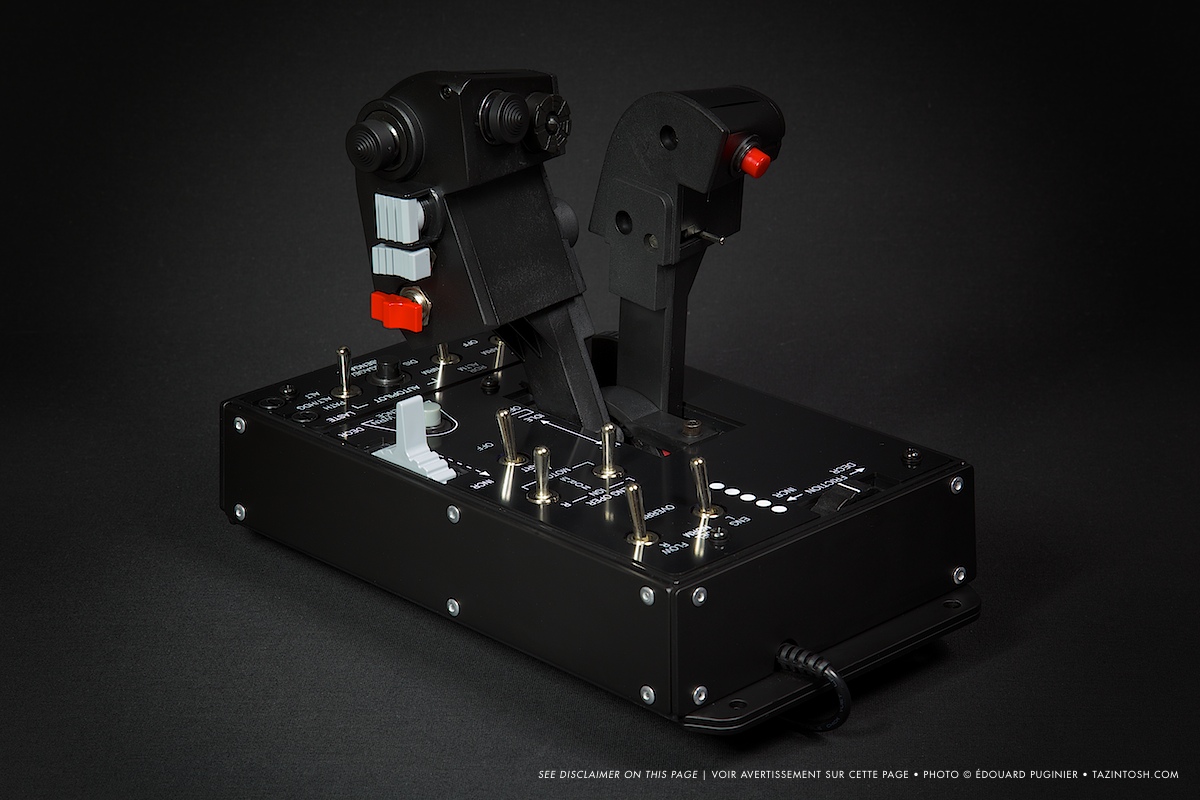
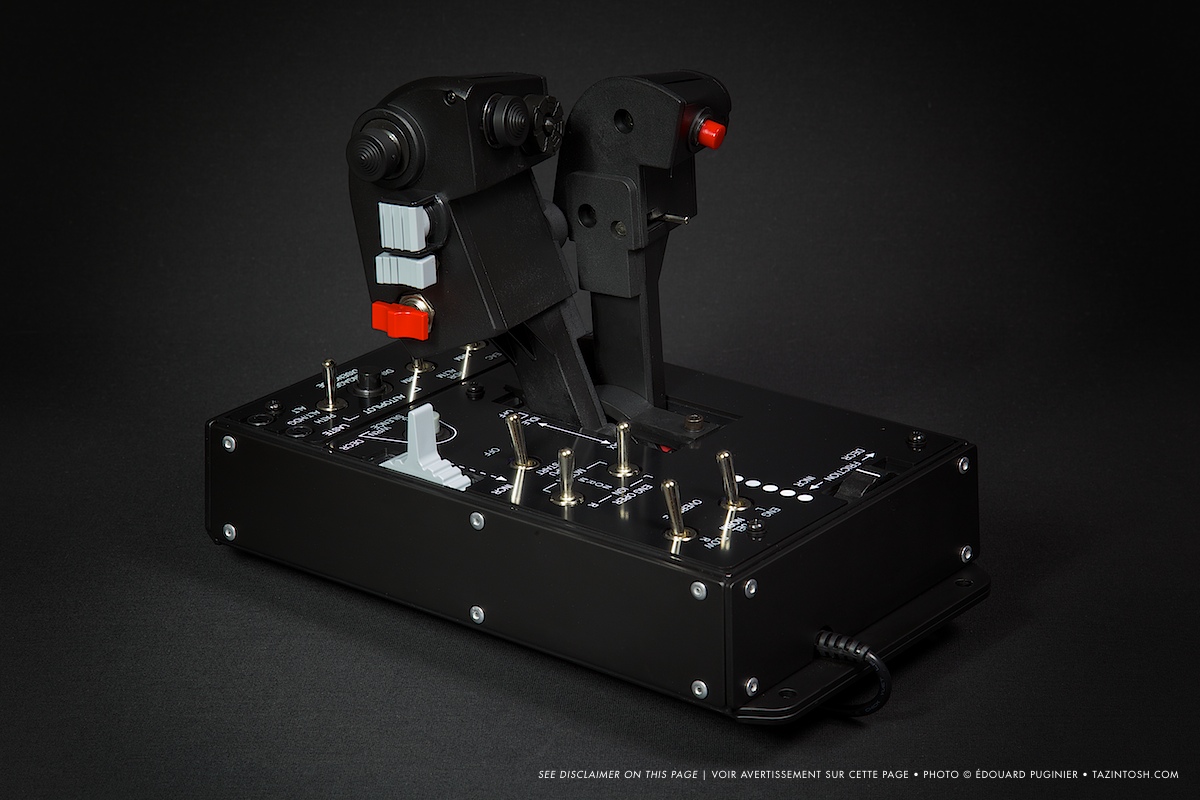
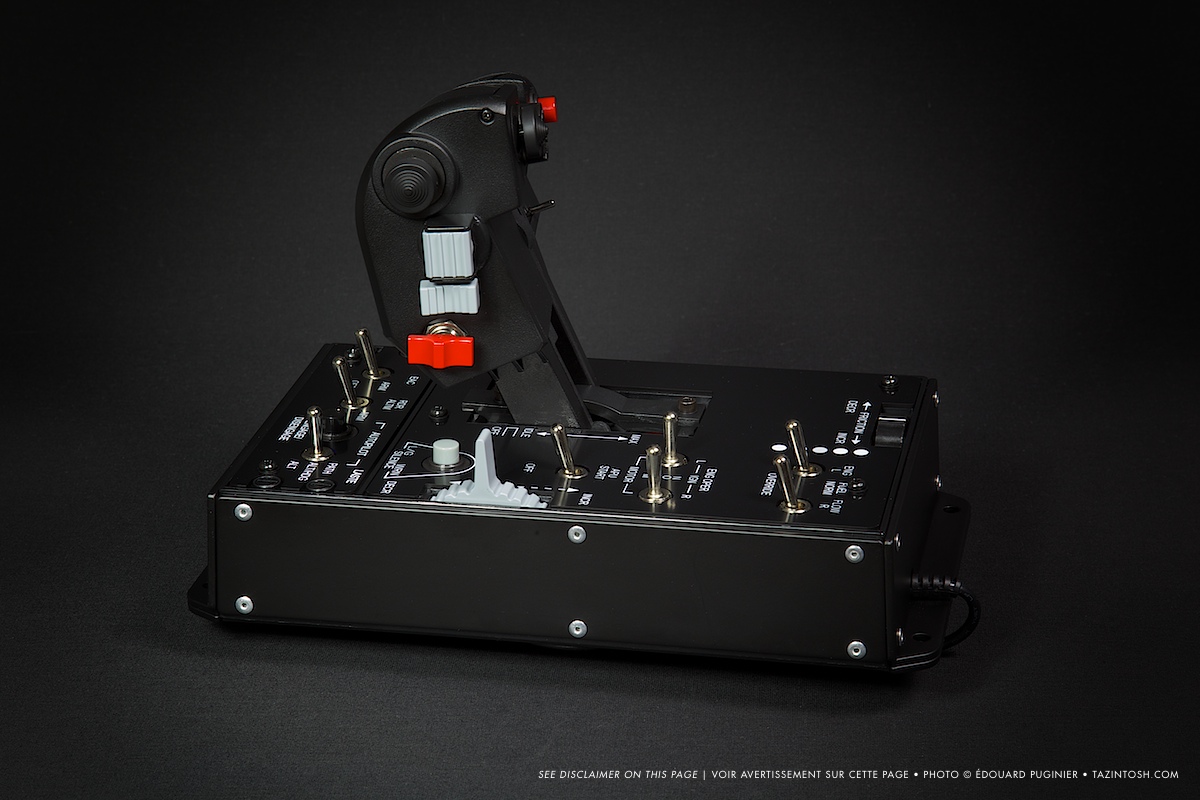
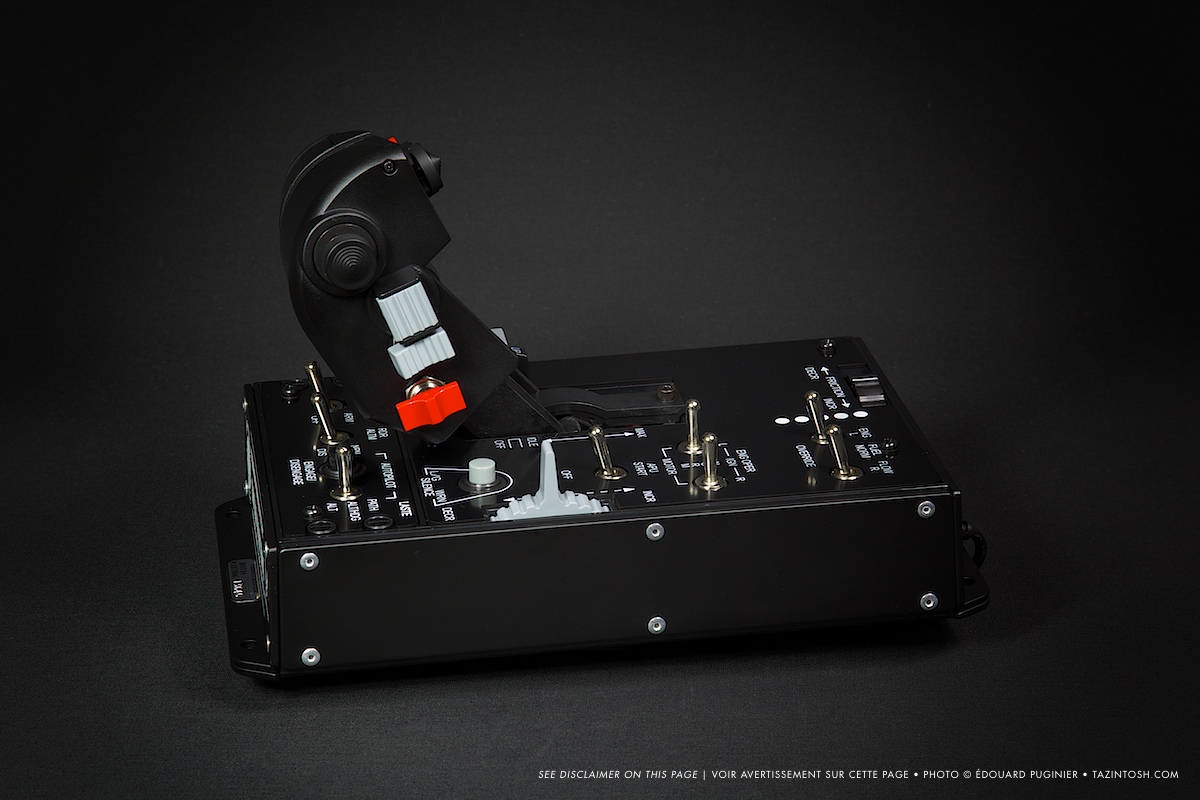
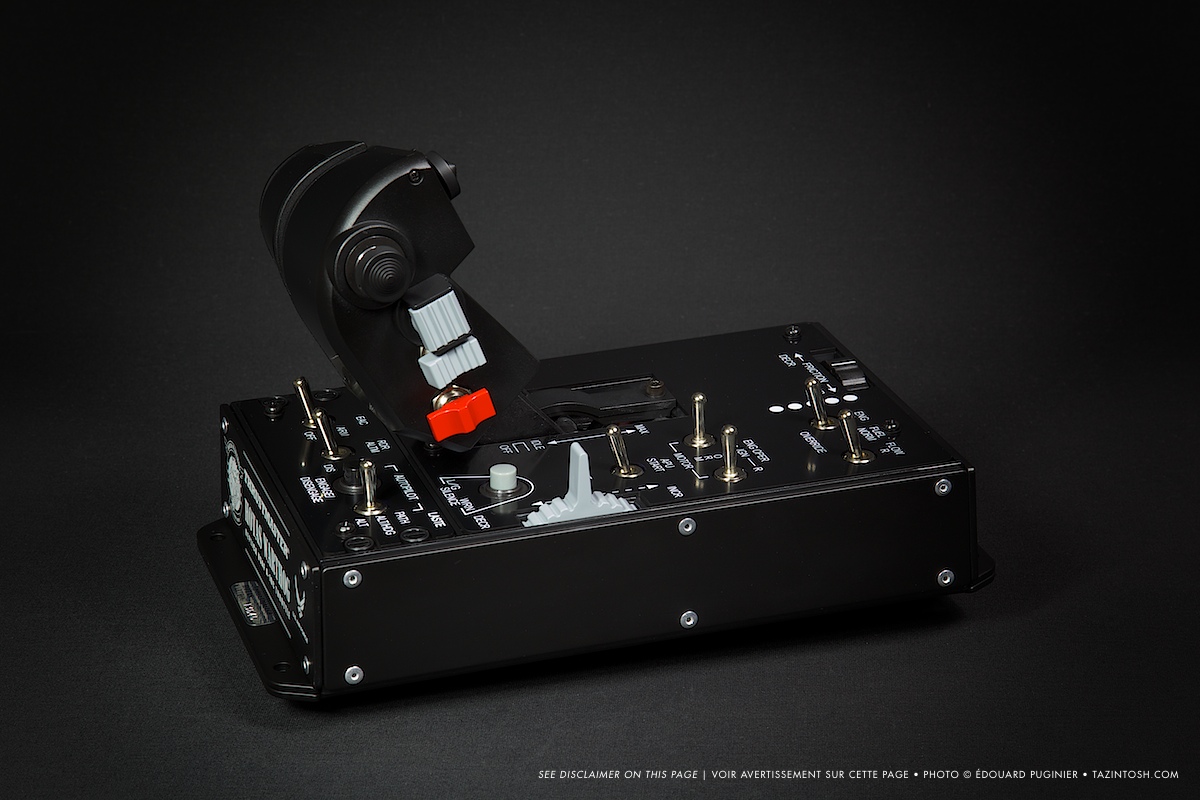
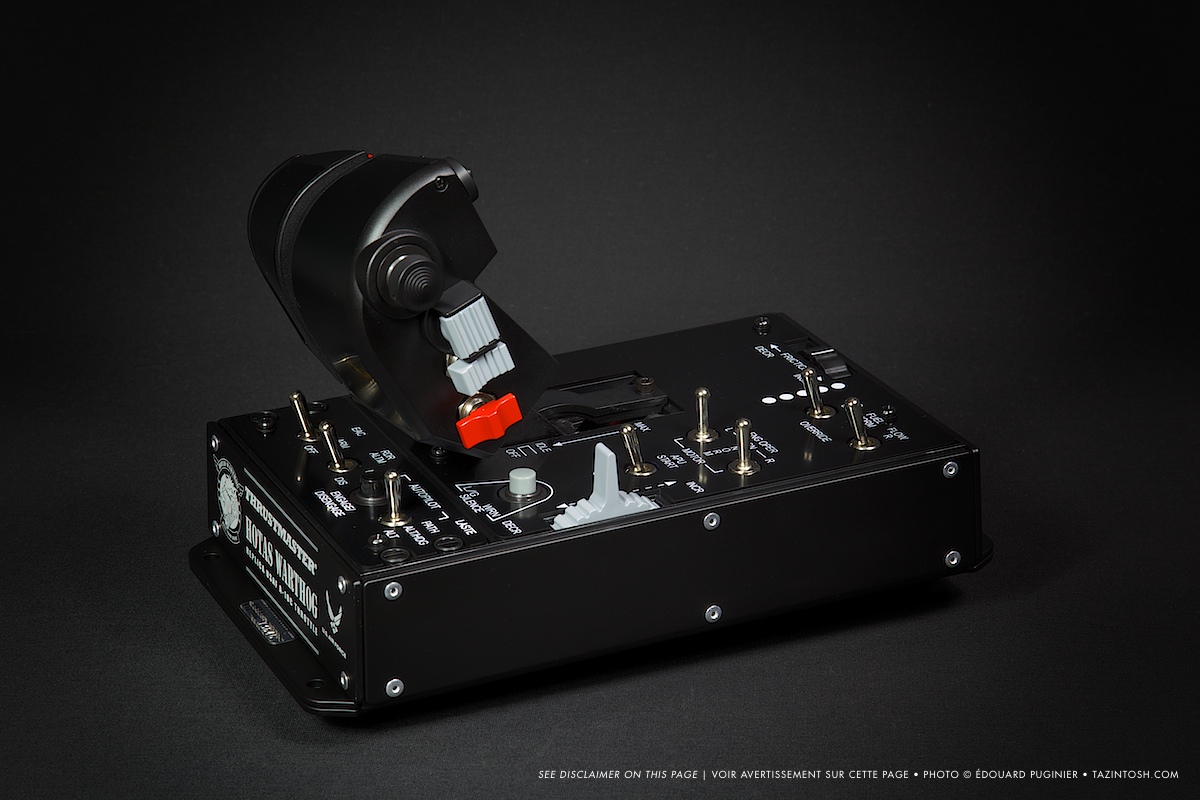
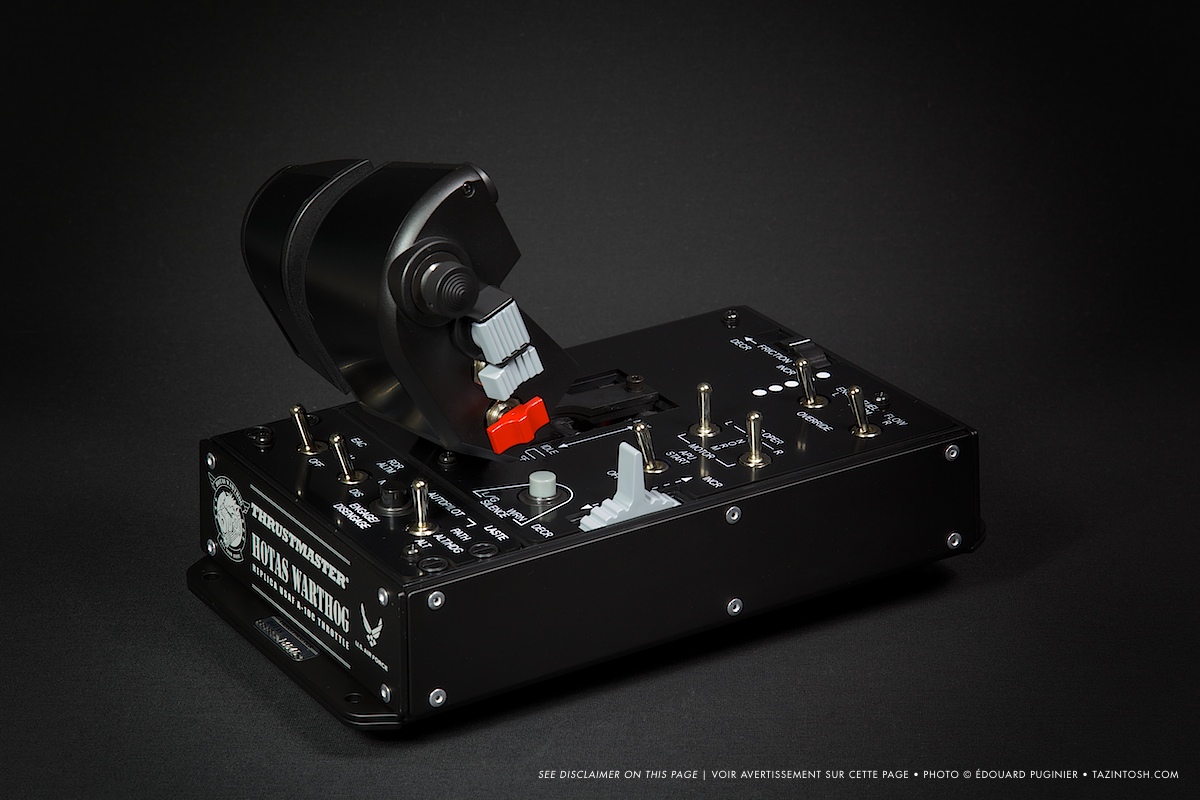
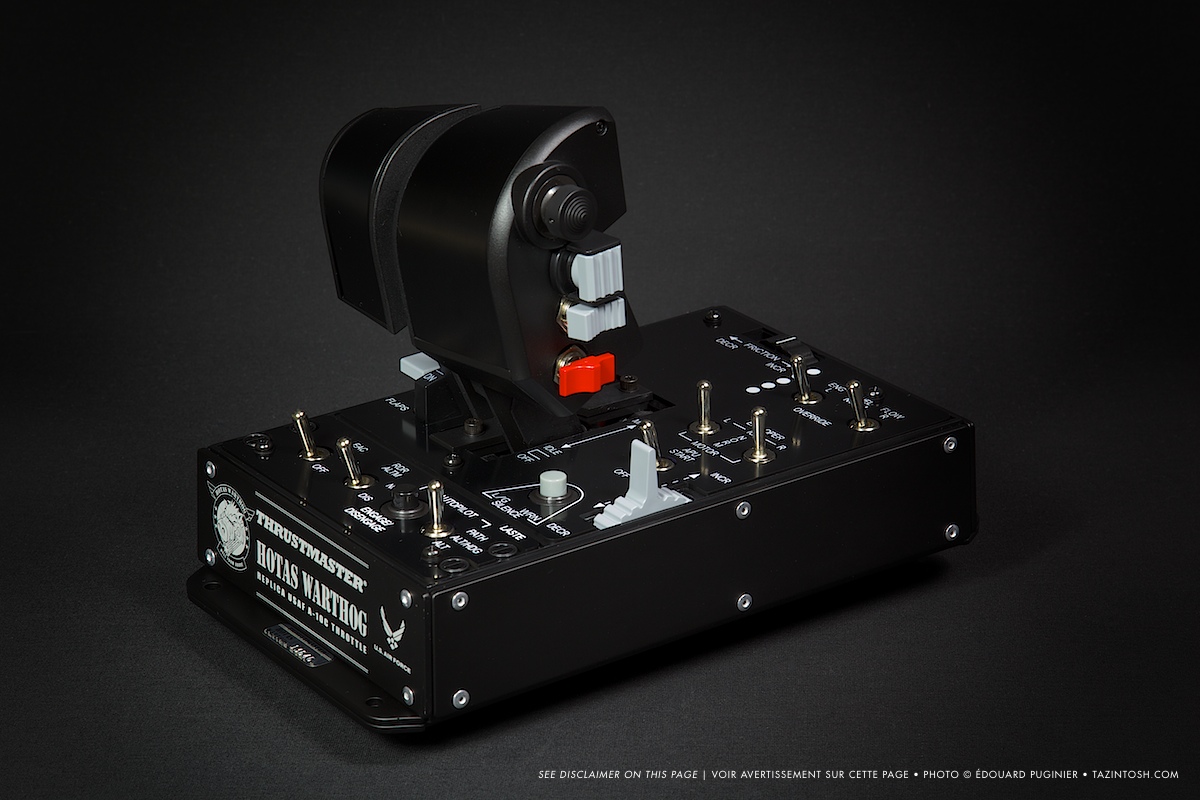
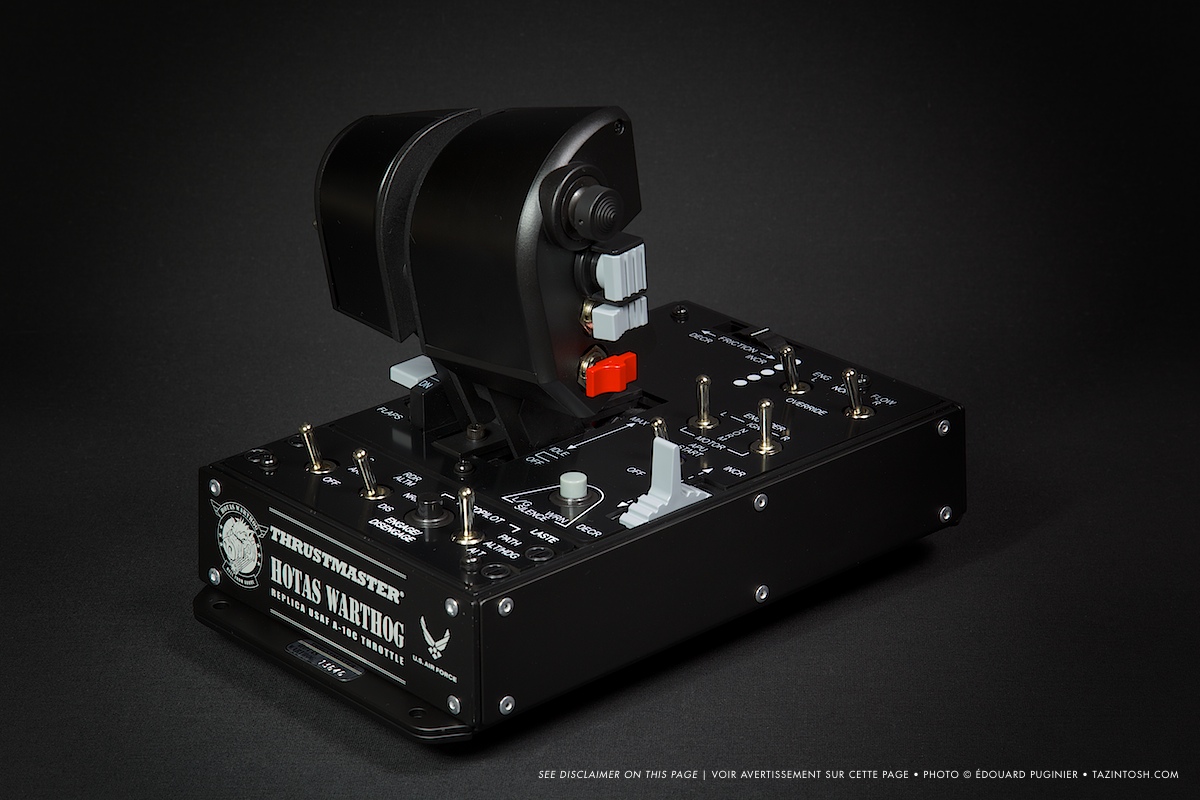
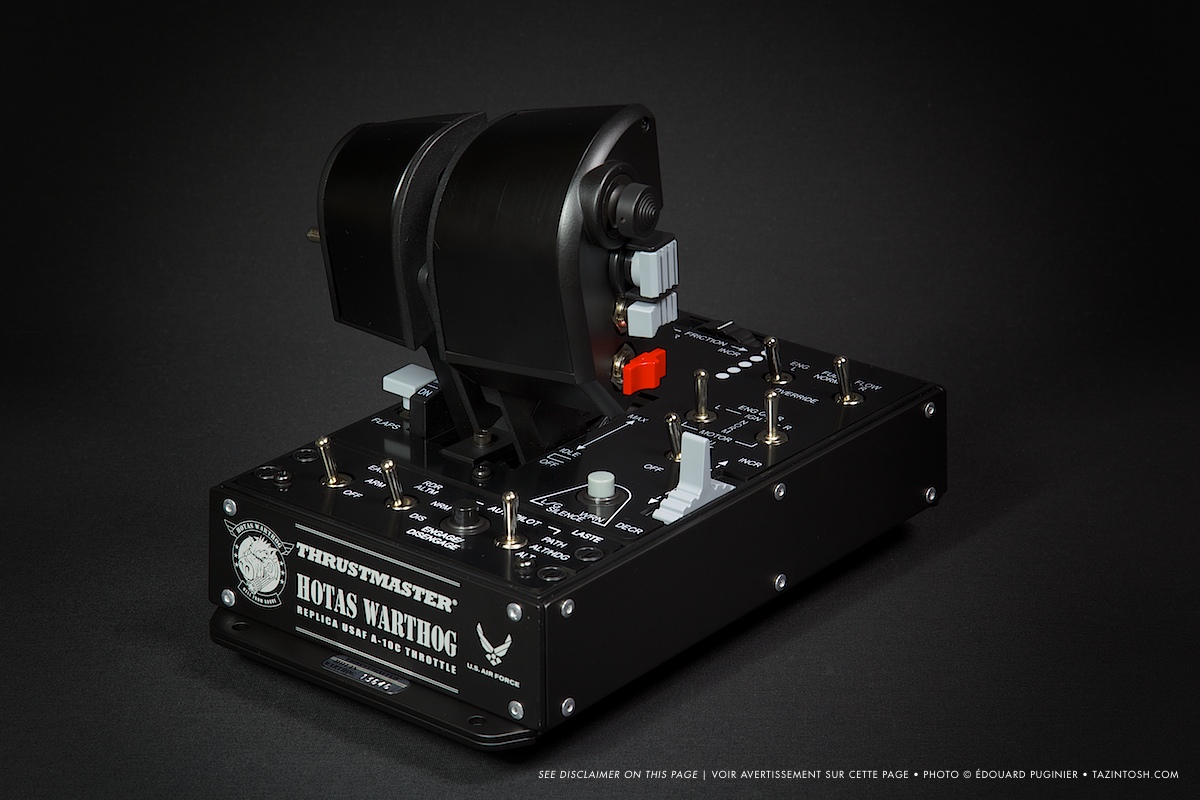
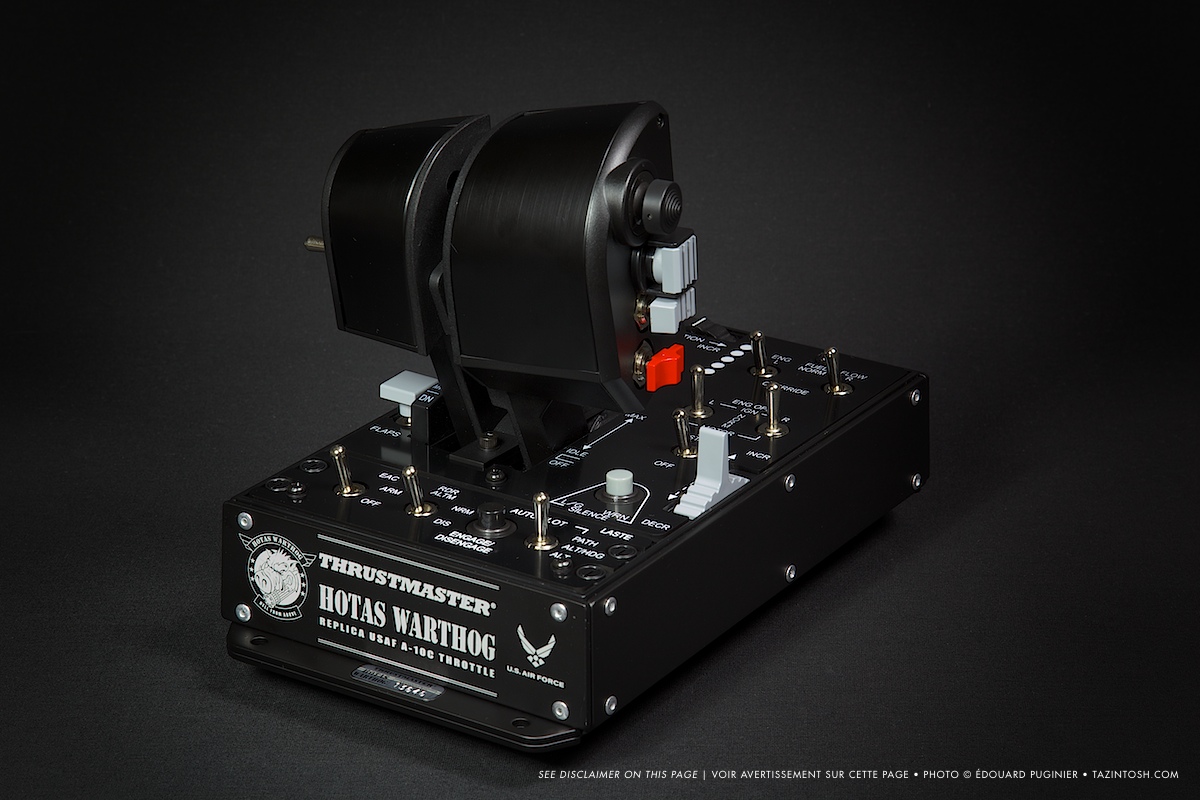
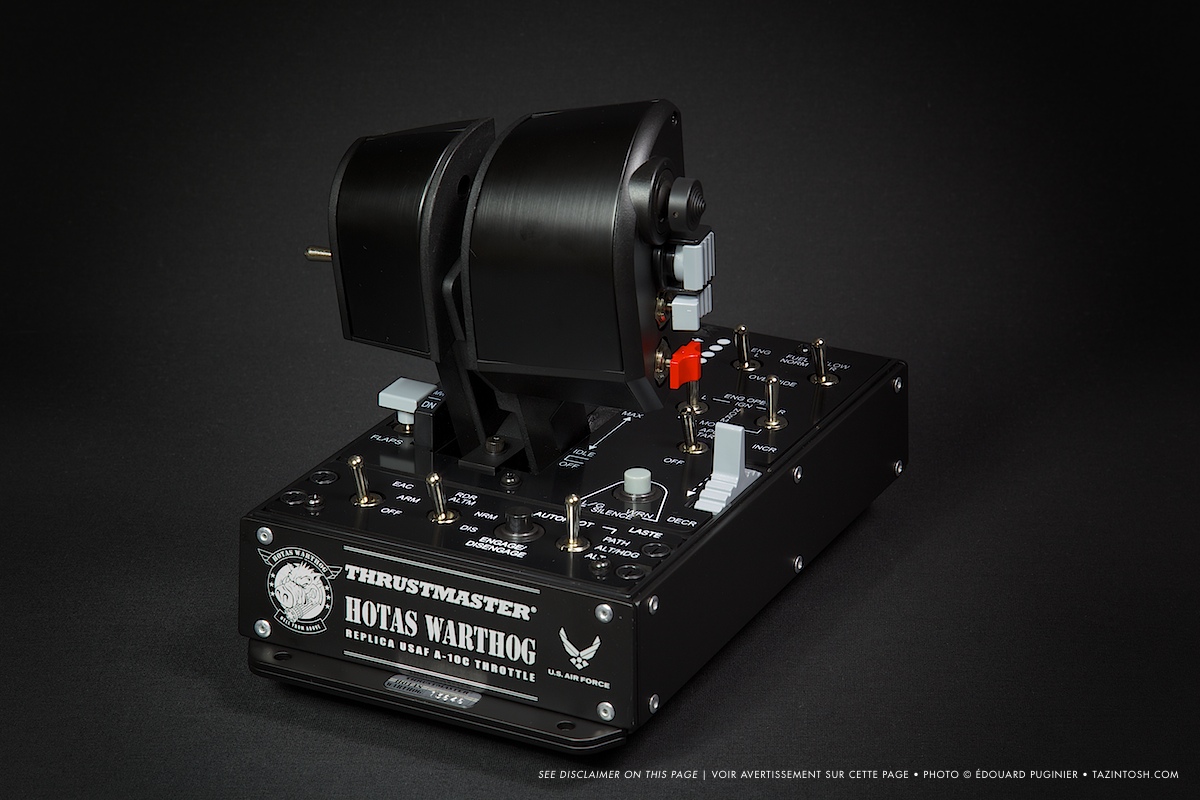
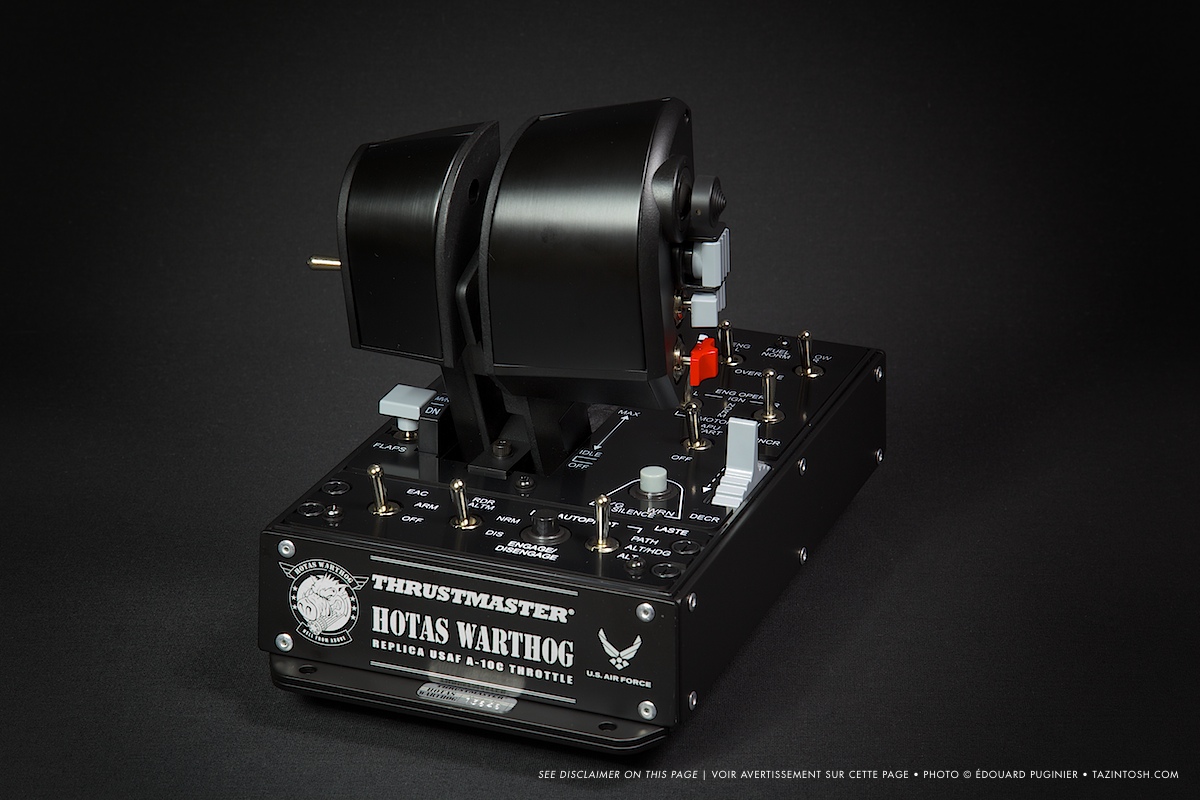
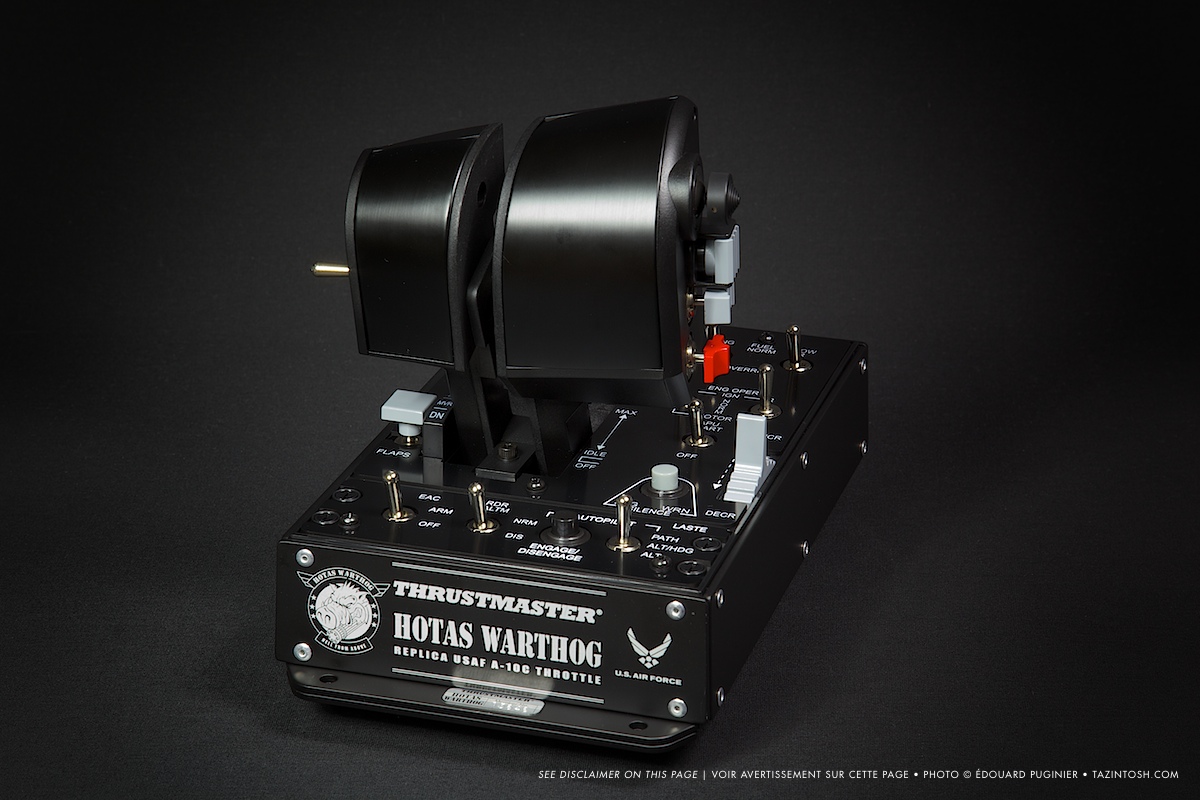
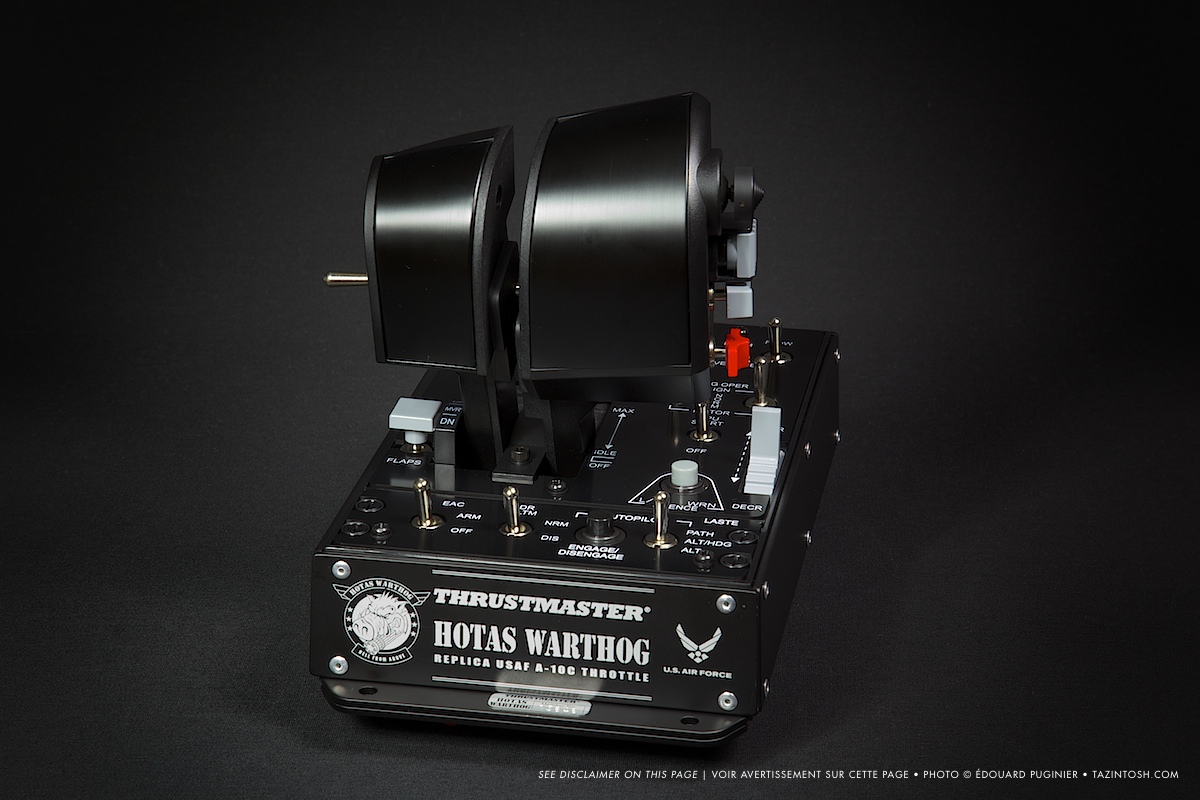
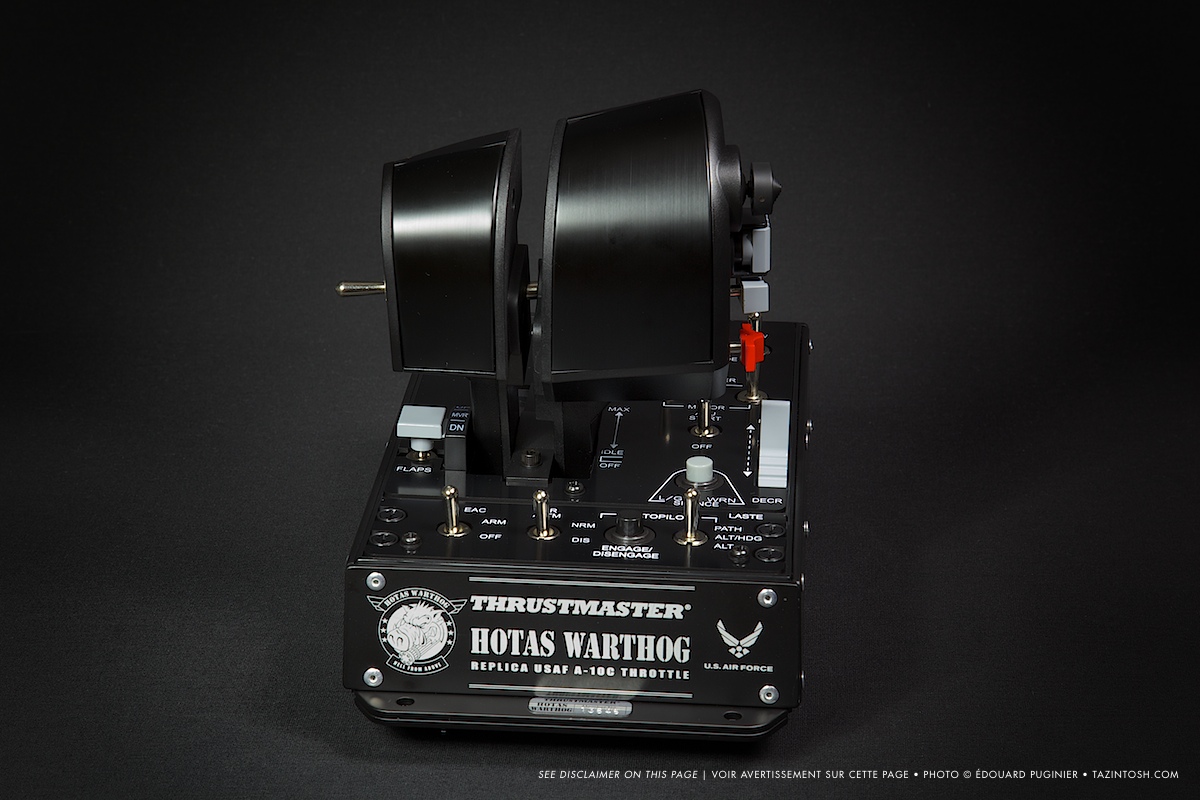
Dual throttles
- 3D magnetic sensors (H.E.A.R.T HallEffect AccuRate Technology) on the throttle: enjoy surgical precision that stays razor-sharp over time;
- 14 bits resolution (16384 values) on each throttle;
- USB connection with upgradeable firmware;
- Metal hand rest;
- Locking system;
- Adjustable friction system: firm, linear and fluid tension, with no dead zones;
- Realistic IDLE detent with “Pull & Push” system;
- Realistic and disengageable AFTERBURNER detent with “Pull & Push” system;
- Realistic pressure on buttons and switches.
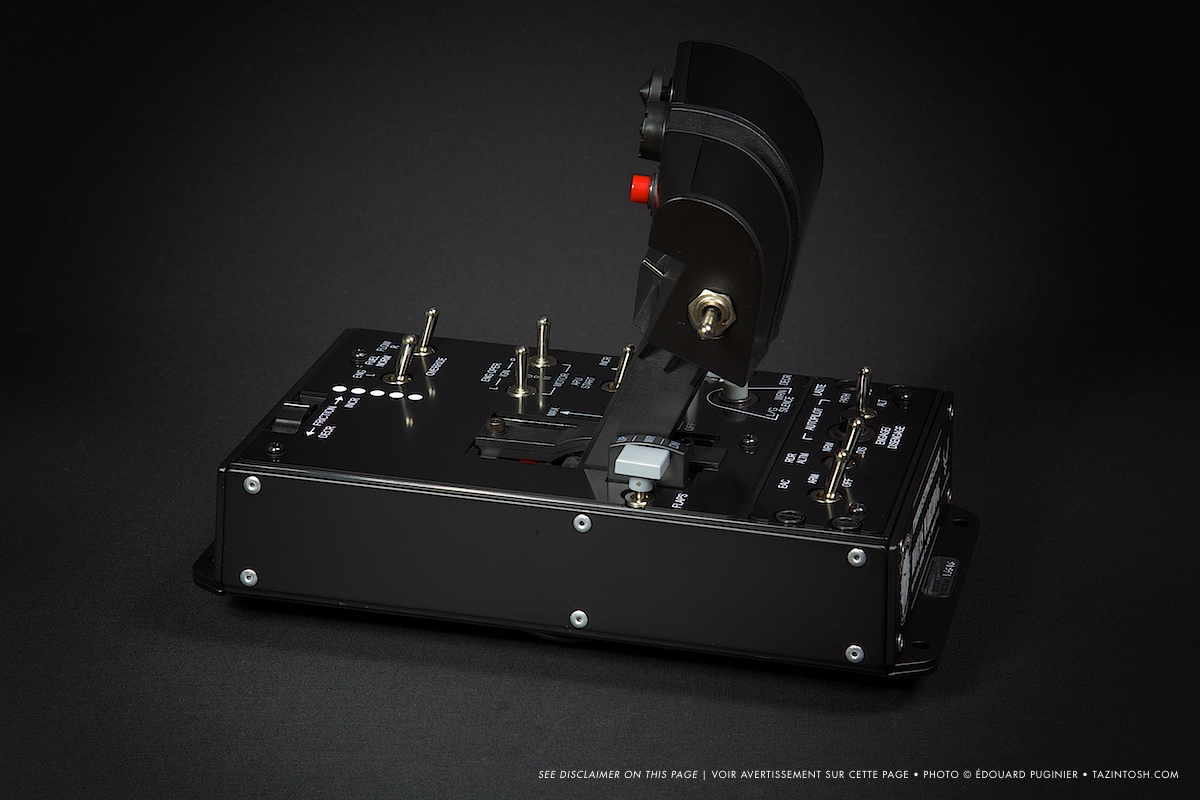
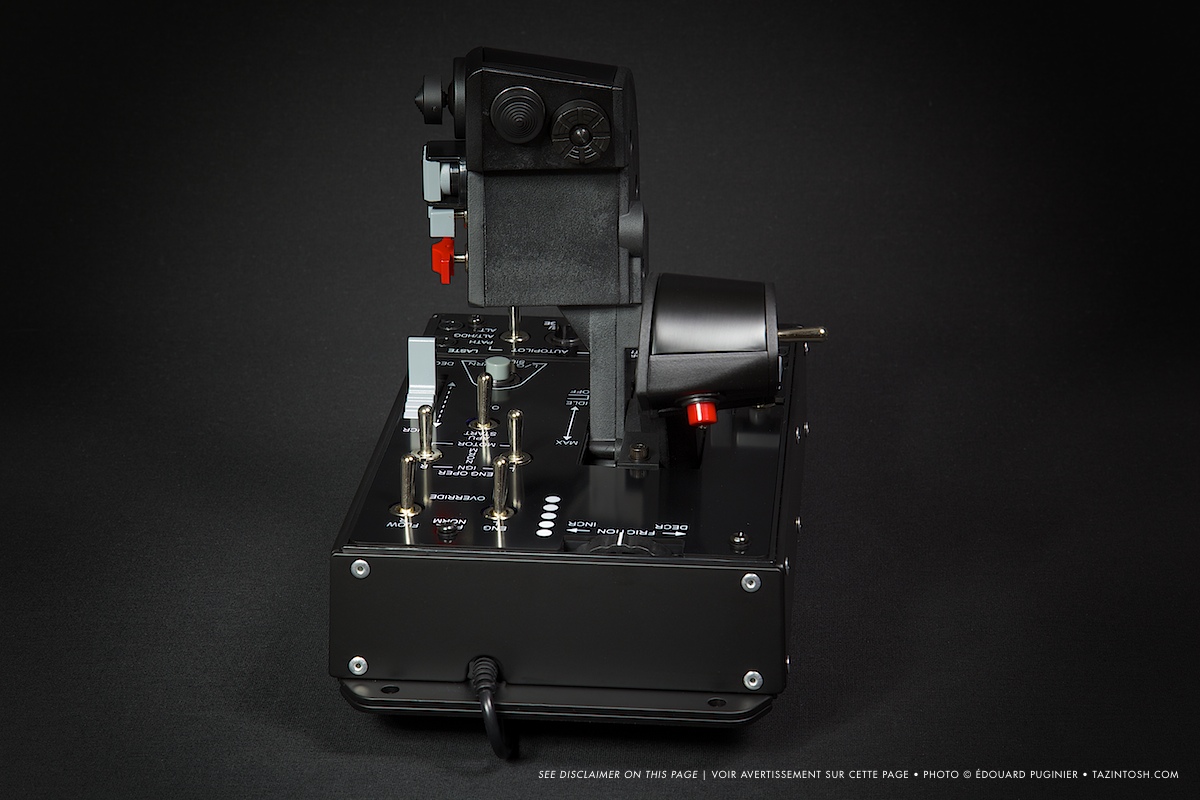
29 base actions
- 1 mouse hat with push button and 3D magnetic sensor (H.E.A.R.T Hall Effect AccuRate Technology) ;
- 1 8-way hat;
- 1 4-way hat with push button;
- 1 push button;
- 1 3-position switch (2 momentary + 1 permanent);
- 2 3-position switches (3 permanent);
- 1 3-position switch (1 momentary + 2 permanent).
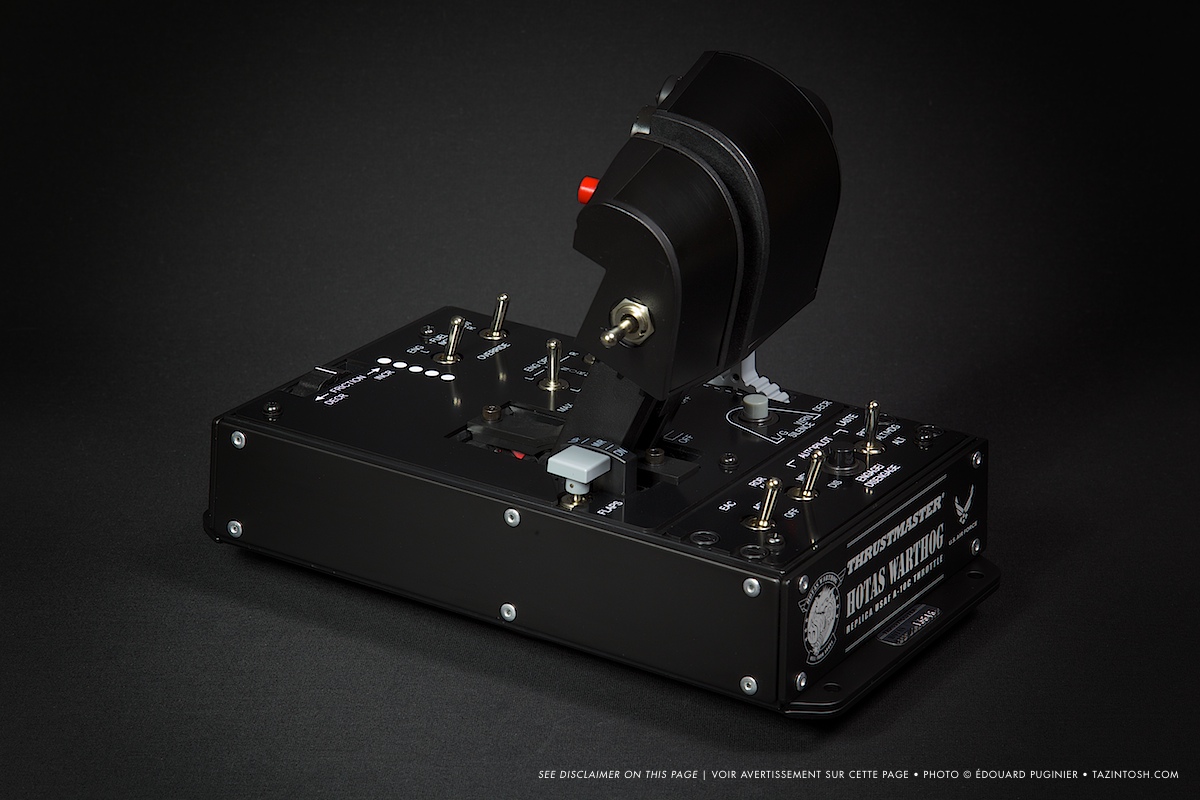
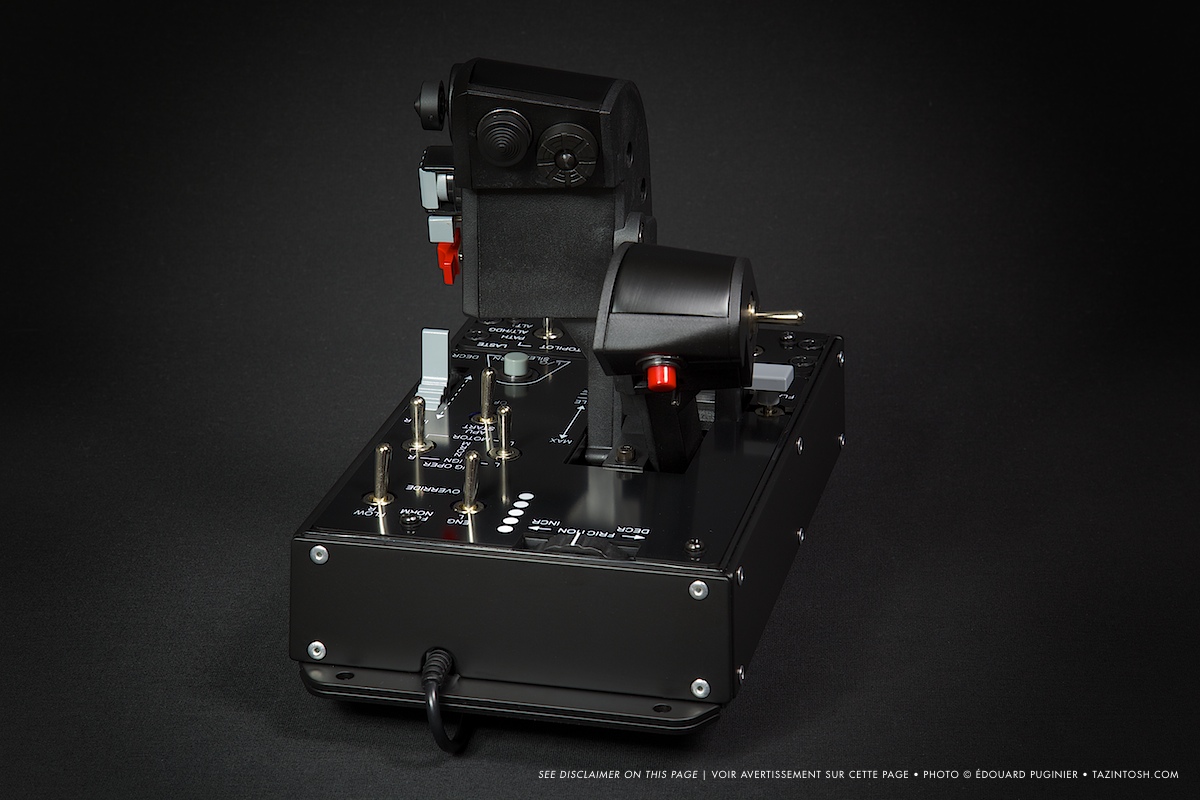
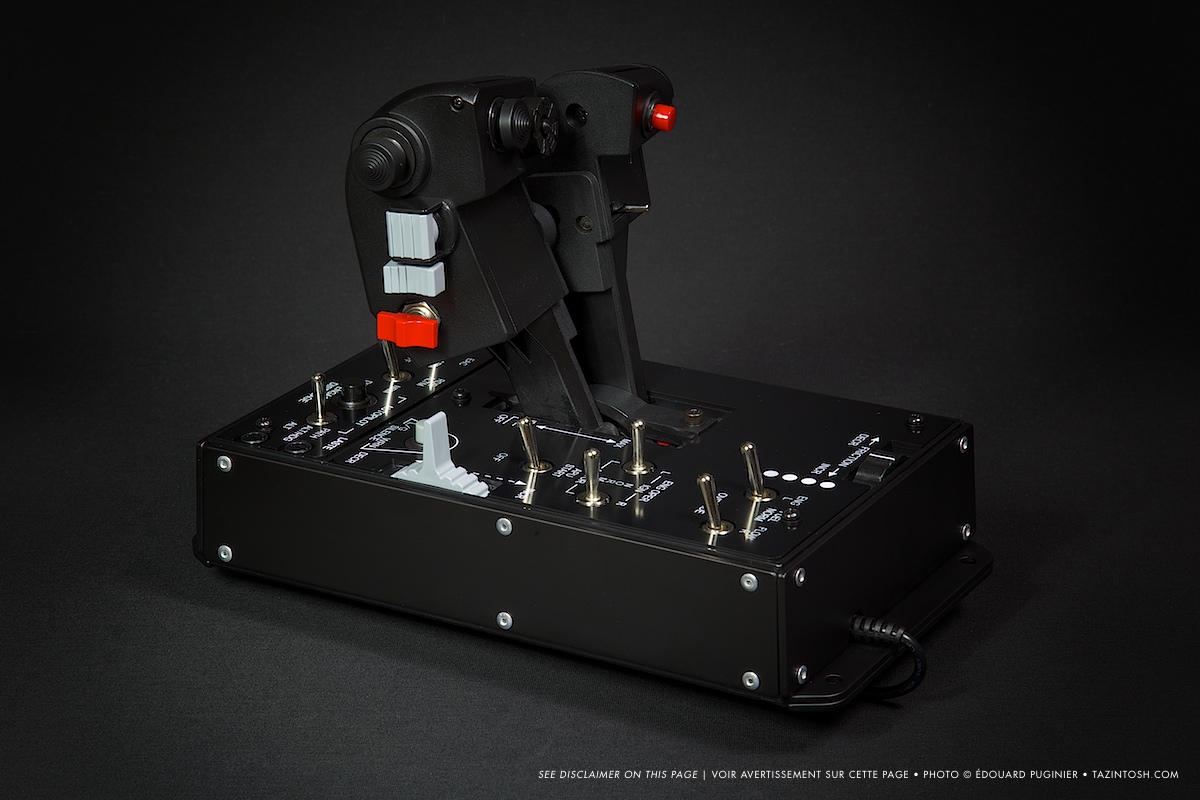
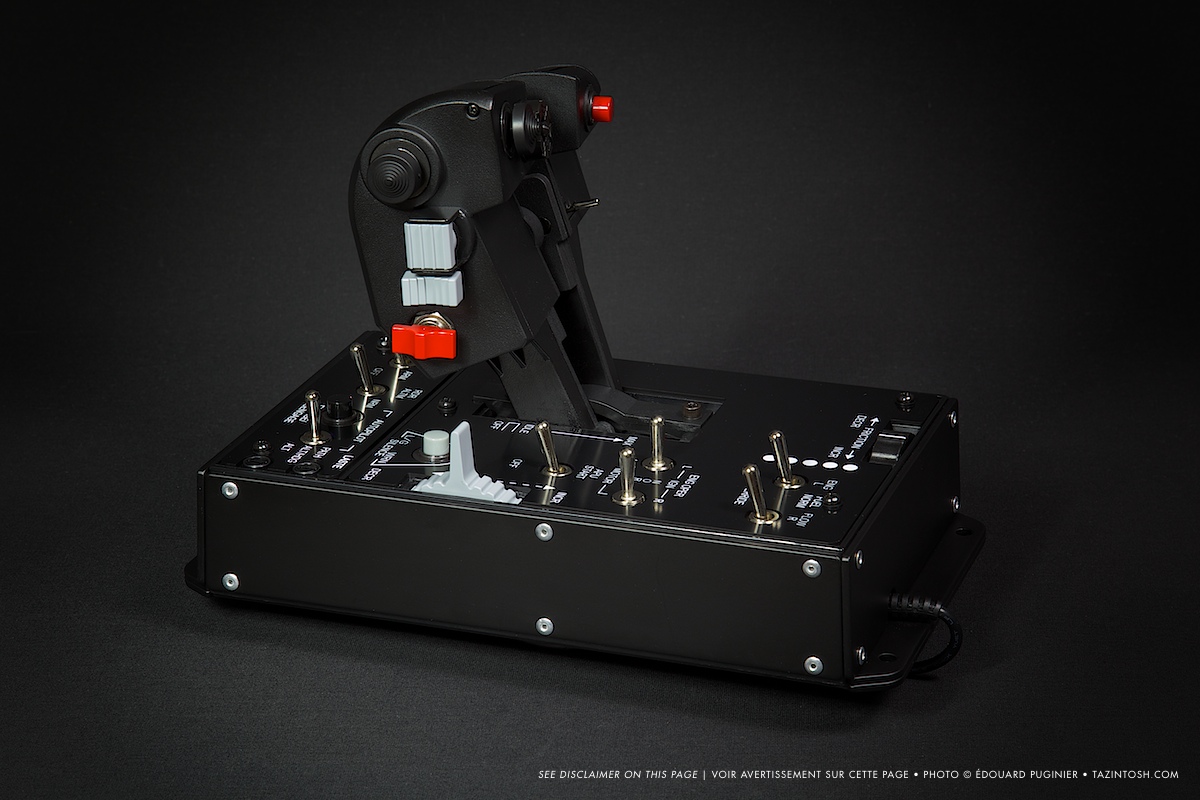
Control panel
- Weighted base (over 3kg) incorporated underneath the throttles;
- Backlit functions;
- 5 programmable LEDs;
- Realistic pressure on buttons and switches.
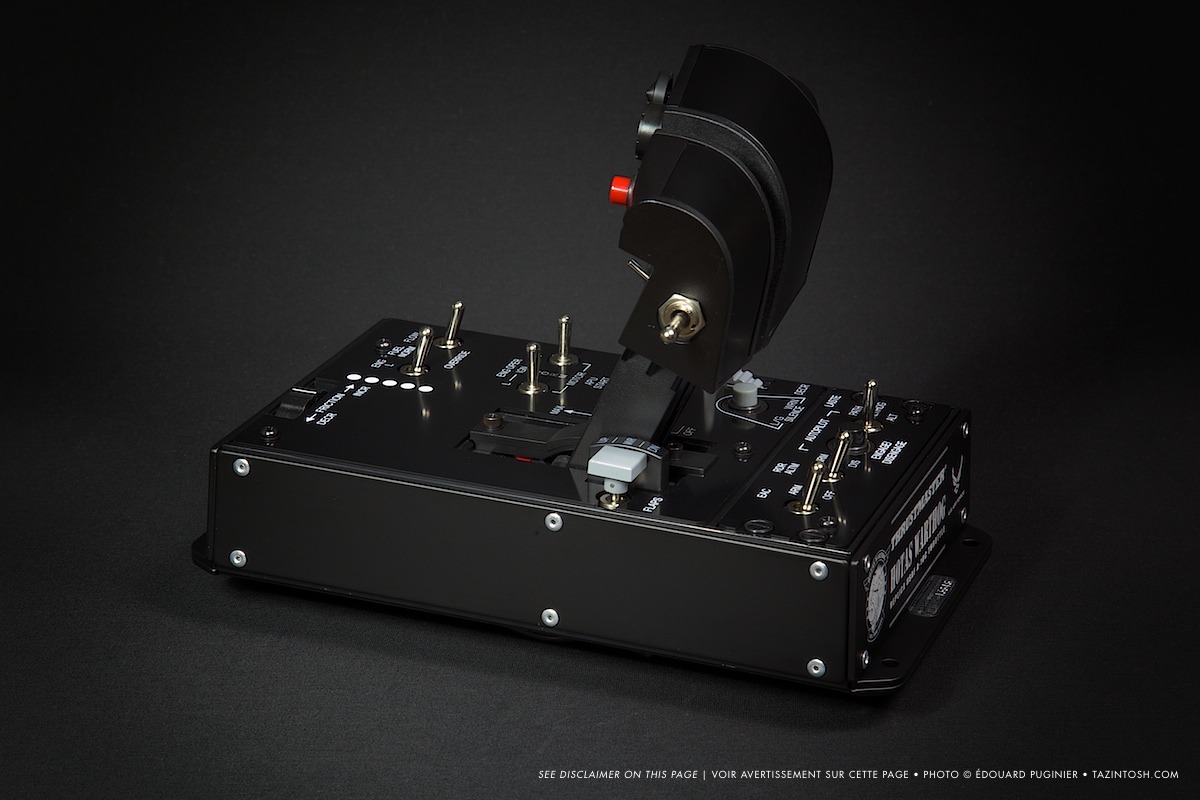
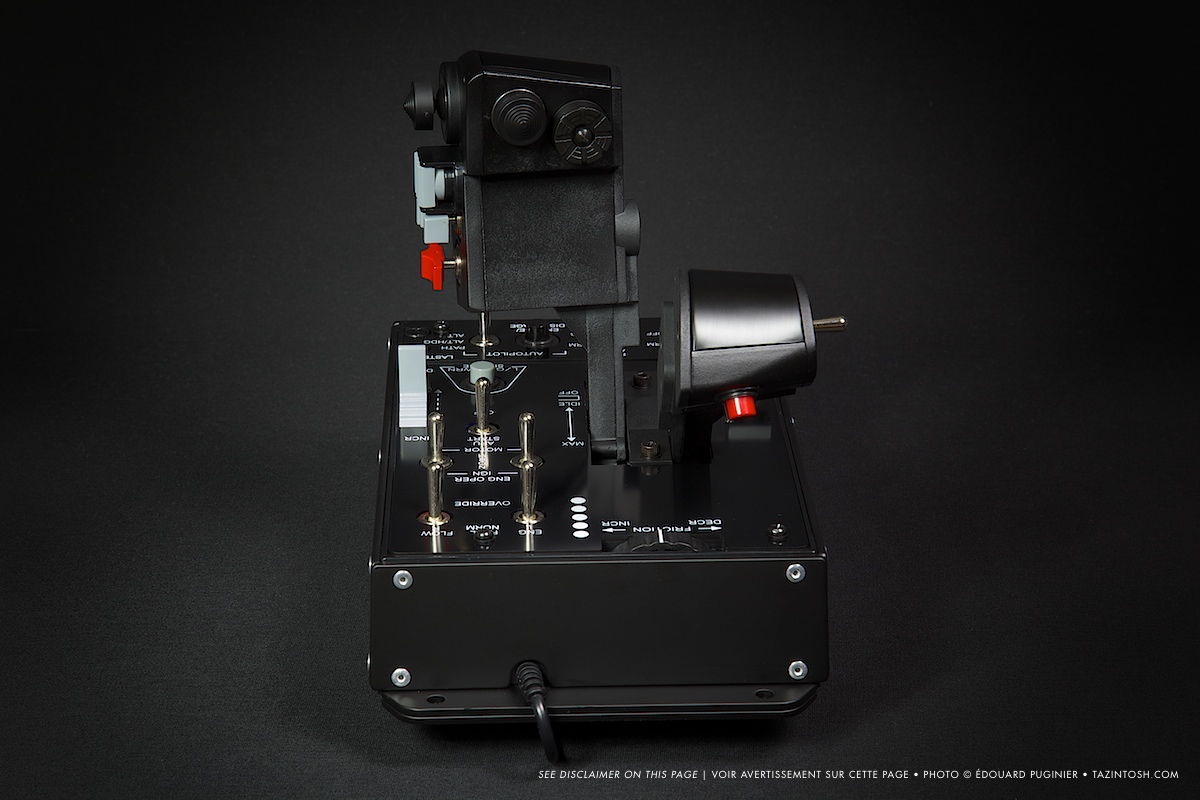
26 actions de base
- 1 TRIM wheel;
- 2 push buttons;
- 5 2-position switches (2 permanent);
- 2 3-position switches (1 momentary + 2 permanent);
- 2 3-position switches (3 permanent).
My only advice for these HOTAS Warthog?
Disclaimer
The photographs presented here have no publicity purposes. Their sole aim is to show one of our multiple products through a personal viewpoint, which would not be linked or amalgamated with the marketing and aesthetics choices of the brands. Thus, the logos (trademarks - “Fair use”) and templates only illustrate the pictures and do not intent to imitate or be mistaken for the official ads. These images can not replace in any way the information, descriptions and photographs of the creators. However, they can complete them. The hardware is not brand new, wears and stains can be observed.


Why such photographies?
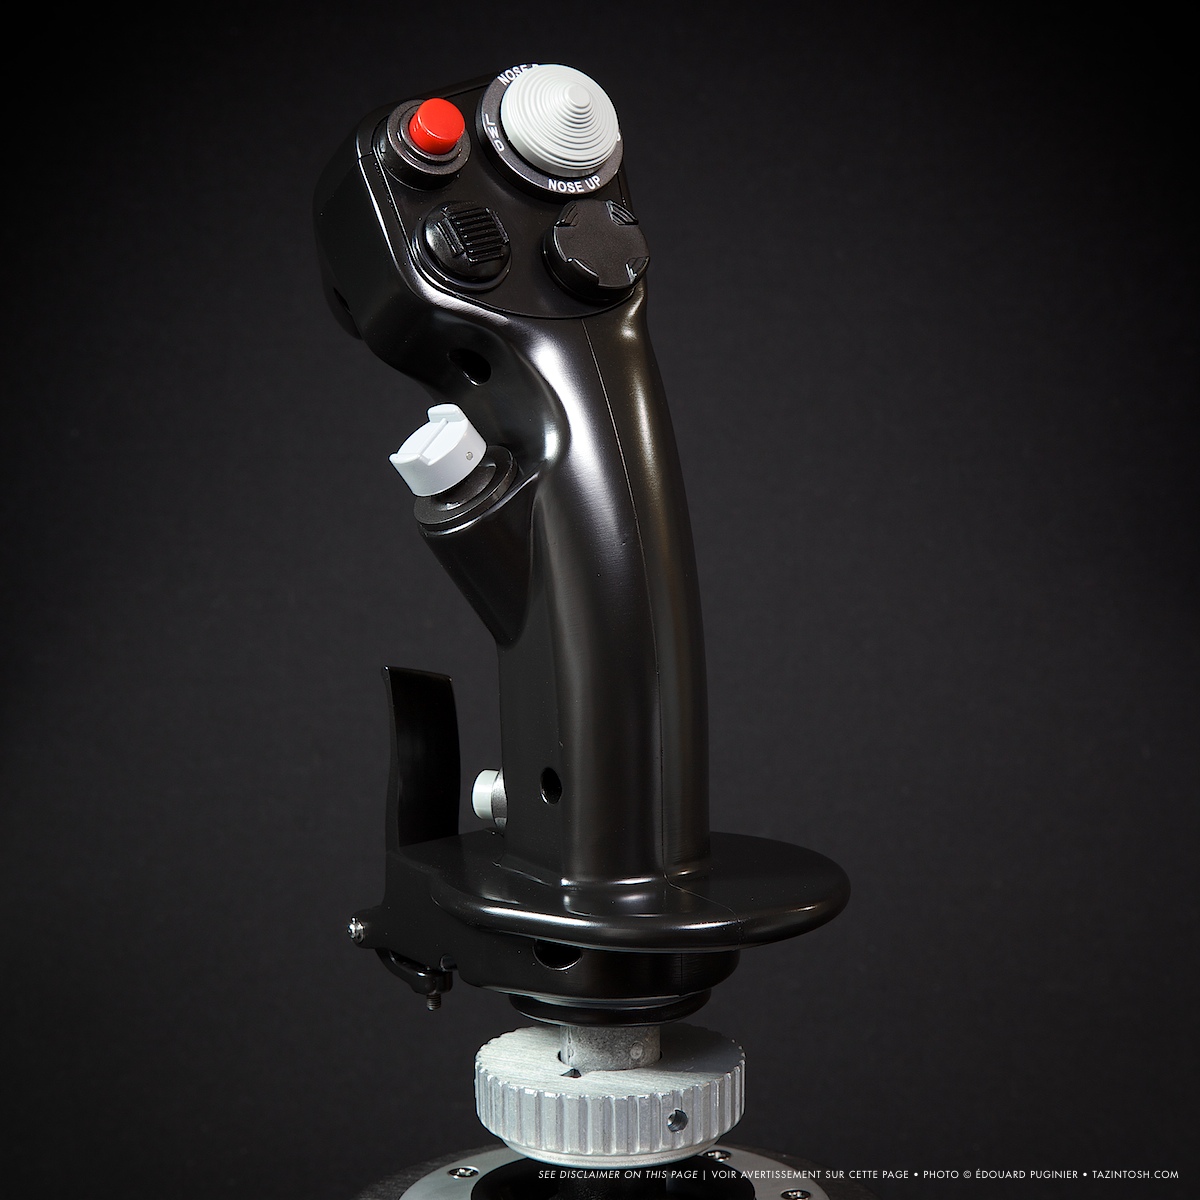
Slew Control Mod
If a fault exists on this set of controls, that's the Slew Control (mouse cursor on the throttle). A quick search allows you to realize that the phenomenon is far from isolated. Thrustmaster, for cost reasons (read “to increase its margin“), replaced that element which has nothing to do on the original aircraft (see photo opposite), a technological waste, as the small stub that was found on some portable PC or mobile phones.
Some people have made heavy enough adaptations: a complete change of the sensor with the need to install additional electronic interface to control it, etc. I'm personally not involved enough to find the need to go into this kind of approach, but unlike simple adaptations where people paste a substitute on the original stub, I wanted to make a change similar the original model but with as few constraints as possible.
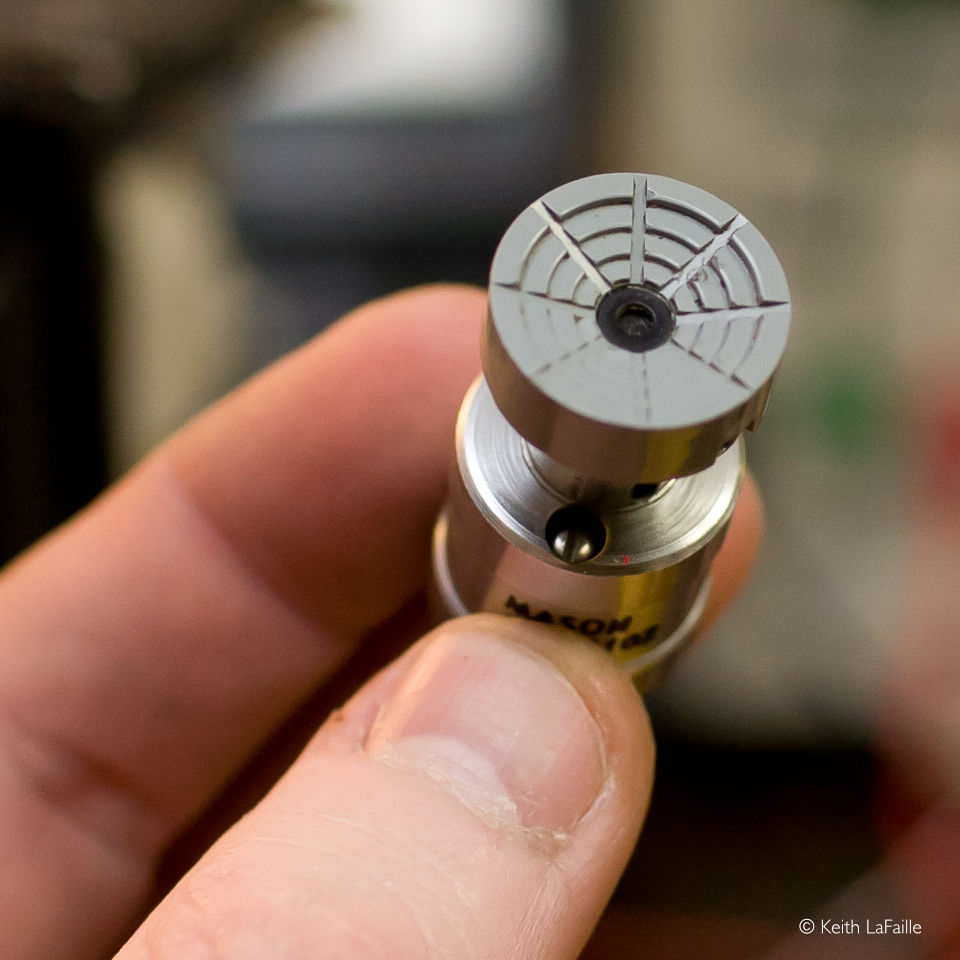
A-10's Slew Control.
Photo ©Keith LaFaille
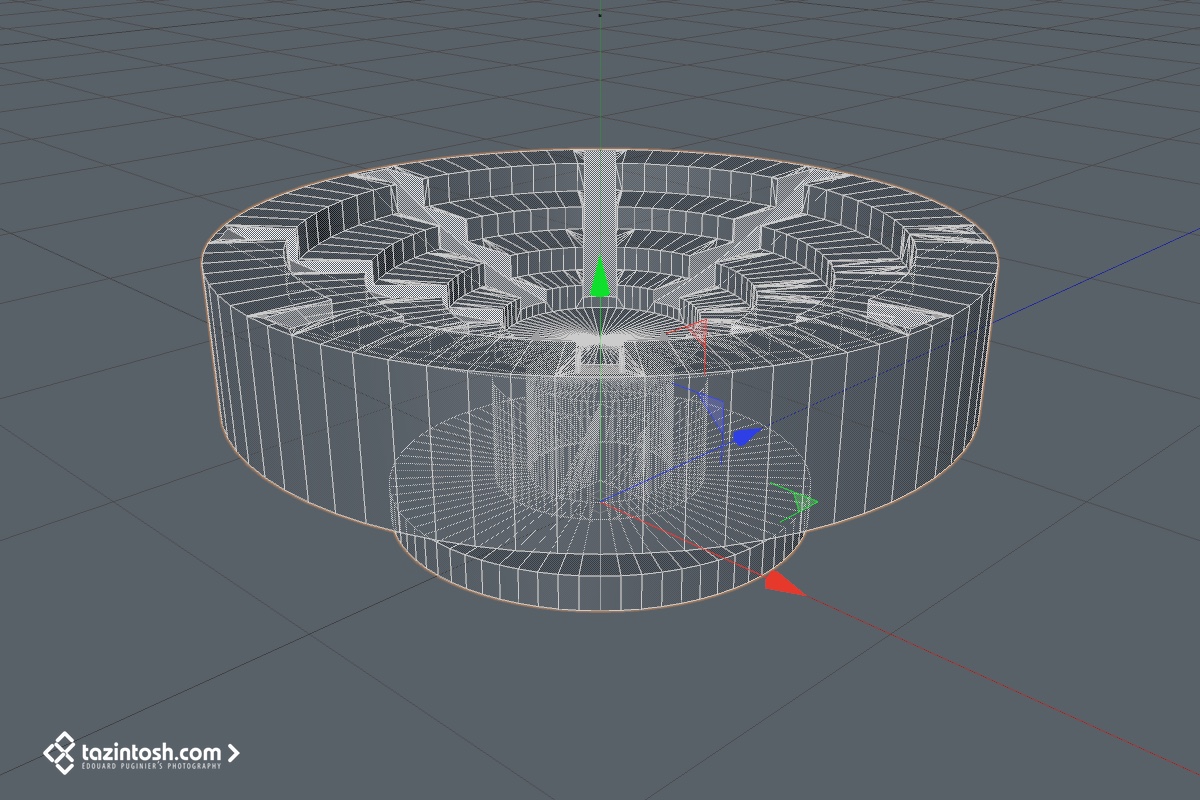
3D Modeling
With my callipers, I modeled the original Slew Control to have it printed in 3D. If you want to use it, you can freely download it (on the opposite link) but cannot make any commercial use from it. The zip file contains two 3D .stl files needed for the printer. Everything is to the right dimension.
Licence
Permissions beyond the scope of this license may be available at https://tazintosh.com.

3D Print
3D printing companies is no lack, an Internet search will give you a plethora of results. The print resolution I have chosen is 30μ (microns, or 0.03 mm). It costs 6€ (excluding taxe) per piece + shipping (8€ excluding taxe, yes… for an envelope which costs at “La Poste” 3.20€ including taxes). We ordered two of them with a friend for 38.40€ (6€ x4 + 8€ + taxes).
The photos (see opposite) are misleading, especially once zoomed: Printing may seem coarse but in reality, it's very clean. Don't forget the biggest piece is only 2 cm in diameter, so to the eye, edges are really the sharp. It would have been pointless for example to switch on 16μ (35€ instead of 12€) when I see the result achieved here.


Installation
You will have to disassemble / reassemble parts of your gas control, manipulate connectors and electronic components, unclip plastic elements, etc. I decline all responsibility for the consequences that your manupilations might have. I speak knowingly, since I myself broke my Slew Control sensor, probably as a result of my repeated tests and disassembly to properly build this article. Please note that the sensor assembly costs 37.2€ (included shipping) from Thrustmaster.
I will try to hightlight the critical points in this tutorial.
The first four steps are to disassemble the Slew Control. You must first disconnect the USB cable of the gas control from any power source, then remove three screws on the inner side and the outer side (see the first two pictures). This part detaches very easily (no clip at this stage) but be careful because it is maintained by electrical cables.
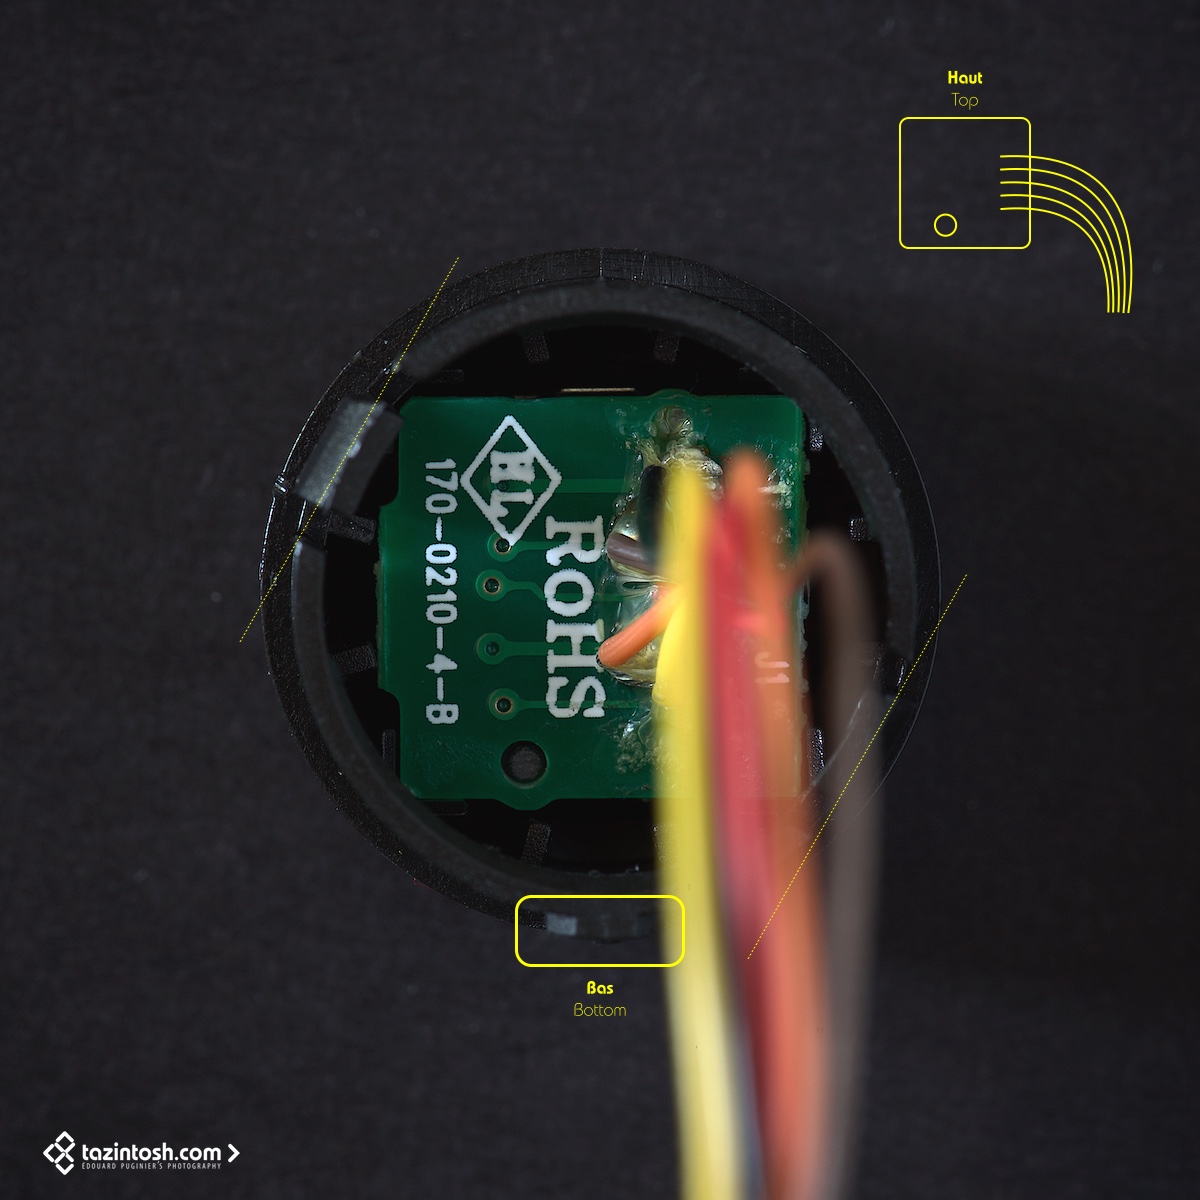
Unplug with caution the Slew Control cable from the electronic board (third photo). Using a flat head tool (such as a screwdriver, but I recommend a plastic tool), unclip the complete sensor set and remove it forwardly (third and last photos).


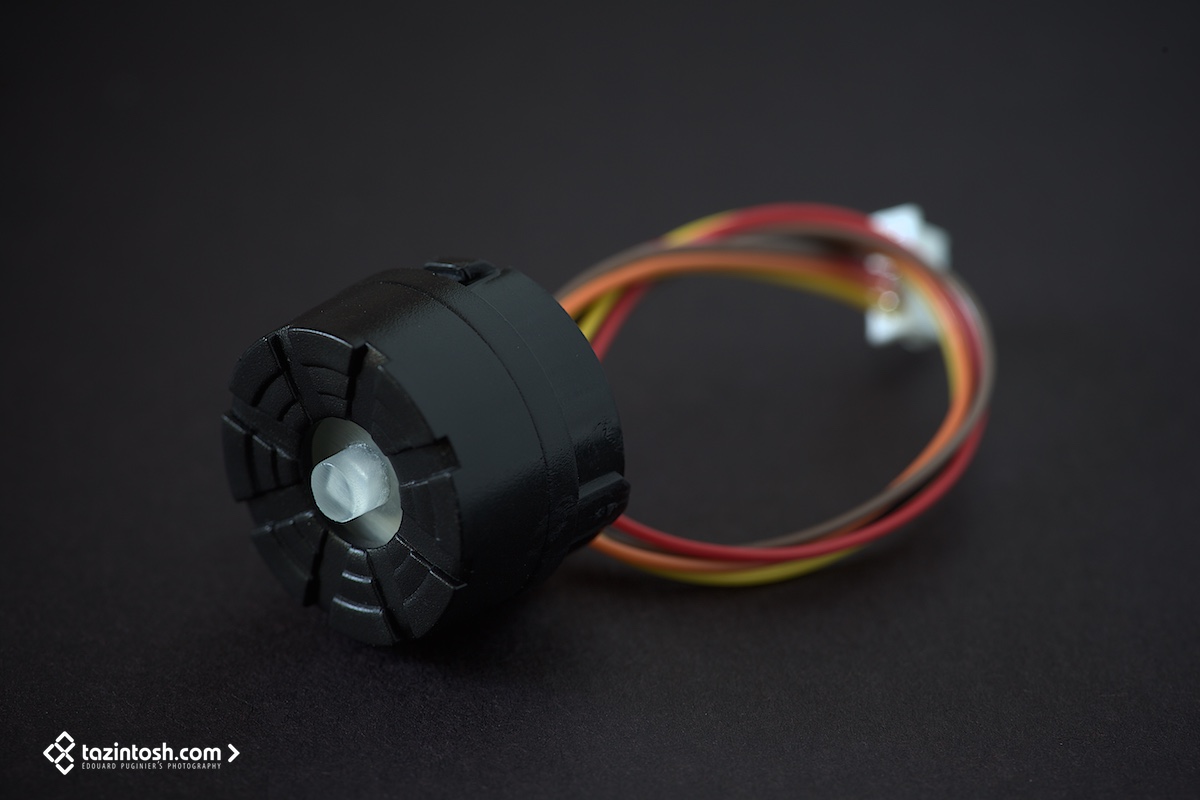
Above, the complete Slew Control set. It is necessary to completely disassemble it to be able to adapt the new 3D printed controller. Turn it over to see the output of five thin cables, you'll notice that a cap locks the sensor in place. We must remove it, it's just held by two lips around the “casing”. On my first sensor, the plug was simply clipped; but on the new one, two glue gun points interlock the whole thing. This type of glue is fairly simple to remove.
I recommend to extract the cap from the outside, at the two clips, with a sufficiently rigid plastic tool to pry. Beware to the DELICATE cables and their DELICATE welds! Proceed with care.
You can also do the following, but I do not recommend it: place the sensor on a flat surface, upside down (on its stub) and gradually press until the rear cap unclips. This approach worked at least twenty times for me (sensor was regularly tested on the computer), until I certainly crush it lacking of delicacy…
Note: the sensor may be different from the one above; I can say this because the new received sensor (after breaking the original one) was different. Of course, the 3D piece still perfectly fits. Carefully observe its position for the resassembly.
Quick answer to sizing questions that you may have. The diameter C (image opposite) is obviously the same between the original and the new part. Thus, the cursor movement in his “casing” is fully preserved (see top picture). The diameter B of the small piece is actually 1/10th of a millimeter less than the one of the large piece. This is the minimum value that I have been advised to apply when 3D modeling for print. Still, the two elements can not fit together in the state.
Do not force! The print resin is solid, but there are limits. In fact, the gap is very small and this is good for us. It is very easy to adapt the piece to the perfect diameter, without risking any loose or need for glue. Used for this purpose a square tip (reference SQ0 is to the ideal dimensions) and “screw / unscrew” gently the two pieces together. The friction will wear out the resin and form a powder. Regularly, separate the two parts by unscrewing and blow the powder that has formed inside. Gradually, the two pieces will perfectly fits.
Ensure that the assembly is easy without the need of excessive force. This will be useful for reassembly.
I do not recommend painting the cursor. I tested with a brush… Forget it because the paint rendering will be very rude. If you master the deal, try paint sprays or airbrush.


Half the work is done, it's fast. Now we reassemble everything.
Place the smaller of the 3D printed parts on the sensor. The two square bases should fit together smoothly and without loose. If it snaps, it's even better (I corrected the 3D file over my essay). If there is too much loose, a little dot of glue can help. Replace the sensor in his case taking care to put it the right way up!
I reapplied the two points of glue which held the cap in place with a glue gun of this kind.
Once the sensor reinstalled in its casing and the “cap” repositioned / clipped, fix the new cursor. CAUTION, DO NOT “screw” the cursor to the sensor, but snap it along the axis, by exerting a controlled pressure.
At this point, I suggest to check the sensor works before reassembling: reconnect the circuit and connect the throttle to a USB port. On Mac, ControllerMate instantly output the sensor values (click + 1024 values for x as y). If you have nothing or only the click, sounds bad, you were too nag (like me, but after 20 times ^^).
If everything works, congratulations! Welcome to the new Slew Control!
Disconnect the USB cable, place the sensor back in place and reassemble the throttle.
Pay particular attention not to damage cables while screwing. Same for the three plastic guides in which screws MUST pass. They must be perfectly aligned.

Some recommendations
A short period will be needed to get used to the new cursor. It is important to place your finger in the center so that the movement is as good as possible. If the cursor is manipulated by the edge, it will naturally tend to rotate the sensor with him. First, the cursor on screen will not move as desired, but mainly this is not indicated for the sensor! Well, there is still some margin, I tested the strength limit on my previously sensor, you still have way to go. However, an important and regular stress will certainly not be good, so remember: finger on cursor center, it's designed for it!
Over use, the solution is way better than the original Slew ControlOn DCS: A-10C Warthog, I discovered something strange, please tell me if you confirm: the cursor on the TGP or MAV as SOI regularly blocks without knowing why, while in TAD or HUD SOI it's working perfectly and I can move the cursor where I want. The new slider does not change this behavior so to me, it would be related to the simulation itself.
If like me, you need to replace the sensor with a new one, it will be necessary to calibrate it. To do so, simply contact the Thrustmaster support that will attach you in a mail a calibration software they do not officially provide publicly.

That's all folks!
I hope you liked this tutorial and are enjoying your new Slew Control.
Feel free to share it on the forums you know and to post comment here. If ever you still hate this sensor (somewhere it's understandable, Thrustmaster have been wrong with it), you can very simply with ControllerMate (and probably with more time using Thrustmaster TARGET software) program a virtual mouse on another sensor, which would activate for example, when the Paddle Switch on the joystick is pressed.
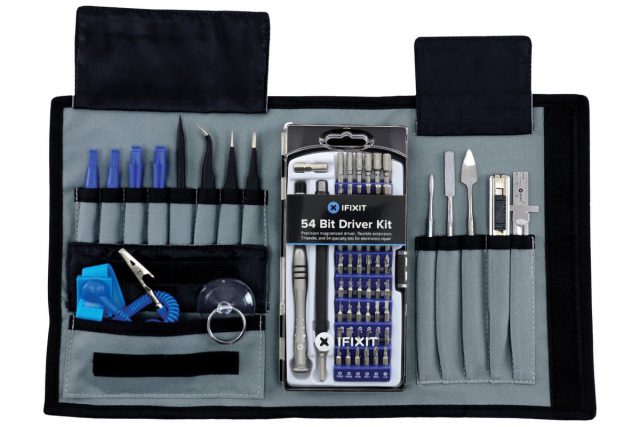
Also I regularly speaks of “tools” in the article and for this kind of work I personally use the kit iFixit Pro Tech
This symbolic coffee would be a true expression of your appreciation of this work.
Learn about those 360° animation featured on this article:
Rewind|Forward Animation • Source code
